The Best Fluffy Pancakes recipe you will fall in love with. Full of tips and tricks to help you make the best pancakes.
Soft & Buttery Sugar Cookies Recipe
There’s just something about sugar cookies, right? That rich buttery aroma that hijacks your kitchen, the perfect soft bite that melts in your mouth, and the childhood vibes that come rushing in like a warm hug from grandma herself.
I didn’t grow up with fancy tarts or complicated desserts. But sugar cookies? Always in the picture. Birthdays, bake sales, holiday parties—even those chaotic Tuesday nights when all you wanted was something sweet and easy.
This recipe? It’s like edible therapy. Comfort in cookie form. And bonus—you get to sneak dough while pretending you’re checking for texture. So let’s make something that tastes like a celebration, any day of the week.
Quick Recipe Snapshot
Here’s your cookie cheat sheet. A quick glance at what you’re diving into:
| Category | Details |
| Yield | About 24 cookies |
| Serving Size | 1 cookie |
| Prep Time | 15 minutes |
| Chill Time | 1 hour |
| Bake Time | 10 minutes |
| Total Time | 1 hour 25 minutes |
| Calories per Serving | ~170 |
| Primary Cooking Method | Baking |
| Occasion | Holidays, Anytime Treat |
| Diet Type | Vegetarian |
Calories are approximate and may vary depending on exact ingredients used.

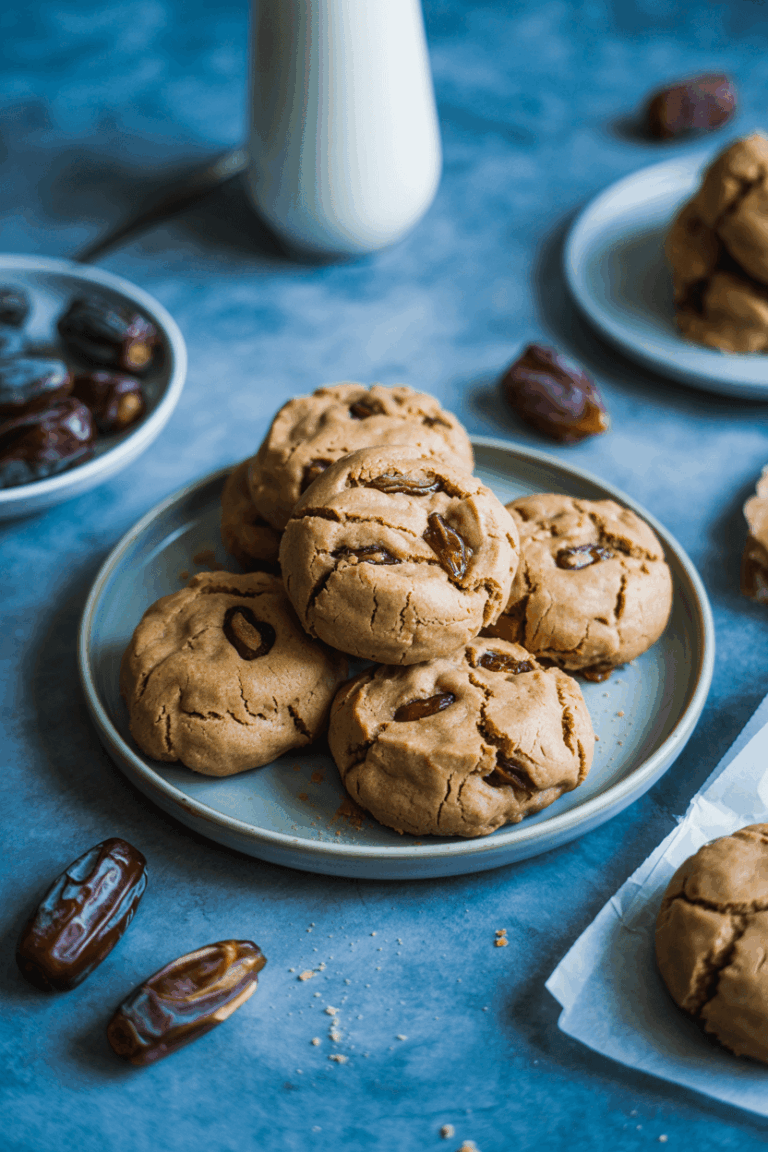
Sugar Cookies Recipe
Course: DessertCuisine: American Comfort BakingDifficulty: Easy-PeasyServings
1
cookiePrep time
15
minutesBake Time
10
minutesCalories
170
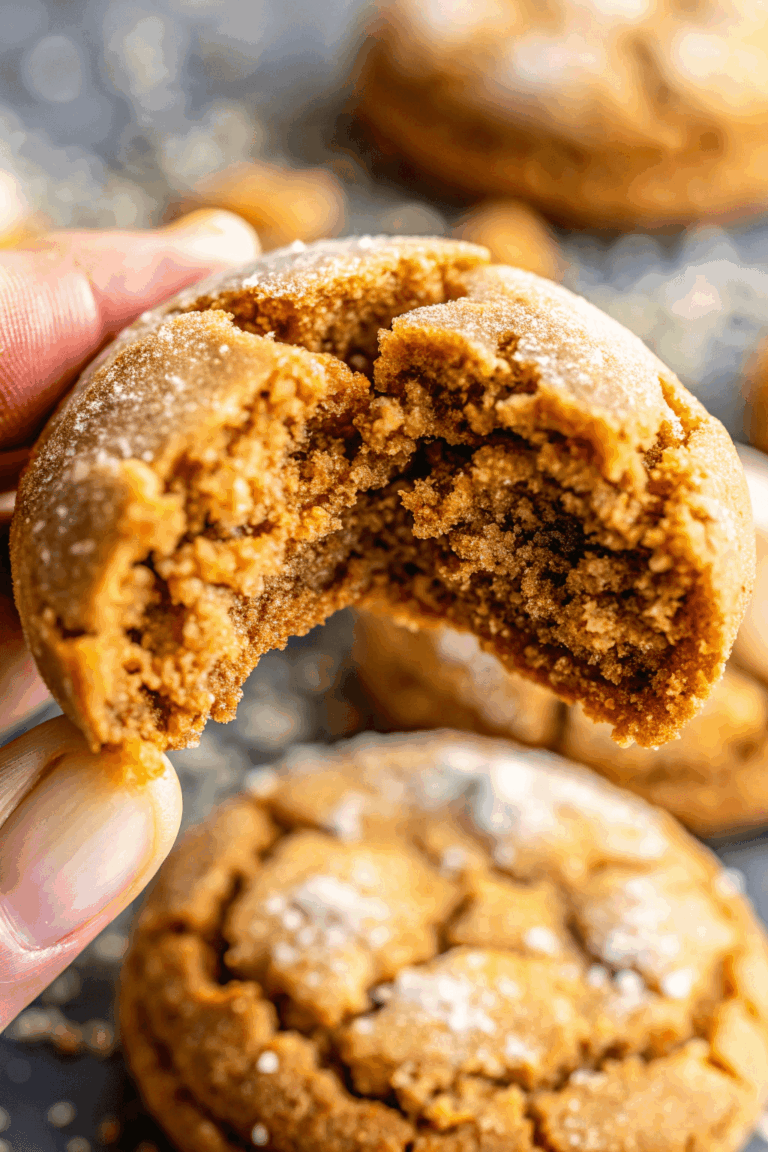
kcalSugar cookies are the MVPs of the cookie world. No drama, no frills—just pure vanilla-scented, soft-centered bliss with lightly golden edges. This recipe nails that soft-but-not-crumbly texture and balances sweetness without making your teeth feel like they’re under attack. The dough is super friendly to roll out and cut, making it ideal for cookie cutters, holiday fun, or just circles if that’s your vibe.
Ingredients
- For the Sugar Cookies
2 1/2 cups (313g) all-purpose flour
3/4 teaspoon baking powder
1/4 teaspoon salt
3/4 cup (170g) unsalted butter, softened
3/4 cup (150g) granulated sugar
1 large egg
2 teaspoons vanilla extract
1/4 teaspoon almond extract (optional, but amazing)
- For the Optional Simple Icing
1 cup (120g) powdered sugar
1–2 tablespoons milk
1/4 teaspoon vanilla extract
Directions
- Sift and Mix the Dry Ingredients
Grab a medium mixing bowl. Sift together the all-purpose flour, baking powder, and salt. Sifting helps avoid lumps and gives your cookies that light, melt-in-your-mouth texture. Then give the mixture a good whisk to ensure the leavening and salt are evenly distributed. - Cream Butter and Sugar Until Fluffy
In a separate large bowl, using your hand mixer or stand mixer fitted with the paddle attachment, beat the softened butter and granulated sugar on medium-high speed. This will take about 2–3 minutes until the mixture turns pale and fluffy. You’re incorporating air here—don’t skip this part. - Add Egg and Extracts
Crack in the egg and beat on medium speed until fully incorporated. Scrape the bowl down. Then add the vanilla extract and almond extract if using. Almond adds a little extra dimension that really elevates the cookie. - Gradually Mix in the Dry Ingredients
Reduce mixer speed to low and slowly add in the dry ingredients, one scoop at a time. Beat just until the dough starts to come together. It should be soft but not sticky. Scrape the sides and bottom of the bowl to make sure everything’s combined evenly. Avoid overmixing, or your cookies may bake up tough. - Divide and Chill the Dough
Split the dough into two even halves. Flatten each portion into a thick disc about 1 inch high. Wrap each disc tightly in plastic wrap and refrigerate for at least 1 hour (or up to 2 days). This helps firm up the dough so it doesn’t spread too much while baking. - Roll Out and Cut Your Shapes
Preheat your oven to 350°F (177°C). Line baking sheets with parchment paper or silicone baking mats.
Take one chilled dough disc and let it sit at room temp for about 5–10 minutes to make rolling easier. On a lightly floured surface, roll it out to a uniform 1/4-inch thickness. Dip your cookie cutters in flour and press out your desired shapes. Reroll scraps as needed, but try not to overwork the dough. - Bake to Golden Edges
Place cookies about 2 inches apart on prepared baking sheets. Bake for 9–11 minutes—look for edges just starting to turn golden. Thinner cookies may bake faster, so keep an eye on them.
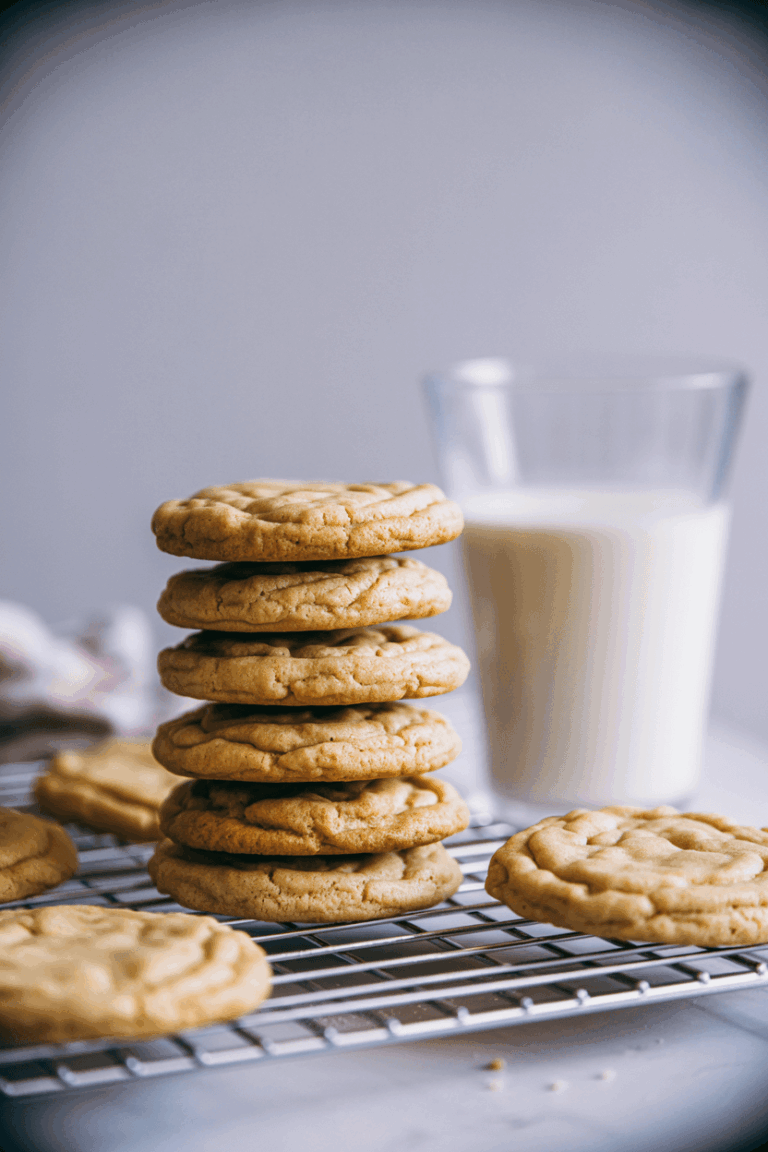
Cool cookies on the baking sheet for 5 minutes, then transfer to a wire rack to cool completely. - Decorate or Keep It Classic
For icing, stir together the powdered sugar, milk, and vanilla until smooth. For thicker icing, use less milk. Spoon into a piping bag or zip-top bag with the corner snipped off and decorate away! Or keep things classy with a light sprinkle of sanding sugar before baking. - Serve and Store
These cookies are perfect right after cooling, but also store beautifully. Keep them in an airtight container at room temperature for up to 1 week.
Enjoy them solo, dunked in milk, or sneak a few for breakfast—your secret’s safe here.
Extra Tips for Sugar Cookie Perfection
- Soften, Don’t Melt Your Butter: If your butter is too warm, your dough will get greasy and spread like lava. Let it soften at room temp—no shortcuts in the microwave.
- Use Room Temperature Egg: Cold eggs can cause the dough to curdle or not mix evenly. Leave your egg out for about 30 minutes or soak it in warm water for 5.
- Flour the Rolling Surface Lightly: Too much flour makes cookies tough. Dust just enough to keep the dough from sticking.
- Dip Your Cutters in Flour: Keeps those shapes crisp and clean without any pulling or sticking.
- Watch the Bake Time: You want pale centers and just golden edges. Overbaking = dry cookies. Trust your eyes.
- Rotate the Pan Halfway Through Baking: For even browning and to prevent hot spots from ruining your batch.
- Cool on the Sheet Before Moving: Letting cookies rest 5 minutes on the tray helps them firm up without breaking.
Tools You’ll Need to Bake These Beauties
Here’s everything you’ll need to whip up these cookies like a pro (or at least look like one):
- Large mixing bowl
- Electric hand mixer or stand mixer
- Measuring cups and spoons
- Rubber spatula
- Rolling pin
- Cookie cutters (or a glass rim if you’re fancy in your own way)
- Baking sheets
- Parchment paper or silicone baking mats
- Wire cooling rack
Nutrition Information
Here’s a quick look at the estimated nutrition facts for one sugar cookie (without icing):
- Calories: ~170 kcal
- Total Fat: 8g
- Saturated Fat: 5g
- Cholesterol: 30mg
- Sodium: 60mg
- Total Carbohydrates: 23g
- Dietary Fiber: 0.5g
- Sugars: 12g
- Protein: 2g
These values are estimates and may vary based on exact ingredients and portion sizes used.
Smart Swaps and Substitutions
Don’t sweat it if you’re short on an ingredient or baking for someone with dietary restrictions. Here’s how to keep the cookie magic alive with simple tweaks:
Need to tweak the recipe? Totally doable. Whether you’re working around allergies, missing an ingredient, or going plant-based, these swaps will keep your cookies just as dreamy:
If you’re avoiding dairy, substitute the unsalted butter with vegan butter or solid refined coconut oil (same amount, just not melted!). It still gives that rich flavor and holds the structure well.
Can’t do eggs? A flax egg is your best friend—just mix 1 tablespoon ground flaxseed with 2.5 tablespoons of water, let it sit for a few minutes, and you’re good to go.
For the gluten-free crowd, use a 1:1 gluten-free flour mix that includes xanthan gum. This helps maintain the cookie’s shape and chewy texture.
Don’t have almond extract or just not a fan? Leave it out entirely or swap in a little lemon zest for a bright twist—or double down on vanilla if that’s more your jam.
And if you’re making dairy-free icing, any plant-based milk will do—almond, oat, soy, rice—you name it.
With these options, your cookies will still come out golden and glorious. Flexibility never tasted so good.
Prep Now, Bake Later: Make-Ahead Tips
Wanna make your cookie life even easier? This dough is your new best friend when it comes to prepping ahead. Once you’ve mixed and divided the dough into discs, wrap them tightly in plastic wrap and refrigerate. It’ll keep perfectly chilled for up to 2 days.
Planning further ahead? Toss the wrapped discs into a freezer-safe bag and freeze for up to 2 months. When you’re ready, just thaw in the fridge overnight and let the dough rest on the counter for about 10 minutes before rolling.
Already cut out your cookie shapes? You can freeze those too—lay them flat on a baking sheet, freeze until firm, then store in a container or zip-top bag. Bake straight from frozen—just add a minute or two to the bake time.
This trick is a lifesaver during the holidays or anytime you want fresh cookies without the full production. Total win.
Keep ‘Em Fresh: Storing and Freezing Sugar Cookies
These cookies store like a dream, so you can enjoy the leftovers (if any!) for days.
Room Temperature Storage: Once baked and cooled, sugar cookies can be stored in an airtight container at room temperature for up to 3 days. To keep them extra soft, toss in a slice of bread, a tortilla, or even an apple wedge—just remember to swap it out daily.
Freezing Baked Cookies: To freeze fully baked cookies, make sure they’re completely cool. Arrange them in a single layer on a baking sheet, cover, and freeze for 3 hours or overnight.
Once frozen, transfer them to a zip-top freezer bag or airtight container, and wrap the whole thing in a layer of foil. They’ll keep for up to 2 months. Defrost at room temp and enjoy—or frost while frozen and let them thaw beautifully on the counter.
Freezing Cookie Dough: You can also freeze raw cookie dough, either as dough discs or cut-outs. Just place the cut shapes on a tray, freeze until solid, and stash them in a container or bag. Bake straight from frozen—add a minute or two to the bake time.
Cookie Questions Answered: Sugar Cookie FAQ
Q: How do I make the cookies the same thickness?
A: Roll from the center outwards, rotating the dough often. Hold the rolling pin by the handles and keep it level the whole time. For extra precision, you can use rolling pin guides—little rubber bands that go on each end of the pin to ensure perfect thickness every time.
Q: Can I freeze baked cookies or raw dough?
A: Absolutely! Check out the storage section above for step-by-step freezing and thawing advice.
Q: Why are my cookies spreading too much?
A: Warm dough is usually the culprit. Make sure to chill your dough at least an hour before rolling. Also, avoid placing cookie dough on a hot baking sheet.
Q: How can I keep my sugar cookies soft?
A: Store them in an airtight container with a slice of bread or tortilla. It helps lock in the moisture without altering the taste.

Final Thoughts: A Sweet Ending to Your Sugar Cookie Adventure
So here we are, at the end of our sugar-dusted journey. If you’ve followed along, you’ve just baked a batch of cookies that are soft, chewy, buttery, and flat-out irresistible. Whether you kept things classic or added your own flair with icing and sprinkles, one thing’s for sure: you just made someone’s day (maybe even your own).
This sugar cookie recipe isn’t just about dessert—it’s about joy, comfort, and little edible celebrations. Whether you’re baking with kids, prepping for a party, or treating yourself on a random Tuesday, these cookies always deliver.
Now go ahead—pour a glass of milk, snap a pic for your group chat, and take that well-earned first bite. You’ve earned it.