The Best Fluffy Pancakes recipe you will fall in love with. Full of tips and tricks to help you make the best pancakes.
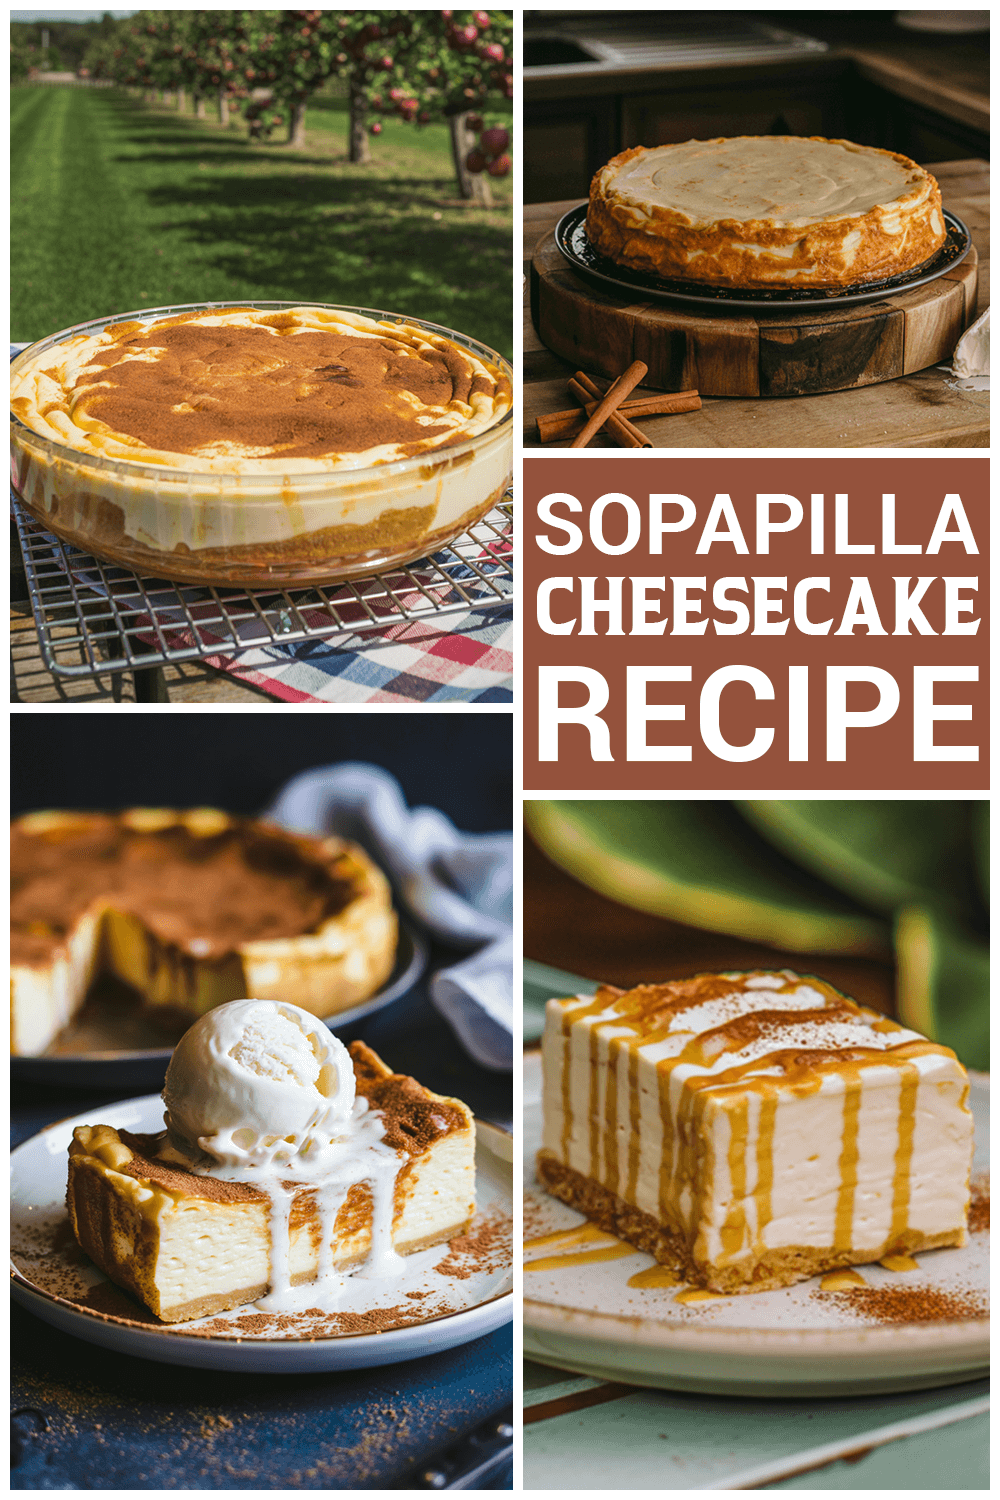
Sopapilla Cheesecake: The Sweetest Shortcut to Bliss
You know those desserts that sneak up on you? Like, you’re just expecting something simple, then BAM—your taste buds throw a party and invite all their friends. That’s what happened the first time I met sopapilla cheesecake. I wasn’t ready. My mouth was not prepared. But now? I’m a full-on evangelist.
Imagine if a cinnamon sugar churro and a creamy cheesecake had a baby, then swaddled it in buttery crescent roll dough. That’s this dessert. It’s creamy, crunchy, sugary, and sinfully easy to throw together with stuff you probably already have in your fridge. Plus, it’s one of those “pretend you spent hours but really took 15 minutes” kind of miracles.
Let me walk you through exactly how to make it, step-by-step, without the usual fluff. Just good vibes and even better dessert.
Recipe Snapshot
| Category | Details |
| Yield | 12 squares |
| Serving Size | 1 square |
| Prep Time | 15 minutes |
| Bake Time | 30 minutes |
| Total Time | 45 minutes |
| Calories per Serving | 320 calories |
| Primary Cooking Method | Baking |
| Occasion | Potlucks, Holidays, Weeknight Treat |
| Diet Type | Vegetarian |
Calories are approximate and may vary depending on exact ingredients used.
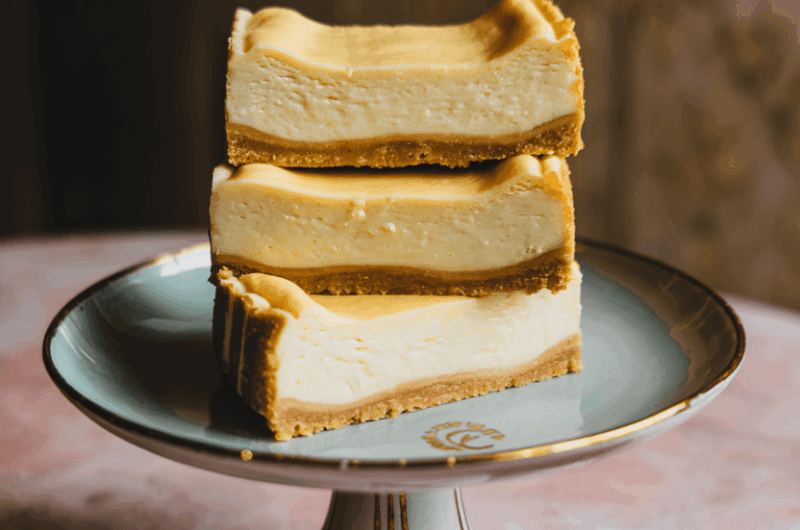
Sopapilla Cheesecake
Course: DessertCuisine: Mexican-AmericanDifficulty: EasyServings
1
squarePrep time
15
minutesBake Time
30
minutesCalories
320
kcalSopapilla cheesecake is the ultimate cheat code for looking like a dessert genius with almost zero effort. This quick-and-dirty bake mixes rich, tangy cream cheese with sweet cinnamon sugar and buttery crescent dough.
It’s got that melt-in-your-mouth filling and a perfectly golden top that crunches just a little with every bite. It’s comforting, crowd-pleasing, and dangerously addictive.
Ingredients
- For the Cheesecake Base
2 cans (8 oz each) refrigerated crescent roll dough
2 packages (8 oz each) cream cheese, softened
1 cup granulated sugar
1 teaspoon vanilla extract
- For the Topping
1/4 cup unsalted butter, melted
1/4 cup granulated sugar
1 teaspoon ground cinnamon
- Optional Garnishes
Honey, for drizzling
Whipped cream or vanilla ice cream, for serving
Directions
- Prepping the Oven and Pan
- Preheat the oven to 350°F (175°C). This dessert comes together quickly, so get that oven going right away.
- Prepare your baking dish. Use a 9×13-inch glass or ceramic baking dish and lightly grease it with butter or non-stick spray. This helps everything lift cleanly after baking.
- First Dough Layer
- Lay down the base. Unroll one can of crescent roll dough and gently press it into the bottom of your baking dish. Try to pinch the seams together so it forms one solid sheet. If it tears a bit, no worries—just patch it like a pro.
- Making the Cheesecake Filling
- Beat the cream cheese. In a medium mixing bowl, combine the softened cream cheese, 1 cup of sugar, and the vanilla extract. Use a hand mixer on medium speed until the mixture is silky smooth and lump-free. This will give you that signature creamy center.
- Spread the filling. Use a spatula to evenly spread the cream cheese mixture over the bottom crescent layer. Go all the way to the edges—don’t skimp!
- Top Dough Layer
- Seal it with dough. Unroll the second can of crescent dough and carefully place it on top of the cream cheese layer. Stretch gently and seal the seams like before. Try to match the edges for that neat, bakery-style finish.
- The Sweet Cinnamon Topping
- Mix the topping. In a small bowl, stir together the cinnamon and remaining 1/4 cup sugar.
- Add butter and sugar. Brush the entire top layer with melted butter, making sure every corner is glistening. Then sprinkle the cinnamon sugar mix generously across the top until it’s covered in sweet, spicy goodness.
- Baking and Cooling
- Bake to golden perfection. Slide your dish into the oven and bake for 30 minutes. The top should be golden brown and the sides might bubble just a bit—that’s the magic happening.
- Cool and set. Let the cheesecake cool at room temperature for about 30 minutes. If you want cleaner slices, refrigerate it for at least an hour. But if you’re craving a warm, gooey square? Dig in right away.
Extra Tips
- Room temp ingredients are key. Don’t skip softening the cream cheese—it blends smoother and helps avoid lumps.
- Use a glass or ceramic baking dish. Metal pans can brown the crust too quickly.
- Don’t overbake. You’re aiming for golden brown, not deep tan. The center sets more as it cools.
- For perfect slices: Chill before slicing and use a hot knife wiped clean between cuts.
- Drizzle just before serving. If using honey or syrup, add it last to avoid soggy tops.
- Double it for a crowd. This recipe scales beautifully—just use a larger pan and increase the bake time slightly.
- Make it your own. Add a sprinkle of chopped nuts on top or a hint of lemon zest in the filling for an upgrade.
Equipment List
- 9×13-inch baking dish
- Mixing bowls (medium and small)
- Hand mixer or stand mixer
- Silicone spatula or offset spatula
- Pastry brush
- Measuring cups and spoons
- Knife or bench scraper (for slicing)
Substitution Options
Need to switch it up a bit? Whether you’re out of a key ingredient or trying to make this dreamy dessert more diet-friendly, there are plenty of easy tweaks that still deliver big on flavor. For the cream cheese, you can go with Neufchâtel if you want a slightly lighter option, or choose a dairy-free version like Kite Hill or Tofutti if you’re avoiding lactose altogether. Crescent roll dough not in the fridge? Puff pastry is a solid backup, just give it a few pokes with a fork so it doesn’t balloon up too much. Vegan? Use coconut oil or any plant-based butter instead of regular, and you’re good to go. You can also replace regular sugar with coconut sugar or low-glycemic substitutes like Swerve—just know the texture might shift slightly. And for a flavor twist, try almond extract in place of vanilla, but go easy—half the amount is plenty since it packs a punch. With these swaps, you’re still on track for that flaky, creamy, cinnamon-kissed deliciousness.
Make-Ahead Tips
This dessert is basically built for make-ahead magic. You can prep the entire cheesecake up to a day in advance and store it, unbaked, covered tightly in the fridge. When you’re ready to wow everyone, just pop it in the oven and bake fresh. Alternatively, you can fully bake it the night before and let it chill in the fridge overnight—the flavors actually deepen and the texture sets beautifully. Just make sure it’s cooled completely before refrigerating, and cover it tightly with foil or plastic wrap to lock in that moisture and keep it from drying out. Whether served warm or cold, it delivers the same drool-worthy results.
Storage Instructions
The baked cheesecake should be cooled to room temperature before covering it tightly with foil or plastic wrap. It will last up to four days in the fridge.
The baked and cooled cheesecake also freezes well! I don’t recommend freezing the cheesecake for more than three months as it can develop freezer burn and become dry.
When you’re ready to eat the frozen cheesecake, thaw it overnight in the fridge and serve chilled.
FAQ Section
Can I make this without crescent dough?
Yes! If you’re in a pinch, puff pastry or even pie crust can work as a substitute. Just watch the baking time and expect slight texture changes.
Do I need to refrigerate leftovers?
Absolutely. Because of the cream cheese, this dessert needs to be stored in the fridge to stay fresh and safe to eat.
Can I use reduced-fat or light cream cheese?
You can! The filling may be a touch less rich, but it will still be creamy and delicious.
How do I reheat leftovers?
A quick zap in the microwave (about 10-15 seconds) will warm it right up without compromising the texture.
Can I cut this recipe in half?
Totally doable. Use an 8×8-inch baking dish and reduce the baking time slightly—start checking around the 22-minute mark.
Can I serve it warm or chilled?
Both! Serving it warm gives you that gooey, melty center, while chilling firms it up for cleaner cuts and a denser cheesecake bite. Totally a personal preference.
What’s the best way to drizzle honey?
ait until just before serving to drizzle. Warming the honey slightly helps it flow smoothly and gives it that shiny finish.
Can I add fruit or flavor twists?
Definitely. Some people like folding in a bit of lemon zest into the filling or serving slices with fresh berries. Just keep extra moisture in mind if you’re adding ingredients directly to the layers.
Serving Suggestions
Sopapilla cheesecake is a flexible showstopper, so don’t hold back when it’s time to serve. For a warm, dessert-on-the-couch vibe, serve it straight from the oven with a scoop of vanilla ice cream that melts into the cinnamon sugar topping. Want to dress it up? Drizzle warm honey over each slice and add a swirl of whipped cream.
You can even cut it into smaller squares and serve on a dessert platter with toothpicks for an easy finger-food option at parties. Hosting brunch? Sopapilla cheesecake pairs surprisingly well with coffee or spiced chai. And if you’re going the chilled route, fresh berries or a dollop of lemon curd can give it a bright twist. There’s no wrong move here—only delicious ones.
Nutritional Information
Here’s a quick look at the nutritional breakdown per serving (1 square):
- Calories: ~320
- Total Fat: 21g
- Saturated Fat: 12g
- Cholesterol: 55mg
- Sodium: 270mg
- Total Carbohydrates: 30g
- Sugar: 18g
- Protein: 4g
These values are estimates and can vary based on the brands and ingredients you use.
Final Thoughts
Sopapilla cheesecake isn’t just a recipe—it’s a mood. A cinnamon-sugar-dusted, creamy-dreamy, happiness-on-a-plate kind of mood. Whether you’re baking for a family dinner, a holiday gathering, or just a Wednesday that needs rescuing, this dessert delivers every time. It’s easy, it’s crowd-pleasing, and it never disappoints. Plus, it gives off serious “you tried hard” vibes with minimal effort. So go ahead, make it once—and just try not to become obsessed.