The Best Fluffy Pancakes recipe you will fall in love with. Full of tips and tricks to help you make the best pancakes.
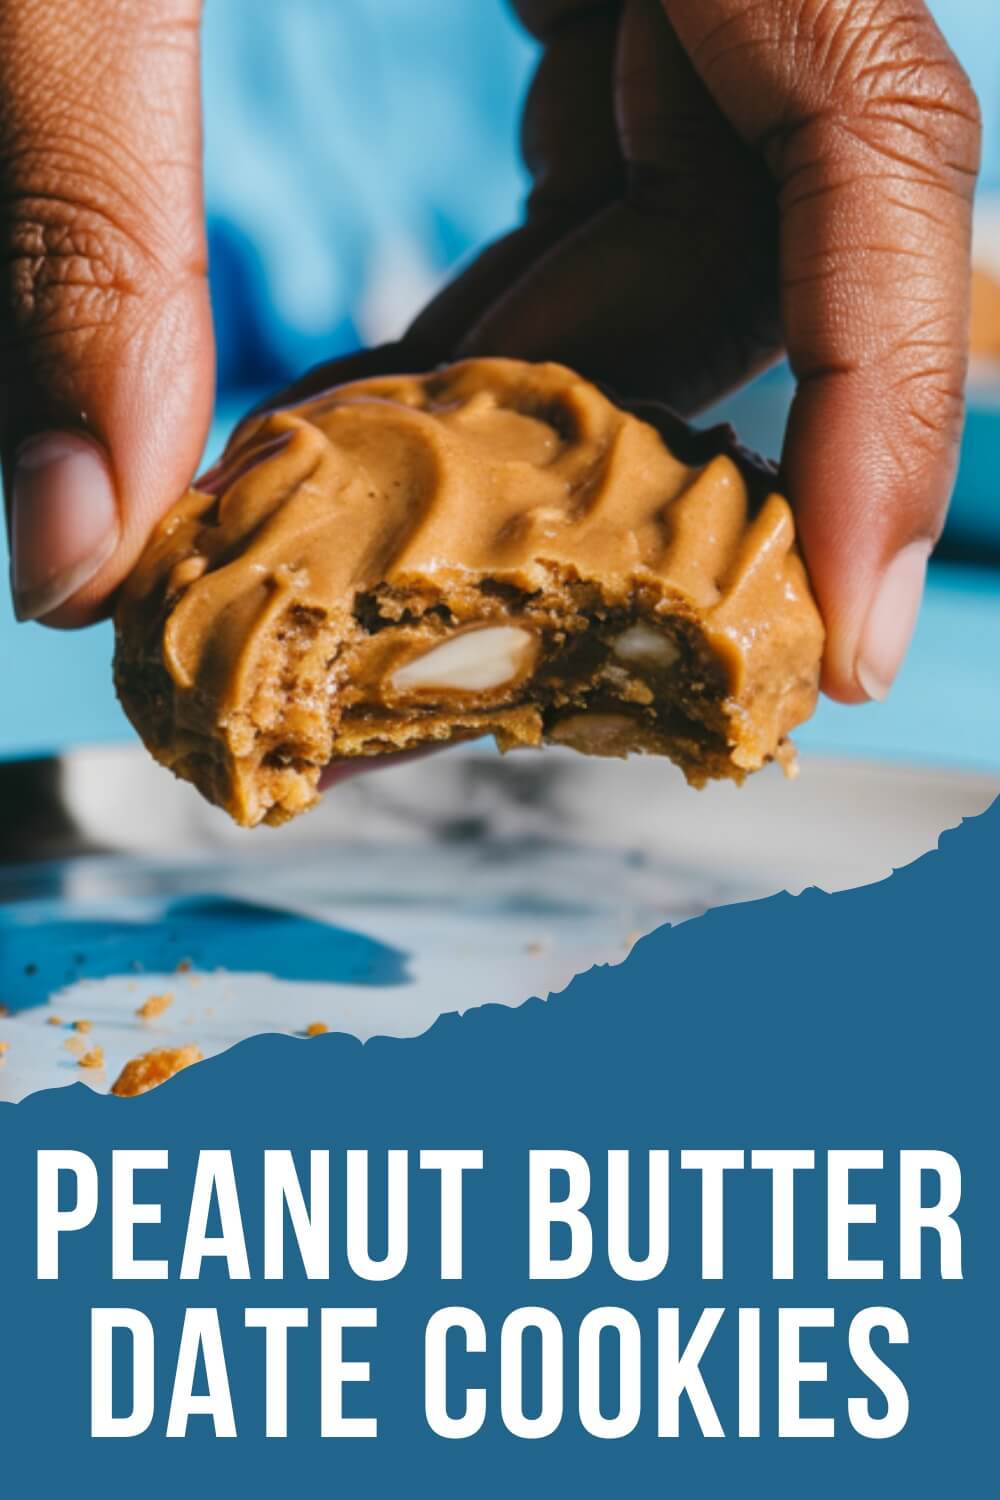
Peanut Butter Date Cookies That Hit the Sweet Spot
You ever have that moment where you’re standing in front of your pantry, both hungry and indecisive, but also weirdly inspired? That was me last weekend. I was on a snack mission—one of those late afternoon cravings that demands something sweet, but not a guilt-trip level sugar bomb.
I rummaged through shelves like a raccoon on a mission, and just when I thought all hope was lost, I locked eyes with two forgotten MVPs: a half-full jar of peanut butter and a squishy bag of Medjool dates. Fate? Absolutely.
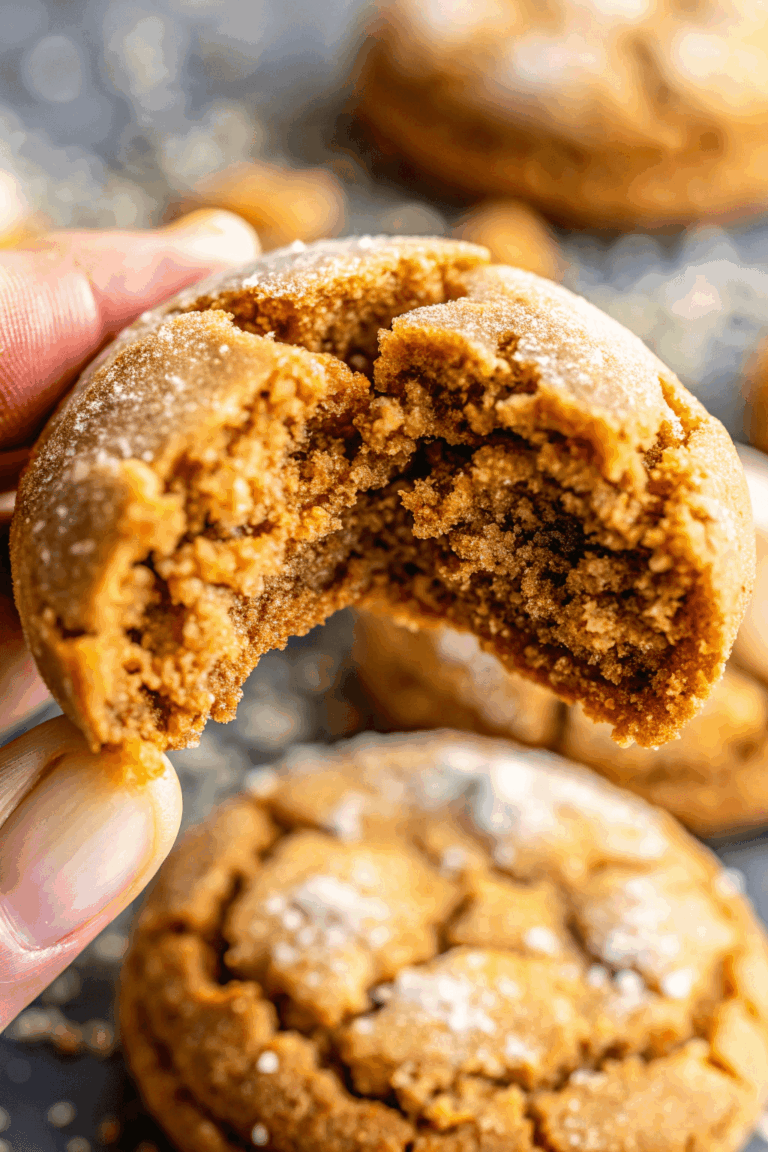
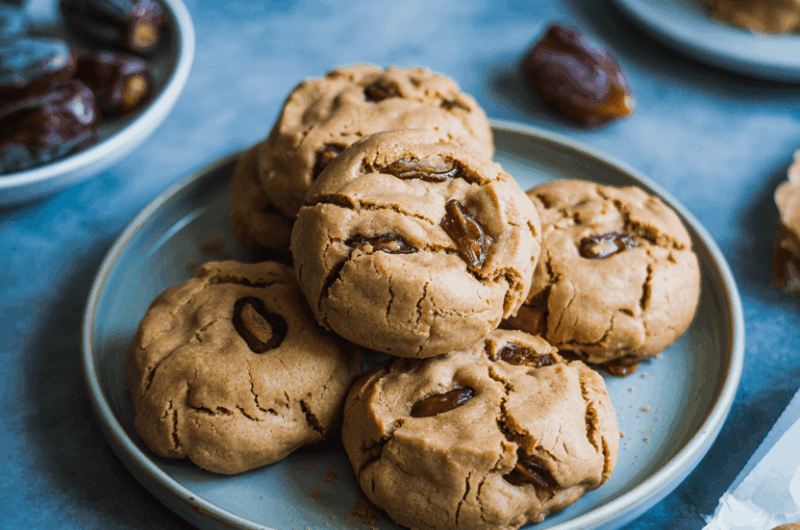
That moment birthed these peanut butter date cookies—my new obsession and quite possibly yours too. They’re soft, chewy, naturally sweetened, and somehow manage to hit the indulgence button without any of the post-cookie regret. No refined sugar. No flour. No eggs. Just whole ingredients, coming together in one glorious food processor whirl. These are the kinds of cookies that feel like a treat and a win at the same time. Oh, and did I mention how ridiculously easy they are?
Alright, enough storytelling. Let’s dive into the good stuff.
Recipe Snapshot
| Category | Details |
| Yield | 12 cookies |
| Serving Size | 1 cookie |
| Prep Time | 10 minutes |
| Bake Time | 10–12 minutes |
| Total Time | 20–25 minutes |
| Calories per Serving | 140 calories (approx.) |
| Primary Cooking Method | Baking |
| Diet Type | Vegan, Gluten-Free |
Calories are approximate and may vary depending on exact ingredients used.
Peanut Butter Date Cookies
Course: DessertCuisine: AmericanDifficulty: EasyServings
1
cookiePrep time
10
minutesBake Time
10
minutesCalories
140
kcalThis isn’t your grandma’s cookie recipe—unless she was a vegan trailblazer with a food processor and a secret stash of Medjool dates. What makes these cookies so special? It’s the trio of whole, real-food ingredients doing all the heavy lifting. You’ve got dates for natural sweetness and that rich, caramel vibe.
Then there’s creamy, unsweetened peanut butter adding smoothness and depth, basically doing a full-body hug to your taste buds. And finally, almond flour steps in to give structure while keeping things totally gluten-free.
There’s no added sugar, no eggs, and no flour—just plant-based magic that bakes into a chewy, crave-worthy cookie. Clean eating without the cardboard aftertaste? Yes, please.
Ingredients
- Main Cookie Dough
1 cup Medjool dates, pitted (about 10 large dates)
1 cup natural peanut butter (creamy, unsweetened)
1/4 cup almond flour
1/2 tsp baking soda
1 tsp vanilla extract
Pinch of sea salt
1–2 tbsp plant milk (only if needed for blending)
- Optional Add-ins
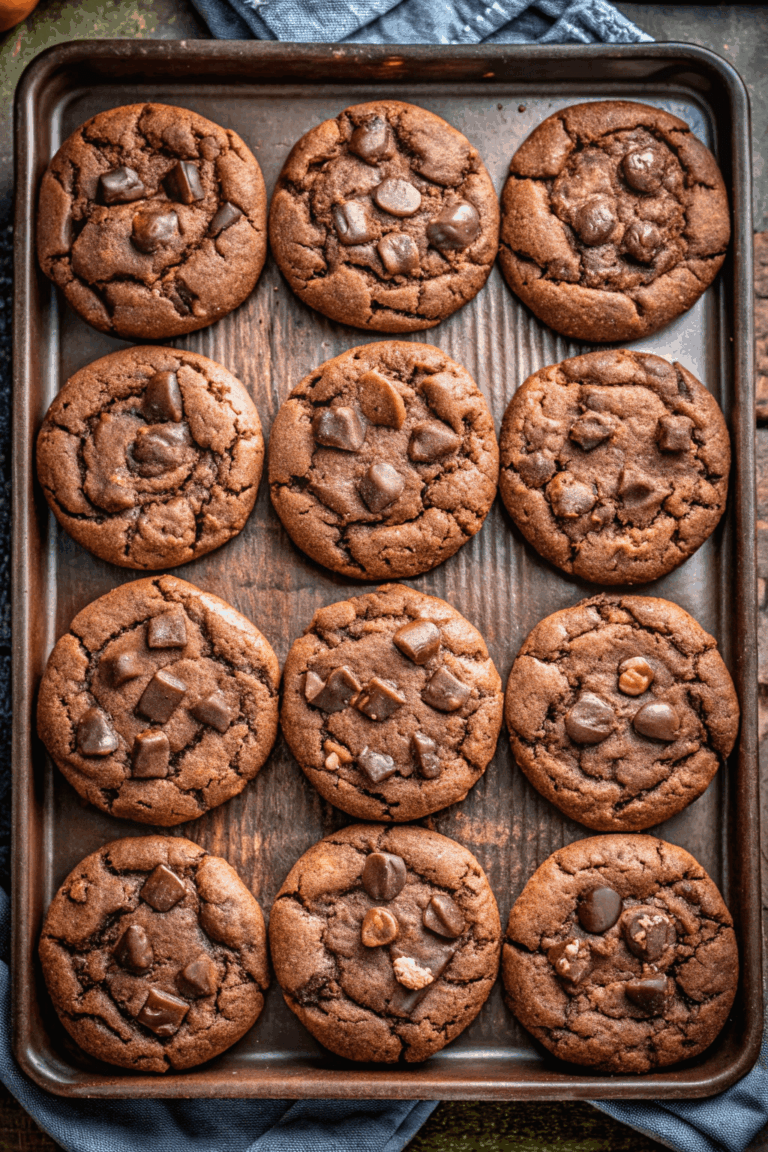
1/4 cup dark chocolate chips or chunks
Crushed peanuts for topping
Directions
- Preheat the Oven
Set your oven to 350°F (175°C). While it’s warming up, line a baking sheet with parchment paper. This keeps the cookies from sticking and saves you the headache of scrubbing later. - Soak the Dates (If Needed)
Check your dates—are they soft and gooey? Great. If not, soak them in a bowl of warm water for 5–10 minutes. This rehydrates them and makes them blend smoothly. Drain thoroughly and pat dry. - Blend Dates into a Paste
In a food processor, add your pitted dates. Pulse several times until the dates break down into a sticky, cohesive paste. Scrape down the sides as needed. This paste is your natural sweetener—it’s what gives the cookies their rich, caramel undertone. - Add the Remaining Ingredients
To the food processor with the date paste, add the peanut butter, almond flour, baking soda, vanilla extract, and a pinch of sea salt. Blend until everything is well combined into a thick, slightly sticky dough.
Too Thick? If the dough is hard to blend or too dry, add 1 tablespoon of plant milk at a time. Blend again. You want it thick but pliable—not runny. - Add Optional Mix-ins
If you’re using chocolate chips or chopped nuts, fold them in now. A few pulses in the food processor should do it, or you can stir them in manually if you’re particular about chip placement. (No judgment.) - Shape the Dough
Use a tablespoon or small cookie scoop to portion out the dough. Roll each portion into a ball using your hands. Slightly flatten them and place them onto your lined baking sheet.
Fork Tip: Want that classic peanut butter cookie criss-cross? Press a fork gently on top of each dough ball in a criss-cross pattern. - Bake to Perfection
Pop the tray in the oven and bake for 10–12 minutes. The edges should look slightly golden, and the tops might crack just a bit. That’s your cue—they’re done.
Pro Tip: They’ll look underbaked when you pull them out. That’s perfect. Trust the process. Overbaking dries them out. - Cool on the Tray
Let the cookies cool on the baking sheet for 5–10 minutes. This allows them to firm up enough to move without falling apart. Transfer them gently to a wire rack to cool completely.
Optional: Sprinkle with a tiny pinch of sea salt while warm if you’re into that salty-sweet vibe.
Extra Tips
- Use room temperature peanut butter for easier blending. Cold peanut butter can make the dough stiff and harder to process.
- Parchment paper is your BFF – seriously, don’t skip it. It ensures even baking and prevents sticking without extra oil.
- Measure your dates after pitting. Sometimes the pit makes them look bulkier, and you want the right amount of date paste.
- Pulse, don’t puree when blending the dough. This gives you better texture and avoids overworking the ingredients.
- Go small on the plant milk. It’s tempting to pour more in when blending gets tough, but just a tablespoon at a time will do. Too much, and you’ll have a sticky mess.
- Let them rest after baking. They might look soft or underbaked straight from the oven but firm up perfectly once cooled.
- Add mix-ins at the end. Don’t try to blend chocolate chips or nuts with the dough in the processor—they’ll get crushed or lost in the mix.
- For crispier edges, bake an extra 1–2 minutes. But don’t go overboard—these are meant to be soft and chewy!
Equipment List
- Food processor
- Baking sheet
- Parchment paper
- Mixing spatula
- Measuring cups and spoons
- Fork (optional for decoration)
- Small cookie scoop or tablespoon
- Cooling rack
Substitution Options
Need to switch things up? Totally doable. These cookies are flexible—just like your willpower on cheat day.
Peanut Butter
If you’re not a peanut fan or need a nut-free version, try:
- Almond butter – Similar texture and flavor, just a touch more mellow.
- Sunflower seed butter – Nut-free and kid-friendly. Great for school-safe snacks.
Almond Flour
Out of almond flour? No problem:
- Oat flour – Use 1:1 as a swap. It’s slightly more absorbent, so monitor dough consistency.
- Coconut flour – Use sparingly (start with 1–2 tbsp), as it absorbs way more moisture.
Medjool Dates
Can’t find Medjool dates?
- Deglet Noor dates – Slightly less sweet and smaller, so use about 1.5x more and soak them longer.
- Date paste – Store-bought or homemade can be used, about 1/2 cup for this recipe.
Plant Milk
Any unsweetened plant-based milk will do:
- Almond milk, oat milk, soy milk, or coconut milk—just use what you’ve got on hand. Keep it neutral in flavor.
Add-Ins
Want to jazz things up?
- Swap chocolate chips for dried cranberries, raisins, or cacao nibs.
- Add a pinch of cinnamon or pumpkin pie spice for seasonal flair.
- Press a small piece of dark chocolate into the center before baking for a molten center effect.
These swaps let you tailor the cookies to your pantry or dietary needs without sacrificing flavor or texture.
Make-Ahead Tips
Want to get ahead of your cravings? These cookies are perfect for prepping in advance. You can make the dough a day or two early and keep it chilled in the fridge. Just wrap it tightly or pop it into an airtight container to keep it from drying out.
Ready to bake? Let the chilled dough sit at room temperature for about 10–15 minutes to soften slightly—makes scooping way easier. You can also pre-roll the dough into balls and freeze them. That way, whenever the cookie craving hits, you just pop a few onto a baking sheet and throw them in the oven—no mixing, no mess.
Frozen dough balls will keep for up to 3 months. Just add an extra minute or two to the bake time and you’re golden.
Storage Instructions
Freshly baked peanut butter date cookies can be stored in an airtight container at room temperature for up to 4 days. If your kitchen runs warm or humid, refrigerate them to keep that soft, chewy texture intact. Just let them sit out for a few minutes before eating to take the chill off.
Want to store them longer? No problem. These cookies freeze beautifully. Lay them in a single layer on a baking sheet to freeze individually, then transfer to a zip-top freezer bag or airtight container. They’ll keep well in the freezer for up to 3 months. When you’re ready to snack, let them thaw at room temperature or pop them in the microwave for 10–15 seconds for that just-baked feel.
The dough can also be frozen raw—perfect for cookie emergencies. Just shape the dough into balls, freeze on a tray, then store in a freezer-safe bag. Bake from frozen with an extra 1–2 minutes added to the time.
FAQ
Can I make these cookies without a food processor?
Yes, you can! Just make sure your dates are super soft. Mash them thoroughly with a fork or use a high-powered blender. The texture might be a little chunkier, but the flavor’s still spot on.
Are these cookies safe for kids?
Absolutely. They’re made with simple, whole ingredients and no added sugar. Just double-check for any nut allergies before handing them out at school.
Can I use roasted peanut butter instead of natural?
You can, but make sure it doesn’t contain added sugar or hydrogenated oils. Roasted peanut butter will make the cookies richer in flavor, but the dough might be a bit thicker.
Why do my cookies fall apart?
That usually means the dough was too dry or overbaked. Try adding a little more plant milk next time, and don’t skip the cooling step—they firm up as they sit.
Do I need to refrigerate the dough before baking?
Nope! That’s the beauty of this recipe. You can go straight from food processor to oven. But if you want to prep ahead, the dough does chill well too.
Food Safety
Since these cookies are egg-free and dairy-free, the risk of common foodborne illnesses is low—yay for plant-based baking! Still, don’t skip basic kitchen hygiene. Wash your hands before handling ingredients, make sure all tools and surfaces are clean, and store finished cookies in airtight containers to avoid contamination.
If you’re freezing the dough or baked cookies, label them with the date so you’re not playing freezer roulette a month from now. And if you’re soaking dates, drain them well to prevent excess moisture that could affect the dough’s texture or promote spoilage.
Always check your peanut butter and almond flour for freshness. Natural oils can go rancid if stored too long or improperly. When in doubt, give it a sniff!
Serving Suggestions
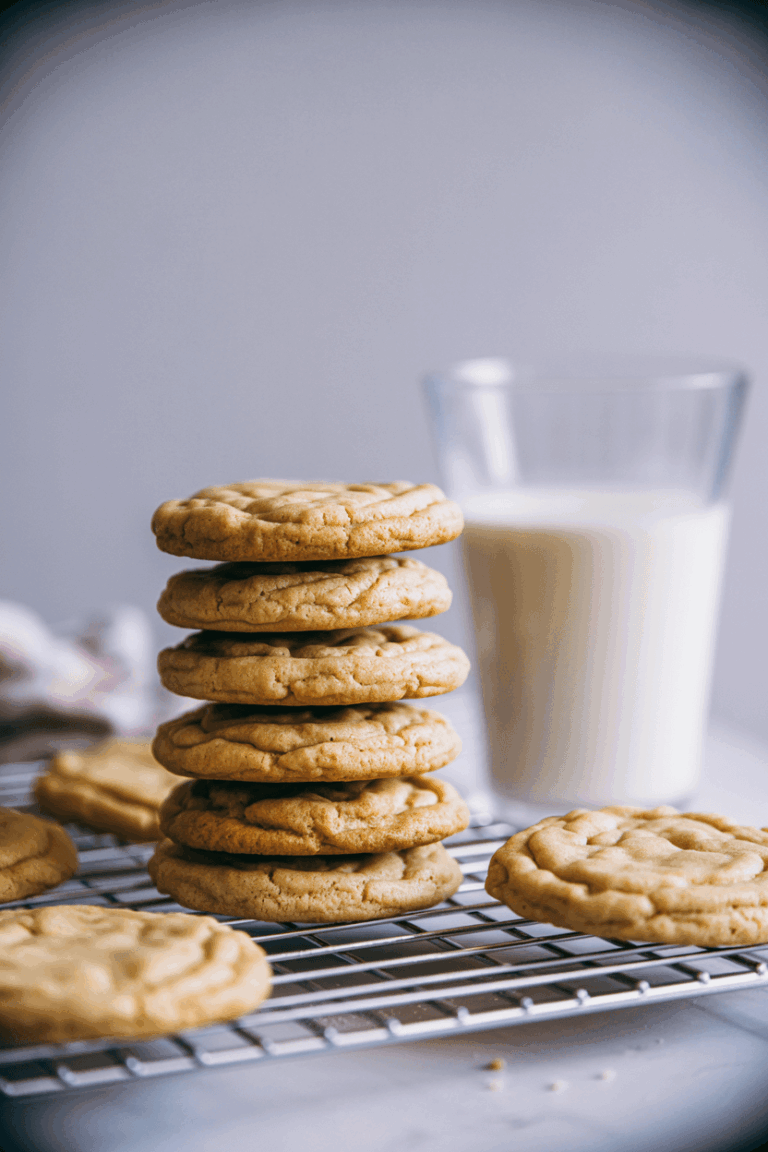
These cookies shine on their own, but if you want to go the extra mile, pair them with a chilled glass of almond milk or a hot cup of chai for that cozy, curl-up-on-the-couch vibe. Hosting friends? Stack them on a rustic wooden board with fresh fruit, a few dark chocolate squares, and maybe a scoop of dairy-free ice cream if you’re feeling indulgent.
You can also crumble them over smoothie bowls or yogurt for a sweet and nutty crunch. And let’s be real—midnight snacks don’t get better than sneaking one (or three) straight from the freezer. They’re soft, chewy, and somehow even better when slightly chilled.
Nutritional Information
Each cookie comes in at around 140 calories, making them a guilt-free indulgence that still satisfies that dessert craving. Thanks to the dates and peanut butter, you’re getting a solid dose of natural sugars, healthy fats, and plant-based protein in every bite.
Here’s a rough estimate per serving:
- Calories: 140
- Protein: 4g
- Fat: 8g
- Carbohydrates: 15g
- Fiber: 2g
- Sugar: 10g (naturally from dates)
No refined sugars, no weird additives—just real ingredients doing their thing. As always, exact values may vary depending on the specific brands you use, but rest assured, these cookies are as wholesome as they are delicious.
Final Thoughts
If you’ve made it this far, you’re probably just as obsessed with these peanut butter date cookies as I am. They check every box—easy, sweet, soft, freezer-friendly, and naturally wholesome without a hint of guilt.
Whether you’re making a late-night batch just for you or sharing with friends who appreciate a healthier treat, this recipe brings the cozy, chewy cookie experience with none of the junk.
The best part? You don’t need to be a baking wizard to pull these off. Just a food processor, some pantry basics, and the will to turn dates and peanut butter into something downright addictive. So go ahead—bake a batch, stash a few, and watch them disappear faster than you can say “plant-based dessert win.”