The Best Fluffy Pancakes recipe you will fall in love with. Full of tips and tricks to help you make the best pancakes.
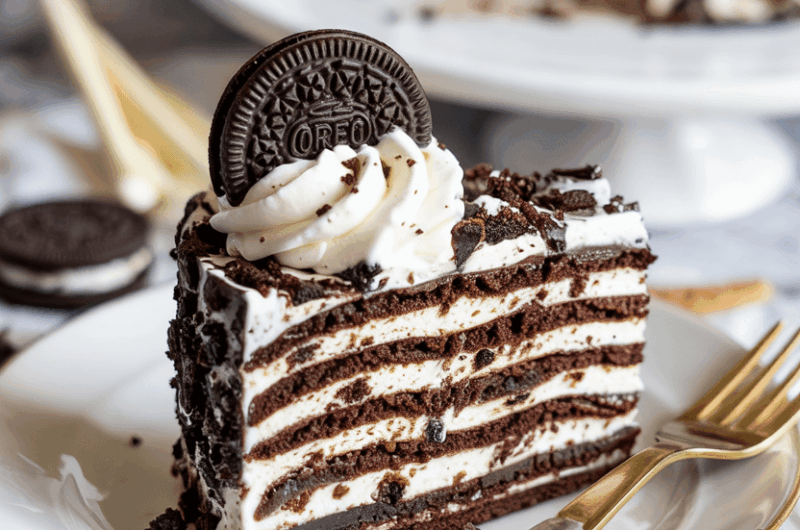
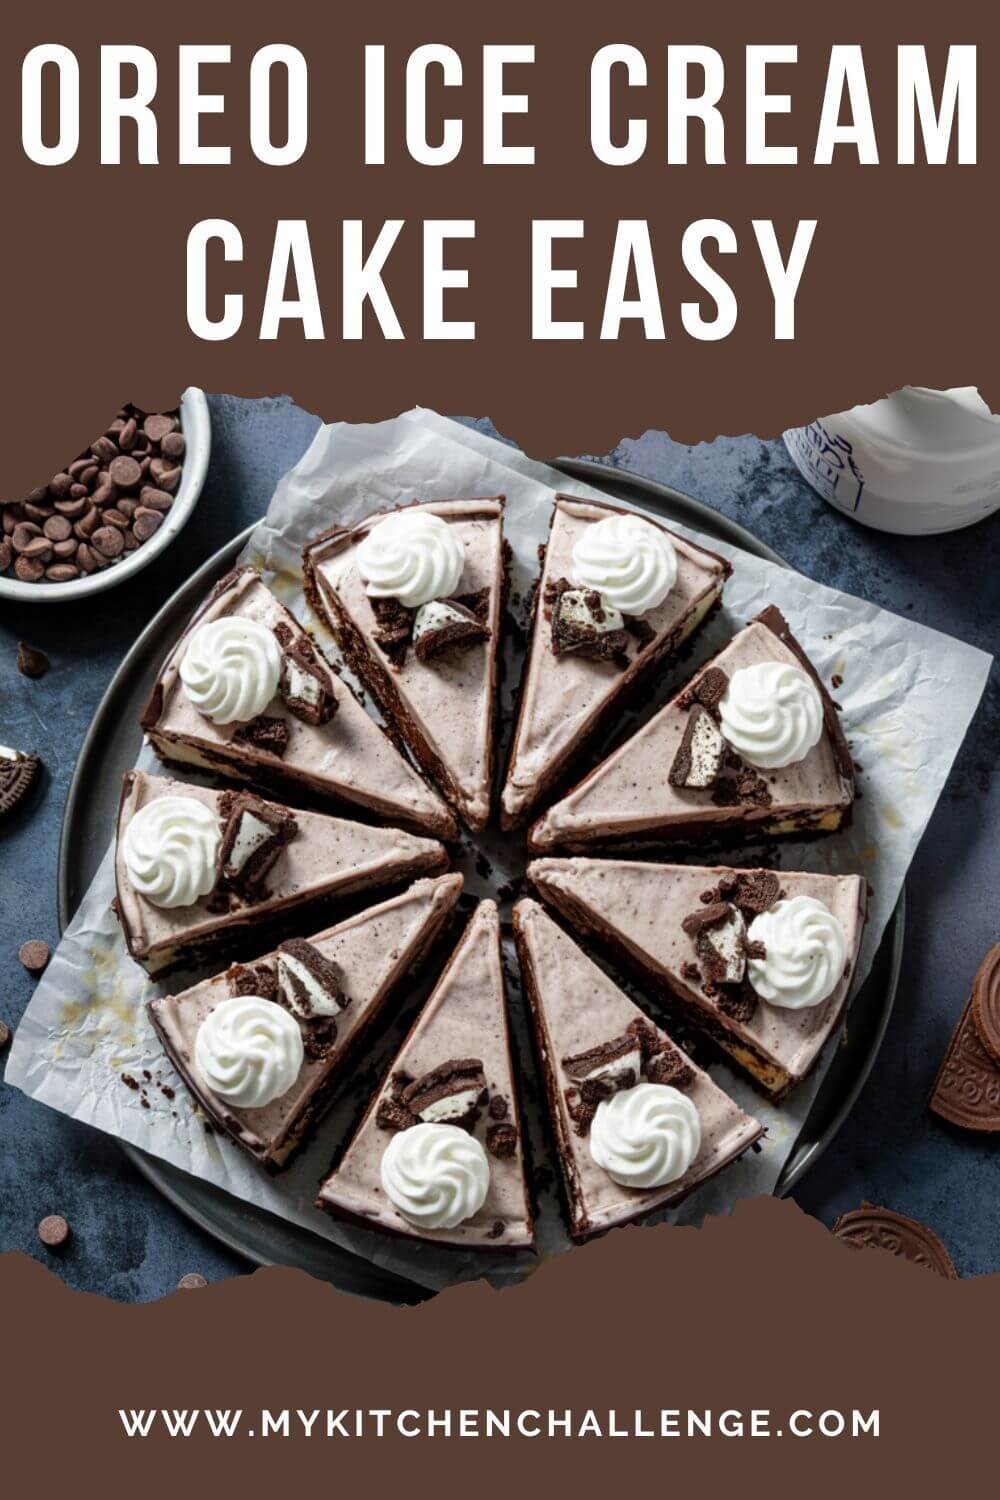
Oreo Ice Cream Cake That’ll Make You Swoon
If you’ve never face-planted into a dessert and thought, “Yep, this is what dreams taste like,” then you clearly haven’t tried an Oreo Ice Cream Cake.
It’s cold, creamy, crunchy, chocolatey—basically the dessert equivalent of a cozy weighted blanket for your taste buds. I whipped this up for a summer birthday once, and people still text me about it years later. It’s that good.
In this post, I’ll walk you through the whole shebang—from how to layer it without a meltdown (literally) to what pans work best, to how you can tweak it for your lactose-intolerant cousin. Let’s just say…you’re going to want to bookmark this.
Recipe Snapshot
| Category | Details |
| Yield | 12 servings |
| Serving Size | 1 slice |
| Prep Time | 25 minutes |
| Make Time | 4 hours 30 minutes (including freezing) |
| Total Time | About 5 hours |
| Calories per Serving | ~450 calories |
| Primary Cooking Method | Freezing |
| Occasion | Birthdays, Summer Parties |
| Diet Type | Vegetarian |
Calories are approximate and may vary depending on exact ingredients used.
Oreo Ice Cream Cake
Course: DessertCuisine: AmericanDifficulty: EasyServings
1
slicePrep time
25
minutesMake Time
4
hours30
minutesCalories
450
kcalLet’s be real—Oreo Ice Cream Cake is just pure joy in layered form. Crushed Oreo crust, creamy ice cream, hot fudge sauce, and whipped topping all stacked like a delicious tower of happiness. It’s the kind of thing you “accidentally” cut a bigger slice of. Every. Single. Time.
Ingredients
- For the Crust
1 (14.3-ounce) package Oreo cookies (about 36), crushed
1/2 cup (1 stick) unsalted butter, melted
- For the Filling
1.5 quarts vanilla ice cream, softened
1 cup hot fudge sauce, warmed slightly
8 ounces frozen whipped topping (like Cool Whip), thawed
Extra crushed Oreos or mini Oreos for topping (optional)
Directions
- Crush the Cookies and Make the Crust
Toss those Oreos into a food processor (or smash ’em in a bag if you’re feeling old-school) and crush them into fine crumbs. Mix with melted butter until it’s sandy and deliciously moistened. Press this into a 9×13-inch baking dish and pop it into the freezer for 15 minutes to firm up. - Layer on the Ice Cream
Scoop the softened vanilla ice cream over the crust and use a spatula to smooth it into an even layer. Try not to eat too much while you do this. Freeze again for about an hour. - Pour That Fudge
Once the ice cream layer is solid, drizzle (or pour generously—no judgment) warm hot fudge sauce over it. Spread it gently so it doesn’t dig up the ice cream. Freeze again for 30 minutes. - Add the Whipped Topping
Spread the whipped topping across the top like a fluffy cloud blanket. Freeze for at least 2 more hours, or until firm and sliceable. - Garnish and Serve
Top with extra crushed Oreos or mini cookies if you’re feeling fancy. Let it sit at room temp for 5–10 minutes before slicing so it’s easier to cut through.
Extra Tips
- Use parchment under your crust for easy removal if you’re going for clean presentation.
- Don’t over-soften the ice cream—let it sit out just enough to spread smoothly.
- A heated knife (run under hot water) makes slicing through frozen layers super clean.
Equipment List
- 9×13-inch baking dish
- Food processor or rolling pin & zip-top bag (for crushing Oreos)
- Mixing bowl
- Spatula
- Measuring cups
- Freezer (yes, obviously)
Substitution Options
Got dietary needs or just missing an ingredient? No biggie—here’s how to keep the magic alive:
Dairy-Free Version: Use a plant-based vanilla ice cream (like almond or coconut milk-based) and swap out the butter for vegan margarine or coconut oil. Go for a dairy-free whipped topping too—plenty are out there now.
Gluten-Free Twist: Nab some gluten-free chocolate sandwich cookies (yep, they exist!) to replace regular Oreos. The taste is surprisingly close, and your gut will thank you.
Low-Sugar Swap: Use sugar-free or light vanilla ice cream and opt for a reduced-sugar fudge sauce. There are even sugar-free whipped toppings at most grocery stores now.
Nut-Free Friendly: This recipe is already nut-free, but double-check your ice cream and toppings if you’re serving someone with allergies—some brands process with nuts.
Homemade Whip Hack: No Cool Whip? No worries. Just whip 1 cup of heavy cream with a tablespoon of powdered sugar until soft peaks form. Voilà—homemade goodness.
Make-Ahead Tips
Planning ahead? You’re a genius. This cake is actually better when made in advance. Assemble it the night before your party or event and let it freeze overnight. You’ll get clean slices and firm layers, and you won’t be stress-scooping ice cream 10 minutes before guests arrive. Win-win.
Just make sure to cover it tightly with plastic wrap or foil to prevent any weird freezer flavors from crashing your party.
Storage Instructions
Got leftovers? (Honestly, wow. I’m impressed.)
Just wrap the remaining slices or the whole dish in plastic wrap or foil and store it in the freezer. It’ll keep well for up to 7 days, but let’s be honest—it won’t last that long. Let slices sit out for about 5–10 minutes before eating for that perfect creamy texture.
FAQ Section
Can I use different flavored ice cream?
Absolutely. Mint chocolate chip, peanut butter cup, cookies and cream—go wild.
What if I don’t have hot fudge?
Melted chocolate ganache or chocolate syrup will totally work in a pinch.
Can I use homemade whipped cream instead of store-bought?
Yup! Just whip heavy cream with powdered sugar until soft peaks form.
How long does it take to thaw before serving?
Around 5–10 minutes at room temperature usually does the trick.
Nutritional Information
Per Serving (approx.):
- Calories: 450
- Total Fat: 24g
- Saturated Fat: 13g
- Cholesterol: 50mg
- Sodium: 240mg
- Total Carbohydrates: 54g
- Dietary Fiber: 1g
- Sugars: 38g
- Protein: 4g
These values are estimates and will vary depending on the exact brands and products used.
Final Scoop
If you’re the kind of person who believes dessert should make people swoon a little—this Oreo Ice Cream Cake is your new best friend. It’s everything you love about Oreos and ice cream but dressed up for a party. Ridiculously easy, endlessly customizable, and a total crowd magnet.
Whether you’re celebrating a birthday, beating the heat, or just craving something ultra-indulgent, this cake gets the job done. So go ahead, make it once—and don’t be surprised when people start requesting it on repeat.