The Best Fluffy Pancakes recipe you will fall in love with. Full of tips and tricks to help you make the best pancakes.
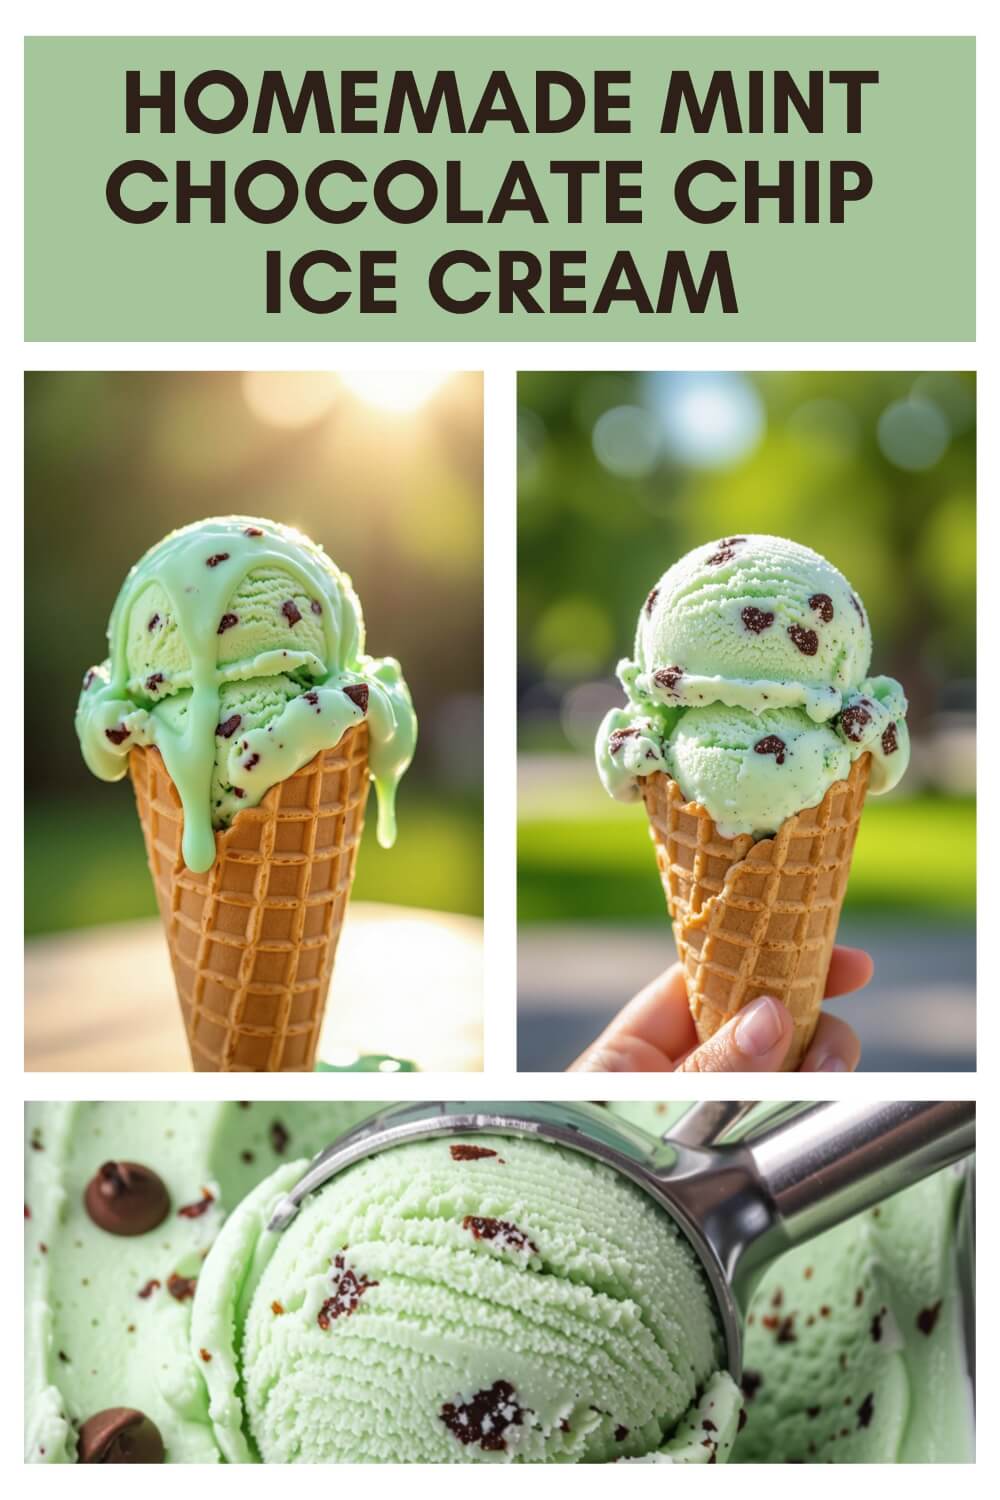
Mint Chocolate Chip Ice Cream: A Cool, Creamy Classic That Always Delivers
There’s something uniquely nostalgic about mint chocolate chip ice cream. It’s the kind of dessert that transports you right back to childhood summers—sticky fingers, green-stained lips, and wide, joyful smiles.
Whether you were digging into a store-bought tub or waiting for the churn to stop spinning in your backyard, the bright mint flavor and bursts of chocolate have always felt like a celebration in a bowl.
And here’s the good news: you don’t need to be a kid or even have an ice cream maker to recreate that magic at home.
With the right balance of creaminess, chill, and chocolate, you can whip up a batch of this minty dream right in your own kitchen. The method is surprisingly simple, and the payoff is pure joy in every scoop.
Recipe Snapshot
| Category | Details |
| Yield | 1.5 quarts |
| Serving Size | 1 cup |
| Prep Time | 20 minutes |
| Chill Time | 4 hours |
| Churn Time | 25 minutes |
| Total Time | 5 hours |
| Calories per Serving | ~290 |
| Primary Cooking Method | Churn |
| Occasion | Summer, Celebrations |
| Diet Type | Vegetarian |
Calories are approximate and may vary depending on exact ingredients used.
Mint Chocolate Chip Ice Cream
Course: DessertCuisine: AmericanDifficulty: MediumServings
1
cupPrep time
20
minutesTotal Time
5
hoursCalories
290
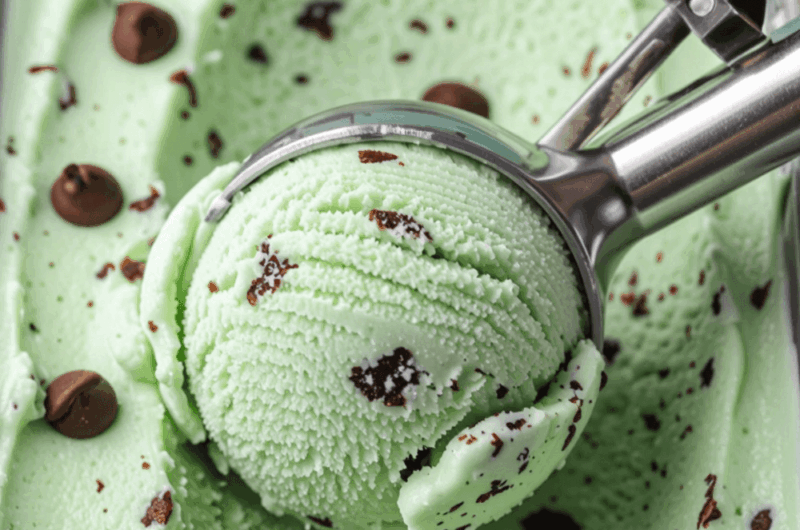
kcalThis mint chocolate chip ice cream recipe is a creamy, dreamy dessert that combines the refreshing coolness of peppermint with flecks of rich chocolate throughout.
It’s a crowd favorite, especially during warm weather, and is beloved by kids and adults alike. Made with fresh dairy, real egg yolks, and a hint of food coloring for that classic green hue, this ice cream recipe nails the flavor and texture you expect from your favorite parlor—but without the preservatives or artificial taste.
What makes this version extra special is how customizable it is. You can steep real mint leaves for an earthy, garden-fresh infusion, or stay classic with pure peppermint extract.
And while some prefer it with soft chunks of chocolate, others enjoy crunchy bits or even fudge ripple—this base works with it all.
Plus, if you love texture in your frozen treats, mini chocolate chips, peppermint bark shards, or crushed sandwich cookies all play beautifully here.
Ingredients
2 cups heavy cream
1 cup whole milk
⅓ cup granulated sugar
½ tsp salt
1½ tsp pure peppermint extract (not mint extract)
Optional: 2–3 drops green food coloring
4 large egg yolks
¾ cup semi-sweet chocolate, finely chopped or shaved
Directions
- Heat the Cream Mixture
Start by adding the heavy cream, milk, salt, and half of the sugar to a medium saucepan. Set the heat to medium and stir occasionally until the mixture is warm and just starting to steam.
Avoid letting it come to a boil—it should be hot but not bubbling. - Whisk Egg Yolks and Sugar
In a separate mixing bowl, whisk together the egg yolks and the remaining sugar. Whisk vigorously until the yolks become pale yellow and thick.
This step not only adds richness but ensures a silky texture in your final product. - Temper the Eggs
To avoid scrambling the eggs, pour a small amount (about ½ cup) of the hot cream mixture into the yolks, whisking continuously. Once combined, gradually pour the yolk mixture back into the saucepan while stirring.
This technique gently raises the temperature of the yolks and integrates them smoothly. - Cook the Custard Until Thickened
Return the saucepan to medium-low heat. Stir constantly with a rubber spatula, making sure to scrape the bottom. The mixture should thicken slightly and coat the back of a spoon. If using a thermometer, aim for about 170–175°F. Do not boil. - Strain and Flavor
Remove the pot from heat and pour the custard through a fine mesh sieve into a clean bowl. This removes any lumps or bits of cooked egg.
Stir in the peppermint extract and food coloring (if using) to achieve that signature minty green. - Chill Thoroughly
Cover the bowl with plastic wrap, pressing it directly against the surface of the custard to prevent skin formation.
Refrigerate for at least 4 hours or preferably overnight. A thoroughly chilled base ensures a smoother ice cream when churning. - Churn It to Perfection
Pour the chilled mixture into your ice cream maker and churn according to the manufacturer’s instructions.
This typically takes around 25 minutes, depending on your machine. The ice cream should resemble soft serve. - Fold in Chocolate
Five minutes before the end of churning, gradually add the finely chopped or shaved chocolate.
You can also fold it in by hand after churning if your machine doesn’t have an opening for mix-ins. - Freeze and Firm Up
Transfer the churned ice cream into an airtight container. Smooth the top with a spatula and press a piece of parchment or wax paper against the surface to prevent ice crystals. Cover and freeze for at least 2 hours, or until firm enough to scoop.
Bonus Tips to Elevate Flavor and Texture
- Peppermint, Not Mint: Mint extract includes spearmint, which has a more herbal taste. Peppermint is what gives that sharp, refreshing bite.
- Yolk Power: Don’t skip the yolks—they give your ice cream that luscious, scoopable texture.
- Shave the Chocolate: Use a vegetable peeler or sharp knife for delicate ribbons of chocolate that melt in your mouth.
- Add Crunch: Stir in mini chocolate chips or chocolate cookie pieces for a crunchier version.
- Extra Flavors: Consider mixing in swirls of fudge or adding a few drops of vanilla for complexity.
Equipment You’ll Need to Get the Job Done
Even if you don’t have a professional setup, these basic tools will help you create a flawless mint chocolate chip ice cream experience:
- Medium saucepan
- Mixing bowls
- Whisk
- Fine-mesh sieve
- Ice cream maker (optional, but recommended)
- Rubber spatula
- Airtight container
- Instant-read thermometer (optional, for better accuracy)
- Vegetable peeler or sharp knife (for shaving chocolate)
Flavor Variations to Try
If you’re feeling adventurous, these twists will take your homemade ice cream to the next level:
- Mint Oreo Ice Cream: Add 1 cup of crushed mint Oreos instead of or in addition to chocolate.
- Fudge Ripple Swirl: Gently fold in thick ribbons of hot fudge after churning.
- Vegan Version: Use full-fat coconut milk, plant-based cream, and egg replacers or skip custard altogether.
- Double Chocolate Mint: Add 2 tablespoons of unsweetened cocoa powder to the custard base for a mint-chocolate duo.
Pro Tips from the Community
- AllRecipes Community Favorite: Some users steep crushed peppermint candies in the base and strain before chilling for extra punch.
- Reddit Users Suggest: Whisk in a spoonful of cornstarch with the yolks for added creaminess without extra fat.
- TikTok Hack: Use a microplane to grate chocolate directly over each scoop for a flurry of texture on top.
Storage Instructions That Keep It Fresh
Store your ice cream in a freezer-safe, airtight container. To avoid freezer burn, press plastic wrap or wax paper directly onto the surface before sealing. Use within 1–2 weeks. Let it sit at room temperature for 5 minutes before scooping for easier serving.
Frequently Asked Questions
Can I make this recipe without an ice cream maker?
Yes! After chilling the custard, pour it into a loaf pan, freeze, and stir every 30 minutes for 2–3 hours until it sets evenly.
Can I use fresh mint leaves instead of extract?
Absolutely. Steep 1 cup of torn mint leaves in the warm milk/cream mixture for 30 minutes. Strain before adding the yolks.
What’s the best chocolate for this recipe?
Semi-sweet chocolate is ideal. Avoid chocolate chips—they don’t melt or distribute as evenly. Use a bar and chop or shave it finely.
How long will this ice cream keep?
For peak flavor and texture, enjoy within 1–2 weeks. It will still be safe to eat beyond that, but it may become icier.
Can I make this egg-free?
Yes, replace the custard base with a mixture of 2 cups heavy cream, 1 cup whole milk, and ½ cup sugar whisked together, then churn.
Ingredient Tips: How to Choose What Matters Most
- Heavy Cream & Whole Milk: Stick to full-fat dairy for richness.
- Sugar: Granulated white sugar dissolves easily and sweetens evenly.
- Egg Yolks: Use fresh eggs for the richest flavor and texture.
- Peppermint Extract: Always choose pure extract, not imitation.
Serving Suggestions That Impress
- Serve in waffle cones with extra chocolate shavings on top.
- Make ice cream sandwiches with chocolate chip cookies.
- Pair with a drizzle of hot fudge for a decadent dessert.
- Top with crushed peppermint candies for a holiday twist.
- Scoop onto warm brownies for a classic hot-and-cold combo.
Nutrition Facts (Per 1 Cup Serving)
| Nutrient | Amount |
| Calories | 290 |
| Total Fat | 21g |
| Saturated Fat | 13g |
| Cholesterol | 160mg |
| Sodium | 90mg |
| Total Carbs | 20g |
| Sugar | 18g |
| Protein | 4g |
Nutrition data is estimated and may vary depending on brands and quantities used.
Final Thoughts: Why You’ll Keep Coming Back to This Recipe
Homemade mint chocolate chip ice cream is more than just a sweet treat—it’s an experience. Each bite delivers the perfect mix of cool peppermint and rich chocolate, wrapped in the kind of creaminess you only get from scratch.
Whether you’re making it for summer birthdays, dinner guests, or just a quiet night at home, this recipe is sure to become a staple in your freezer.
It’s simple to make, endlessly customizable, and most importantly—it tastes incredible.