The Best Fluffy Pancakes recipe you will fall in love with. Full of tips and tricks to help you make the best pancakes.
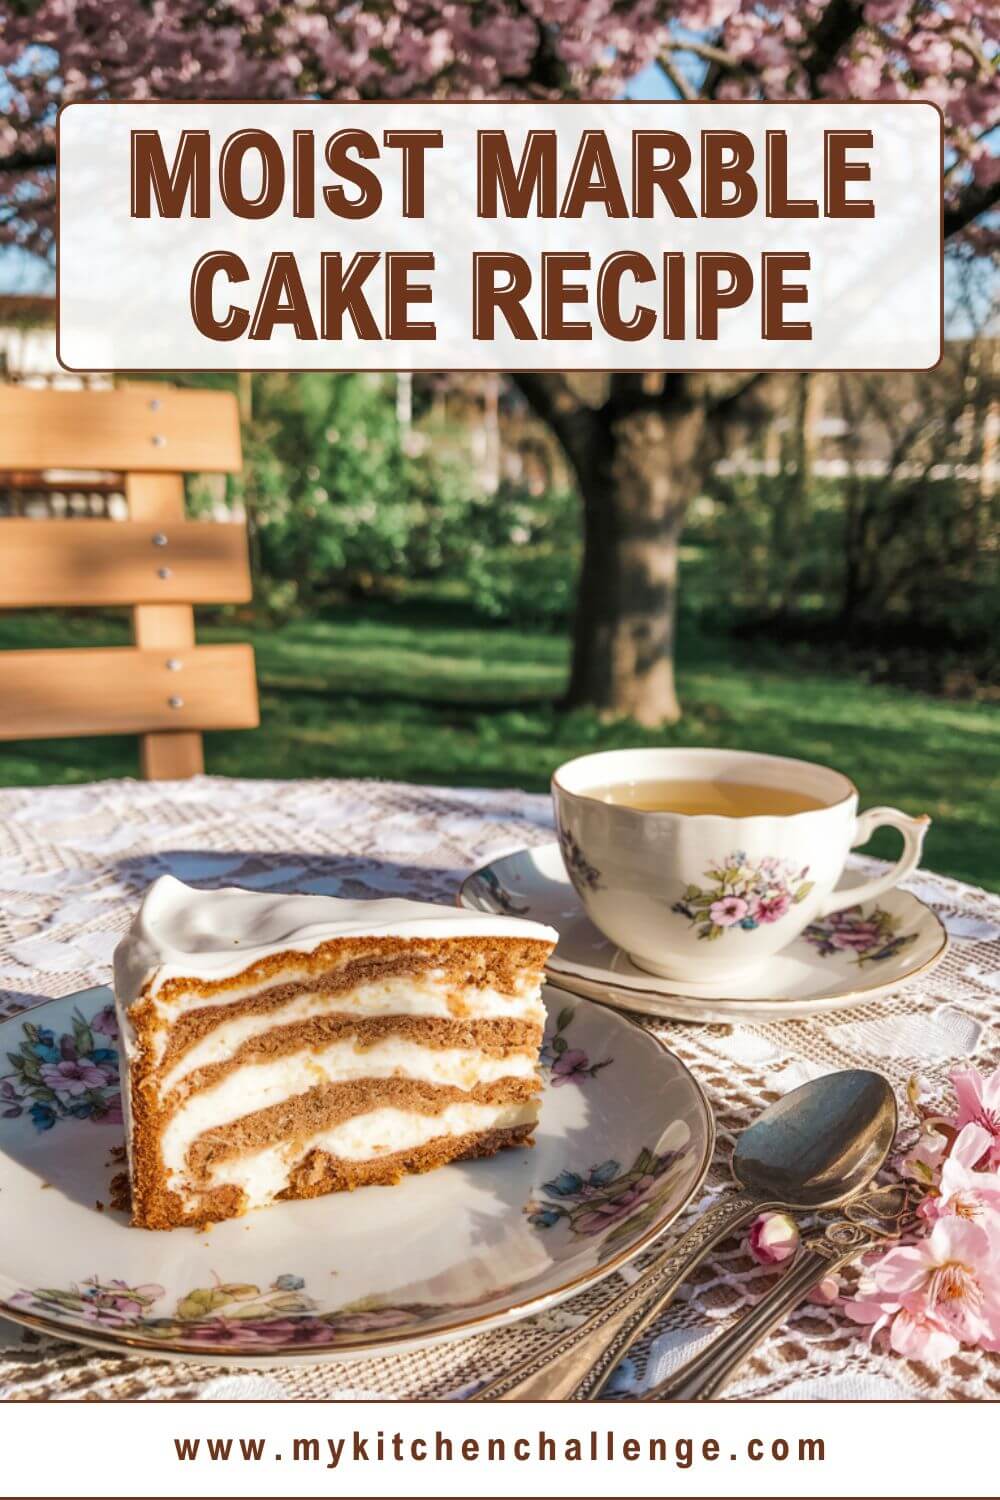
Marble Cake Recipe – Moist and Fluffy
Ever had one of those days where you can’t decide if you want vanilla or chocolate cake, so you end up standing in your kitchen, defeated and snack-less? Yeah, same. That’s exactly how this Marble Cake came to be in my house—born out of indecision and a sweet tooth that doesn’t compromise.
It’s the ultimate cake for those of us who want it all. Fluffy vanilla cake swirled with rich chocolate ribbons? Yes, please.
But don’t let the swirls fool you—it’s surprisingly simple to make. No fancy equipment. No weird ingredients. Just buttery, moist, chocolate-vanilla goodness that looks like you spent hours on it (even if you didn’t). Stick around and I’ll show you exactly how to whip up this beautiful chaos.
Recipe Snapshot
| Category | Details |
| Yield | 10 slices |
| Serving Size | 1 slice |
| Prep Time | 25 minutes |
| Bake Time | 50 minutes |
| Total Time | 1 hour 15 minutes |
| Calories per Serving | 390 |
| Primary Cooking Method | Baking |
| Cooling Time | 1 hour |
| Occasion | Everyday, Birthdays |
| Diet Type | Vegetarian |
Calories are approximate and may vary depending on exact ingredients used.

Marble Cake Recipe
Course: DessertCuisine: AmericanDifficulty: EasyServings
1
slicePrep time
25
minutesBake Time
50
minutesCalories
390
kcalSo what exactly is a marble cake? It’s what happens when vanilla and chocolate cake batter meet, fall in love, and have deliciously swirled babies.
This recipe takes the softest, fluffiest vanilla base and adds a thick, rich chocolate batter that you swirl in just enough to create magic without turning the whole thing into a muddy mess.
Ingredients
- For the Vanilla Batter
2 1/2 cups (313g) all-purpose flour
2 1/2 tsp baking powder
1/2 tsp salt
1 cup (226g) unsalted butter, softened
1 3/4 cups (350g) granulated sugar
4 large eggs, room temperature
1 tbsp vanilla extract
1 cup (240ml) whole milk, room temperature
- For the Chocolate Swirl
1/3 cup (28g) unsweetened cocoa powder
1/4 cup (60ml) boiling water
1/4 cup (30g) all-purpose flour (to thicken)
Directions
- Preheat and Prep
Preheat your oven to 350°F (177°C). Generously grease and flour two 8-inch round cake pans. You can use 9-inch pans if that’s what you’ve got on hand—just shave off about 5 minutes from the baking time. - Melt the Chocolate
Place 4 oz chopped semisweet chocolate in a microwave-safe bowl. Heat for 30 seconds, stir, then continue microwaving in 15-second bursts, stirring in between, until smooth and melted. Set it aside to cool slightly. - Cream Butter, Oil, and Sugar
In a large bowl using a hand or stand mixer, cream together 1/2 cup unsalted butter, 1/2 cup neutral oil (like canola or avocado), and 1 3/4 cups granulated sugar on high speed for about 30 seconds, until it’s light and fluffy. - Add Eggs and Vanilla
Add 4 large eggs one at a time, beating well after each one. Scrape down the bowl as needed. Stir in 2 teaspoons vanilla extract and mix until everything is fully combined. - Mix the Dry Ingredients
In a separate medium bowl, whisk together 3 cups all-purpose flour, 1 tablespoon baking powder, and 3/4 teaspoon salt. - Combine with Buttermilk
Grab a spatula and start alternating additions of the dry mix and 1 1/4 cups buttermilk to the butter mixture, beginning and ending with the dry. Mix gently and just until combined—don’t overwork it! - Make the Chocolate Batter
Scoop about 1/3 to 1/2 of the batter into a separate bowl. Stir in the melted chocolate until completely combined and evenly chocolatey. - Layer and Swirl
Alternate spoonfuls of vanilla and chocolate batter into each prepared cake pan. Use a knife to swirl the batters together in a gentle figure-eight pattern to create that iconic marbled effect. - Bake
Bake at 350°F (177°C) for 30 minutes or until a toothpick inserted into the center comes out with a few moist crumbs. Don’t overbake—it’s better to err on the side of a slightly underdone cake than a dry one. - Cool the Cakes
Let cakes cool in the pans for 15 minutes before turning them out onto a cooling rack. Let them cool completely before moving on to frosting. - Make the Chocolate Frosting
Melt 1 cup semisweet chocolate chips in a microwave-safe bowl using 15-second intervals, stirring between each. Let it cool slightly for about 10 minutes.
In another bowl, cream 1 cup unsalted butter until smooth, then mix in the cooled melted chocolate.
Gradually add 2 cups powdered sugar, beating well and scraping the bowl as needed. Stir in 1/2 teaspoon vanilla extract and 1/2 teaspoon salt. Add 2 tablespoons of heavy cream and beat on high for 1 minute until the frosting is fluffy. - Assemble and Frost
Spread a thick layer of frosting on top of one cake round. Sprinkle some mini chocolate chips if you’re feeling fancy. Place the second cake layer on top and cover the entire cake with the rest of the frosting. Slice, serve, and bask in the glory of your swirl skills.
Extra Tips
- Room Temp Ingredients Are Key: Make sure your eggs, butter, and milk are at room temperature before you start. This helps them blend smoothly into the batter and gives you a fluffier cake.
- Don’t Over-Swirl: It’s tempting to keep swirling for that perfect pattern, but too much swirling turns your marble into mush. Less is more—go for gentle figure-eights.
- Level Your Layers: For a professional finish, trim the domes off your cake layers before frosting so everything stacks up evenly. A serrated knife or cake leveler does the trick.
- Cool Before Frosting: Resist the urge to frost while warm. Let the cake cool completely, or your beautiful buttercream will melt into a sad puddle.
- Clean Cuts: Dip your knife in hot water and wipe it clean between slices for neat, bakery-style servings.
- Add Texture: Want extra wow? Sprinkle mini chocolate chips, chopped nuts, or chocolate curls over the frosting before serving.
These small touches take your marble cake from great to unforgettable!
Equipment List
- 9×5-inch loaf pan
- Electric mixer or stand mixer
- Mixing bowls (medium and large)
- Measuring cups and spoons
- Rubber spatula
- Whisk
- Butter knife or skewer (for swirling)
- Cooling rack
Substitution Options
Out of something or baking for someone with dietary restrictions? Don’t worry—this cake plays nice with swaps too.
Flour Substitute: Flour can be swapped with a 1:1 gluten-free baking flour blend. Just make sure it contains xanthan gum or add 1 tsp per cup.
Butter Alternatives: No butter? You can use margarine or a dairy-free alternative like Earth Balance. Coconut oil (solid form) also works.
Buttermilk Hack: If you don’t have buttermilk, combine 1 1/4 cups whole milk with 1 tablespoon lemon juice or white vinegar. Let it sit for 5–10 minutes before using.
Chocolate Swaps: Semi-sweet chocolate can be substituted with dark chocolate or even high-quality chocolate chips.
Egg-Free Option: For an egg-free version, replace each egg with 1/4 cup unsweetened applesauce or 1 tablespoon ground flaxseed mixed with 3 tablespoons water. The texture will be a bit denser but still great.
Sugar Variations: Need a sugar swap? Use coconut sugar or light brown sugar for a deeper, caramel-like flavor.
Now you’re ready to tweak this recipe to fit whatever’s in your pantry—or whoever you’re baking for!
Make-Ahead Tips
Want to break up the process or prep ahead for a stress-free celebration? This marble cake is make-ahead friendly!
Cake Layers: You can bake the vanilla-chocolate swirl cake layers a day or two in advance. Once baked and fully cooled, wrap each layer tightly in plastic wrap and store at room temperature for up to 2 days. For longer storage, wrap them again in foil and freeze for up to 2 months. Just thaw them at room temperature before frosting.
Chocolate Frosting: The frosting can also be made ahead and stored in an airtight container in the fridge for up to 3 days. Let it sit at room temp for about 30 minutes, then beat it again to restore its creamy texture before using.
Fully Assembled Cake: You can assemble and frost the entire cake the night before. Store it in a cake dome or an airtight container in the fridge. Let it come to room temperature before serving so the texture is soft and the flavors shine through.
Making ahead = baking smarter, not harder!
Storage Instructions
Store the cake in an airtight container at room temperature for up to 2 days. If you need it to last longer, you can refrigerate it for up to 5 days—but fair warning, the fridge tends to zap some of that fresh, moist magic and make cakes a bit dry. To help combat this, let refrigerated cake sit out for 15–20 minutes before serving. It’ll soften right back up and taste freshly baked again.
FAQ Section
Can I use cake flour instead of all-purpose flour?
Yes, but it will slightly change the texture. Cake flour makes the cake more tender and light, which can work beautifully for this recipe. Use 2 3/4 cups of cake flour to replace the all-purpose.
How do I know when the cake is done baking?
Check for doneness by inserting a toothpick into the center of the cake. It should come out with a few moist crumbs. If it’s totally clean, it might be a bit overdone—so aim for just a little crumb cling.
Can I freeze the frosted cake?
Absolutely. Frosted marble cake freezes well. Wrap slices or the entire cake tightly in plastic wrap, then foil. Freeze for up to 2 months. Thaw overnight in the fridge and bring to room temperature before serving.
Why did my cake turn out dry?
Overbaking is the usual suspect. Make sure to keep a close eye on your timer and check with a toothpick a few minutes before the recommended time. Also, don’t skip the buttermilk—it keeps everything moist.
Can I make cupcakes with this batter?
Totally! Just fill cupcake liners about 2/3 full, swirl, and bake at 350°F for about 18–22 minutes. Keep an eye on them—they bake faster than full cakes.
Can I double this recipe?
Yes, especially if you’re baking for a crowd. Just double all the ingredients and divide the batter evenly between two batches or larger pans. Watch your bake time—it might need a little extra.
Food Safety
Handle Eggs Safely: Always use fresh, clean eggs and avoid using any that are cracked. Wash your hands after handling raw eggs and be sure to sanitize any surfaces they touch.
Bake to Safe Temperatures: Don’t underbake—make sure your cake is fully cooked to avoid any potential bacteria in the eggs or flour. The center should register at least 200°F (93°C) if using a food thermometer, or pass the classic toothpick test.
Cool Before Storing: Allow the cake to cool completely before wrapping and storing. Trapping heat in sealed containers can lead to condensation and mold.
Keep Dairy Fresh: Use fresh milk, buttermilk, and butter, and don’t leave them out longer than needed. Return them to the fridge immediately after use.
These simple steps keep your marble cake not just tasty—but safe, too!
Nutritional Information
Here’s a quick look at the estimated nutritional breakdown per slice (based on 10 servings):
- Calories: 390
- Total Fat: 22g
- Saturated Fat: 12g
- Cholesterol: 85mg
- Sodium: 200mg
- Carbohydrates: 45g
- Sugar: 30g
- Protein: 5g
These values are approximate and can vary depending on the exact brands and measurements of ingredients used.
Final Thoughts
There’s something irresistibly nostalgic about a good marble cake. Maybe it’s the way the swirls look like edible art, or maybe it’s how each bite delivers that perfect combo of chocolate and vanilla. Either way, this cake hits all the right notes—fluffy, rich, and beautiful enough to show off.
Whether you’re baking it for a birthday, a casual weekend treat, or just because your sweet tooth said so, this Marble Cake Recipe is one to keep in your back pocket. It’s reliable, customizable, and totally swoon-worthy. So go ahead, swirl away—and don’t forget to take a picture before that first glorious slice!