The Best Fluffy Pancakes recipe you will fall in love with. Full of tips and tricks to help you make the best pancakes.
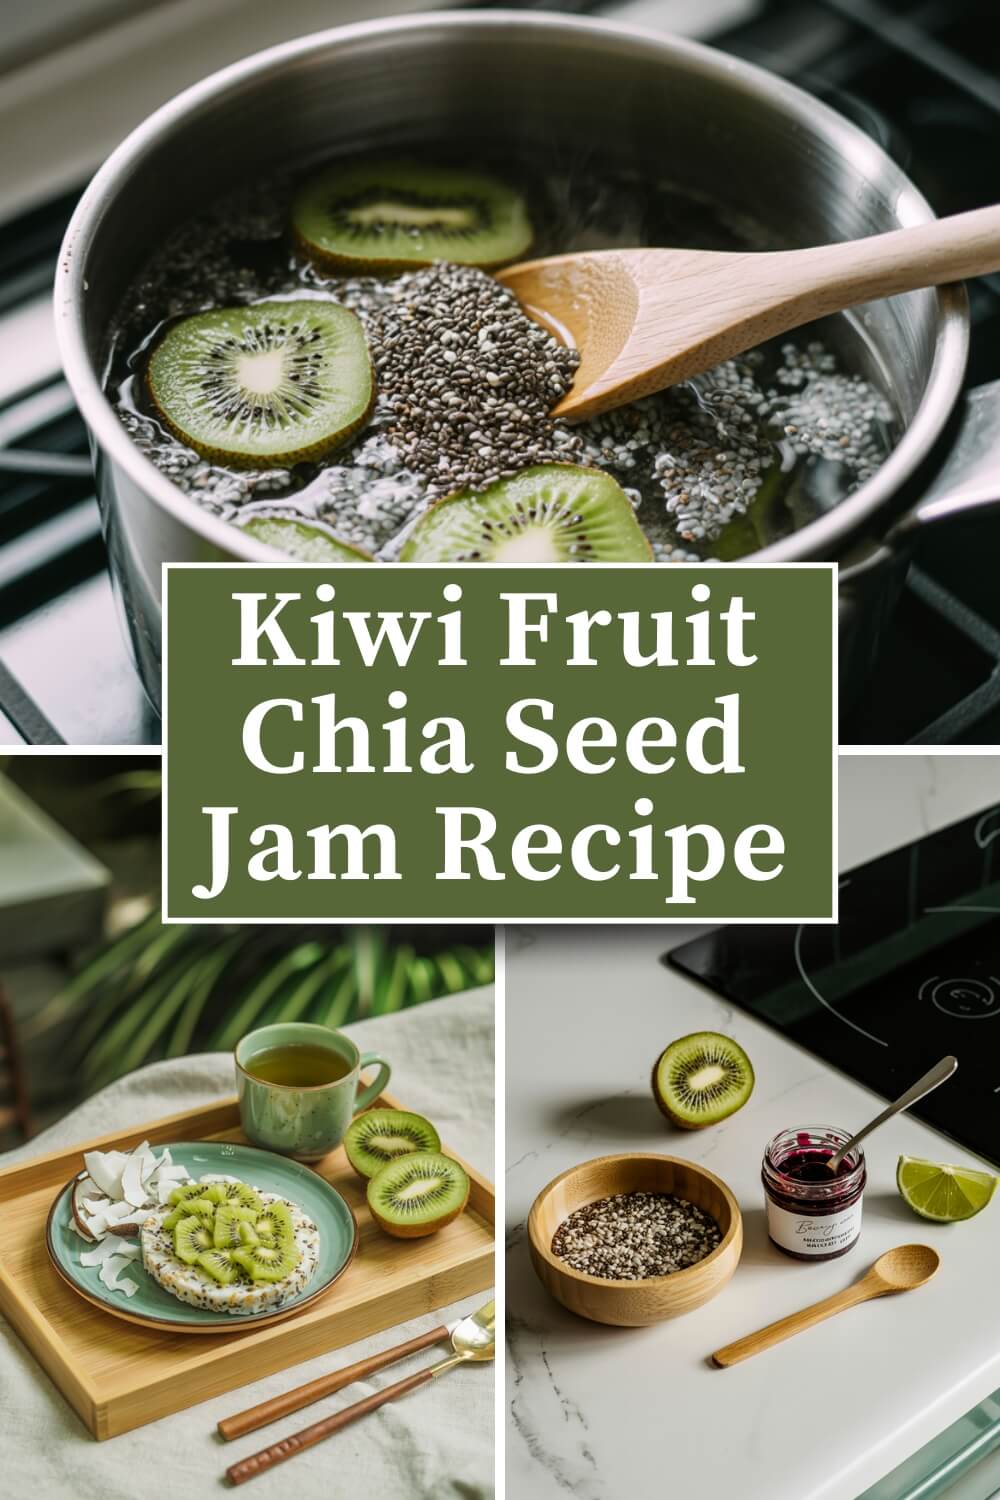
Kiwi Fruit Chia Seed Jam Recipe
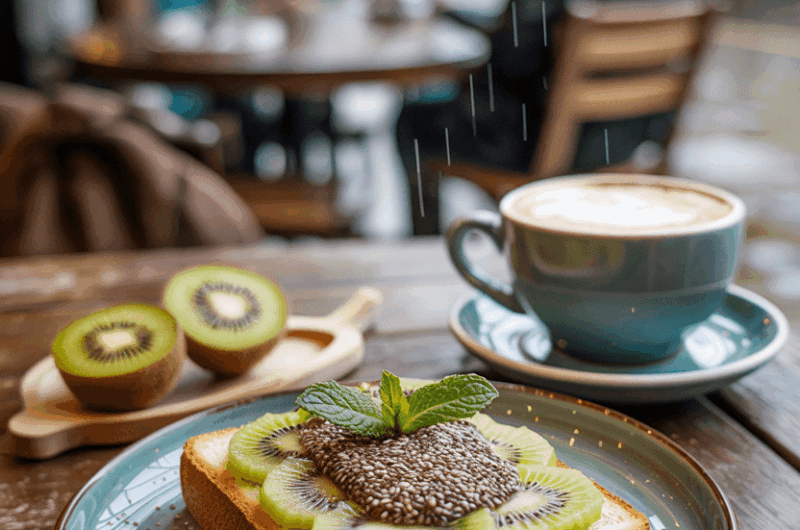
Alright, let me tell you about a jam that’s low-effort, high-reward, and doesn’t require a chemistry degree or a pantry full of sugar. This Kiwi Fruit Chia Seed Jam is like the chill cousin of traditional jam.
It’s tangy, sweet, a little tropical, and ready in under 30 minutes—without the whole jar sterilization drama. If your mornings are desperate for some zing or you’re just looking to jazz up your toast, yogurt, or oatmeal, this one’s for you.
This jam doesn’t just spread—it sparkles with the zing of lime and the fresh punch of kiwi. And thanks to those magical chia seeds, you get a thick, spoonable jam without needing to boil anything to the brink of caramelization. It’s clean, easy, and honestly kind of fun to make.
Recipe Snapshot
| Category | Details |
| Yield | 2 cups |
| Serving Size | 2 tablespoons |
| Prep Time | 5 minutes |
| Cook Time | 15 minutes |
| Cooling Time | 20 minutes |
| Total Time | 40 minutes |
| Calories per Serving | ~45 |
| Primary Cooking Method | Simmering |
| Diet Type | Vegan |
Calories are approximate and may vary depending on exact ingredients used.
Kiwi Fruit Chia Seed Jam Recipe
Course: DessertCuisine: FrenchDifficulty: EasyServings
2
tablespoonsPrep time
5
minutesCooking time
20
minutesCalories
45
kcalThis little gem of a recipe is what happens when fresh, ripe kiwis and nutrient-packed chia seeds decide to throw a party in your fridge. You peel, chop, heat, and stir—then boom! You’ve got a lusciously green, tropical spread that’s bursting with real fruit flavor and none of the sketchy additives.
Thanks to the chia seeds’ jelly-making superpowers, there’s no need for pectin, gelatin, or mountains of refined sugar. It’s tangy from the kiwi, has a subtle citrus zing from lime, and a gentle sweetness that doesn’t overwhelm your taste buds. If you’re used to jams that punch you in the face with sugar, this one’s a soft kiss on the cheek instead.
Ingredients
3 cups peeled and chopped kiwi (about 6 medium kiwis)
1 teaspoon lime or lemon juice
3 tablespoons chia seeds
2 tablespoons maple syrup (or to taste)
Directions
- Peel and Chop the Kiwis
Start by peeling your kiwis—cut off both ends, insert a spoon just under the skin, and rotate to separate the skin from the fruit. Dice the fruit into small chunks or scoop it straight out if you’re not fussed about the shape. You’ll need about 3 cups of chopped fruit. - Heat the Fruit Base
Place your kiwi chunks in a medium saucepan over low to medium heat. Add in the lime or lemon juice and the maple syrup. Give everything a gentle stir to combine the ingredients. - Cook Until Syrupy
As the mixture heats, use a wooden spoon or potato masher to break down the fruit. Stir frequently to avoid scorching. After 10 to 15 minutes, the mixture should look thick and slightly glossy, like a loose fruit compote. This step allows the natural sugars in the fruit to concentrate. - Add the Chia Seeds
Remove the saucepan from the heat. Stir in the chia seeds evenly throughout the mixture. At this point, it’ll still look quite loose—don’t panic. The chia seeds need time to absorb the liquid and thicken. - Cool Down and Gel
Let the mixture cool at room temperature for 15 to 20 minutes. During this time, the chia seeds will soak up moisture and transform the mixture into a jam-like texture. Stir occasionally to ensure it sets evenly. - Store and Chill
Once the mixture is at room temperature and slightly thickened, spoon it into a clean glass jar or any airtight container. Pop it in the fridge and let it sit for at least a couple of hours, but overnight is best. The jam will thicken beautifully as it chills. - Ready to Enjoy!
Use it however you like—spread on toast, dolloped on yogurt, swirled into oatmeal, or heck, eaten straight from the jar. This jam holds well for 1–2 weeks in the fridge.
Extra Tips
- Use Ripe Kiwis:
Softer kiwis are not overripe—they’re ripe-ripe. And that means flavor-packed! Go for those slightly squishy ones for the best natural sweetness. - Choose Your Texture:
Love silky-smooth jam? Hit it with a blender before adding chia. Like it rustic and chunky? A gentle mash will do. Totally your call. - Let It Cool Fully:
Hot jam in a sealed jar = condensation = watery top layer. Let it cool completely before closing the lid. - Think Beyond Toast:
Layer this jam in overnight oats, yogurt parfaits, chia puddings, or swirl into vegan ice cream. It’s your new fruit hack. - Balance the Sweet:
Maple syrup is optional if your kiwis are sugar bombs. Always taste-test before sweetening—it’s a jam, not a candy. - Boost the Brightness:
Add a zest of lime or lemon during cooking for a citrusy pop that takes the tropical vibes up a notch. - Color Pop Hack:
If your jam looks a little drab, a splash of green juice (like spinach or matcha) will perk it right up without affecting flavor.
Equipment List
- Medium saucepan
- Wooden spoon or heatproof spatula
- Potato masher (optional but fun)
- Measuring spoons
- Knife and cutting board
- Glass jar or airtight container
Substitution Options
Here’s where you can get a little creative—or practical, depending on what’s in your kitchen:
Sweetener Swaps:
Maple syrup too pricey? Try honey (if not vegan), agave nectar, or even a touch of date syrup. Just keep in mind the sweetness level of each and adjust accordingly.
Fruit Variations:
No kiwis? This method works beautifully with berries, mango, peaches, or even pineapple. Just keep the same ratio of chopped fruit.
Citrus Juice:
Lime juice gives a bright tropical kick, but lemon juice works just as well. Even orange juice can bring a sweet twist if that’s your thing.
Chia Alternatives:
Chia is king here, but in a pinch, you could use ground flax seeds. The texture won’t be quite as jammy, but it’ll still gel up nicely.
Low-Sugar Option:
Skip the maple syrup entirely if your kiwis are super ripe. The natural sugars often do the job on their own.
Make-Ahead Tips
One of the best parts about this jam is how well it fits into your schedule. If you’re short on time during the week, here are a few prep-ahead strategies:
Chop the Kiwis in Advance:
Peel and dice the kiwis up to two days ahead. Store them in an airtight container in the fridge until you’re ready to cook.
Pre-mix the Lime and Sweetener:
Blend your lime juice and maple syrup in a small jar and keep it in the fridge. It’ll be ready to pour in when the moment strikes.
Double the Batch:
If you know you’re going to be obsessed (spoiler: you will), make a double batch and store extra jars. Just make sure to consume within 2 weeks, or freeze portions for longer storage.
Make It Overnight:
You can do all the steps up to refrigerating before bed. The jam will be perfectly set and ready to brighten your morning toast game the next day.
Storage Instructions
This jam is fridge-friendly and fuss-free. Once it’s fully cooled and thickened, store it in a clean, airtight glass jar or container. Here’s how to keep it fresh:
Refrigerator:
Store in the fridge for up to 2 weeks. The texture holds well and actually gets better after the first day as the chia seeds continue to absorb moisture.
Freezer:
Want to stash some for later? Transfer to a freezer-safe container, leaving about ½ inch of space at the top for expansion. It’ll keep for up to 2 months. Thaw in the fridge overnight before using.
No Canning Needed:
Because this recipe skips traditional pectin and preservatives, it’s not suitable for long-term shelf storage or water bath canning. Keep it chilled, and you’re golden.
Recipe Tips and FAQs
Can I use honey instead of maple syrup?
Yes, you can use honey or any other sweetener of your choice. Just be sure to adjust the amount based on how sweet your kiwis are and your personal taste preference. If you’re keeping it vegan, stick with maple syrup, agave, or date syrup.
How long does this chia seed jam last?
Generally, homemade chia jam lasts around 1 to 2 weeks in the fridge. Store it in an airtight container, and always use a clean spoon to scoop it out to extend its life.
Why is my jam not thickening?
Chia seeds need a little time to work their magic. If your jam still looks runny after cooling, it probably just needs more time in the fridge. You can also stir in an extra teaspoon of chia seeds and let it sit another 30–60 minutes.
Can I use this jam in baking recipes?
Absolutely. This jam is great as a filling for muffins, thumbprint cookies, layered cakes, or even as a swirl in cheesecake bars. Just remember it’s a bit more fluid than store-bought versions, so use it where a little extra moisture is welcome.
Serving Suggestions
This jam isn’t just for toast—though it’s fabulous on that too. You can swirl it into plant-based yogurt for a fruity layer in parfaits, spoon it over warm oatmeal for that pop of flavor, or layer it in a chia pudding jar for double the texture. It also works as a glossy glaze over cheesecakes, makes breakfast bowls sing with color, and even pairs surprisingly well with a slice of vegan cheese and crackers. However you use it, this jam brings tropical flair wherever it lands.
Nutritional Information
Approximate values per 2-tablespoon serving:
- Calories: 45
- Total Fat: 1.5g
- Carbohydrates: 7g
- Fiber: 2g
- Sugars: 4g (naturally occurring + maple syrup)
- Protein: 1g
- Omega-3 Fatty Acids: 1200mg (from chia seeds)
Note: Nutritional values will vary slightly depending on exact ingredients and quantities used.
Conclusion
So here’s the deal: if you’ve ever wanted to impress your tastebuds with minimal effort and maximum reward, this Kiwi Fruit Chia Seed Jam is your new go-to. It’s bright, it’s fresh, it’s got that perfect balance of tang and sweet—and let’s not forget, it comes with omega-3s and fiber as a bonus.
Whether you’re smearing it on toast, layering it in a parfait, or just eating it by the spoonful at midnight (no judgment), it’s going to make you wonder why you ever bothered with store-bought jam in the first place. Go ahead—whip up a jar, stash it in your fridge, and let this fruity little gem upgrade your snack game.