The Best Fluffy Pancakes recipe you will fall in love with. Full of tips and tricks to help you make the best pancakes.
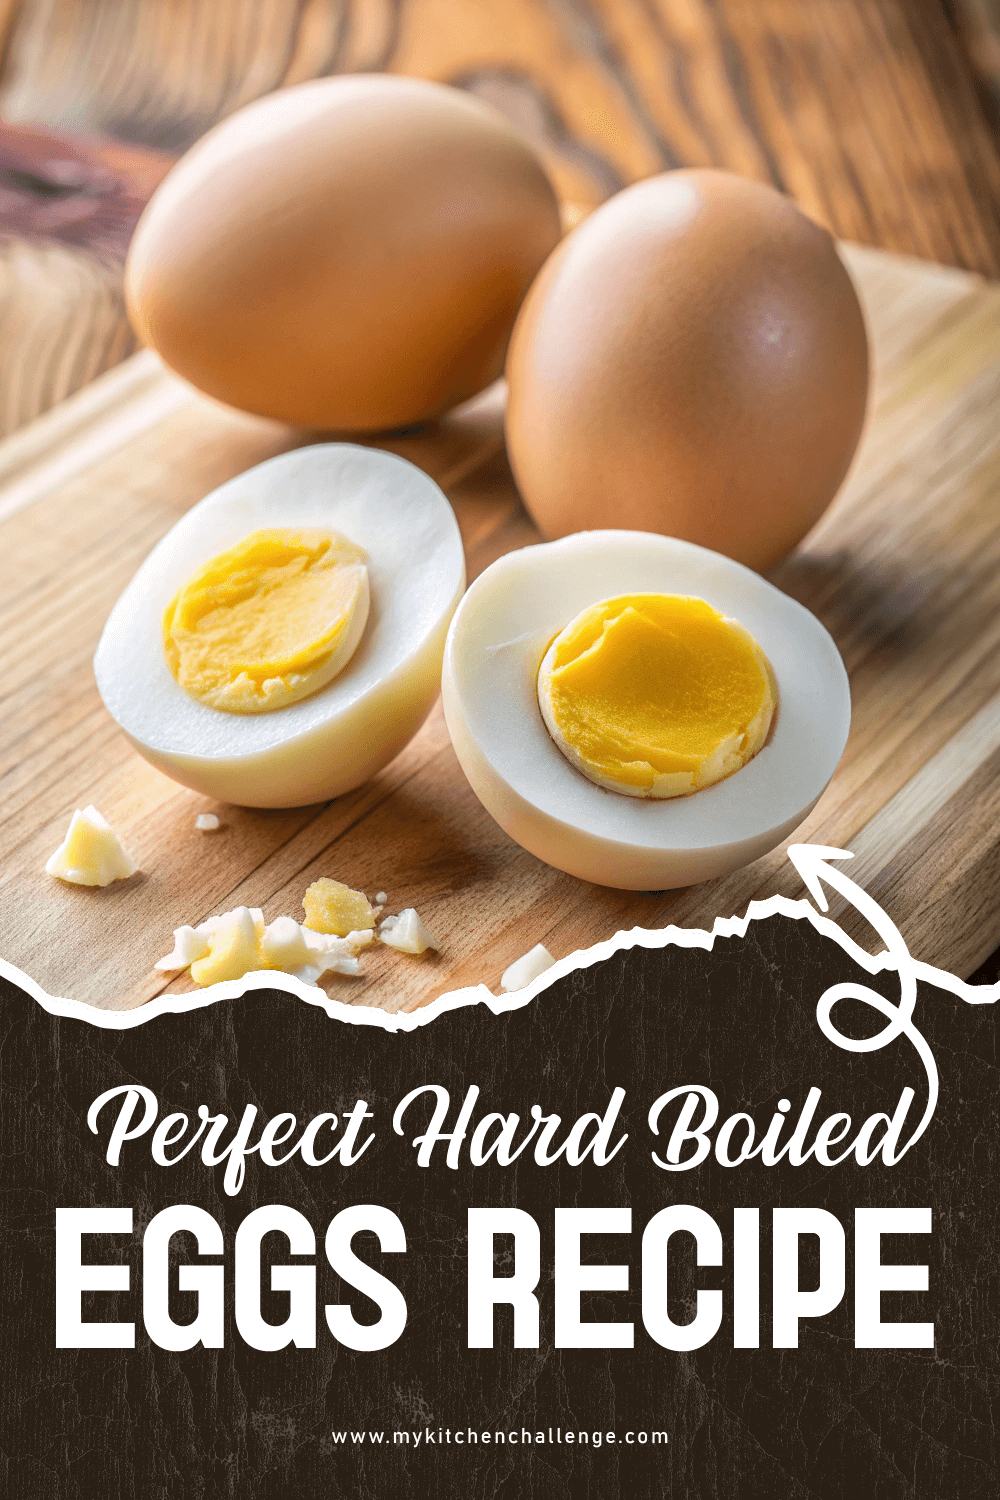
How to Make Hard Boiled Eggs Without Losing Your Mind
Hard boiled eggs sound easy, right? Just boil some eggs. Boom, done. But then you crack one open and the yolk’s grey and sad or the shell sticks like it has abandonment issues. Ugh. That’s where things get personal. I’ve been there—peeling egg shells for what feels like eternity, whispering sweet nothings to get them to behave.
But after way too many rubbery yolks and curse words, I found a method that actually works. No more guessing. No more heartbreak. Just perfect, easy-to-peel hard boiled eggs every single time. Whether you’re meal prepping, making deviled eggs, or just trying to survive Monday—this guide’s got you.
Let’s crack into it (yeah, I went there).
Recipe Snapshot
| Category | Details |
| Yield | 6 eggs |
| Serving Size | 1 egg |
| Prep Time | 5 minutes |
| Cook Time | 10–12 minutes |
| Total Time | 20 minutes |
| Calories per Serving | 70 kcal |
| Primary Cooking Method | Boiling |
| Cooling Time | 5–10 minutes |
| Occasion | Meal prep, breakfast, snacks |
| Diet Type | High-protein, gluten-free |
Calories are approximate and may vary depending on exact ingredients used.
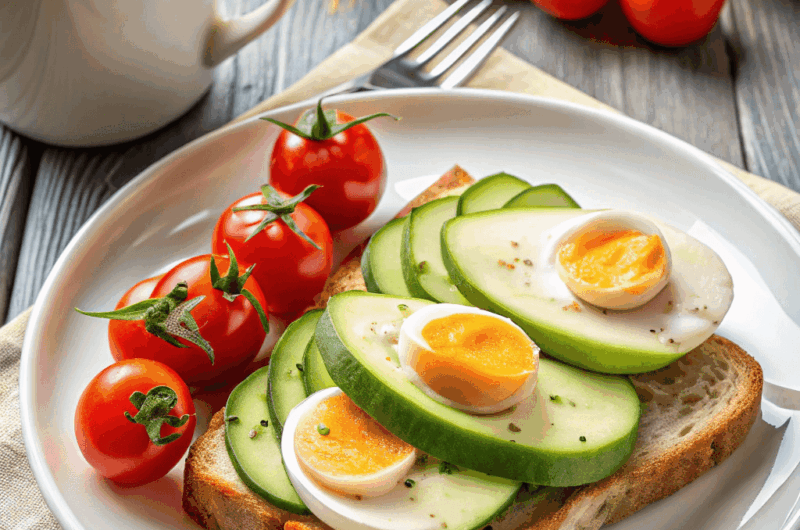
How to Make Hard Boiled Eggs
Course: Breakfast / SnackCuisine: Universal ComfortDifficulty: Super EasyServings
1
eggPrep time
5
minutesCooking time
10
minutesCalories
70
kcalHard boiled eggs can be surprisingly tricky, right? It’s not just boiling water and tossing in eggs—there’s timing, chilling, and that dreaded peeling part. But don’t worry, I’ve figured out the magic formula.
With this simple, no-fuss method, you’ll get eggs with perfect yolks and shells that actually come off without a battle. Let’s make your egg game stress-free and foolproof from start to finish.
Ingredients
6 large eggs, straight from the fridge
Water (enough to cover eggs by at least an inch)
Ice (for the ice bath)
Directions
- Get Your Pot Ready
Grab a medium saucepan and gently place your eggs in a single layer. Don’t overcrowd the pot—think egg real estate. Add enough cold water to cover the eggs by about an inch. Use cold water from the tap to help control the temperature rise evenly. - Heat It Up
Place the pot on your stove and turn the heat to medium-high. Watch it like a hawk. Once the water reaches a full, rolling boil (bubbles galore), turn off the heat. Cover the pot with a tight-fitting lid immediately. No peeking. - Let the Eggs Sit
Now comes the waiting game—but it’s a strategic one. Set your timer based on how you like your yolks:
Soft-boiled: 6 minutes (slightly runny center)
Medium-boiled: 8–9 minutes (creamy center)
Hard-boiled: 10–12 minutes (fully cooked, still tender)
Smaller eggs will need slightly less time, and extra-large or jumbo eggs might need an extra minute or so. Don’t overthink it—just tweak the time slightly based on size. - Prep the Ice Bath
While your eggs are doing their steamy spa thing, prep an ice bath. Just fill a large bowl with cold water and toss in a bunch of ice. This bath halts the cooking immediately and makes peeling a breeze. - Transfer Eggs to the Ice Bath
Once your timer goes off, use a slotted spoon or tongs to remove the eggs from the hot water and gently place them in the ice bath. Let them chill for at least 5–10 minutes. If you’re not using them right away, you can keep them in the fridge in their shells for up to a week. - The Perfect Peel
Time to undress these beauties. Gently tap the egg on the counter to crack the shell all over, then roll it lightly with your palm. Start peeling at the wide end where the air pocket is. Running the egg under cool water while peeling helps loosen the shell. If it’s still clinging on for dear life, it’s probably a super fresh egg—those are always stubborn.
Bonus: Why Older Eggs Work Better
If your eggs have been sitting in your fridge for 5–7 days, they’re primed for peeling. That tiny gap between the egg white and the shell expands slightly over time, making your life way easier.
Extra Tips
- Use eggs that are 5–7 days old. They peel so much easier than fresh ones.
- Don’t skip the ice bath. It’s not optional—it’s crucial for stopping the cooking and making the peel release.
- Peel under water. If you’re dealing with a stubborn shell, submerge the egg and peel under water. It helps loosen everything.
- Label your eggs. If you’re boiling a bunch at once, mark the shells with a pencil so you know which ones are cooked.
- Steam instead of boil. If you want an alternative method, steaming eggs for 12 minutes gets a similar result and often peels even better.
- Microwave hack for peeling. Not ideal for big batches, but microwaving with a bit of water can help a single stubborn egg release its shell.
Alternative Cooking Methods
How to Hard Cook Eggs in the Oven
Oven-baked “hard-boiled” eggs are technically baked—not boiled—but they get the job done with zero water and zero stovetop drama. Great for big batches when your burners are busy. Just preheat your oven to 325°F (163°C), place eggs in a muffin tin to keep them from rolling around, and bake for 25–30 minutes. Then transfer to an ice bath immediately.
How to Cook Hard Boiled Eggs in the Pressure Cooker
Got fresh eggs that usually peel like a nightmare? Pressure cooking is your friend. Place eggs on the rack inside your pressure cooker with 1 cup of water, then cook on high pressure for 5 minutes. Let it naturally release for 5 minutes before transferring to an ice bath. It won’t save you tons of time, but it will save you from a shell-shredding headache.
Equipment List
- Medium saucepan with lid
- Slotted spoon or tongs (for safe egg removal)
- Large bowl (for ice bath)
- Timer or phone with alarm
- Refrigerator (to store those beauties after cooling)
How To Best Peel a Hard Boiled Egg
This is something people really struggle with. Peeling an egg is actually trickier than you think, especially if you don’t want to lose a good amount of the egg along with the peel. We’ve all been there. Keep in mind that fresh eggs are always trickier to peel than eggs that are a bit older, but this is a method that helps remove the egg shell in strips and avoids divots in the eggs. Here’s the technique:
Step 1: Crack the Shell All Over
Start by tapping the bottom of the egg gently on your countertop—this is the hollow end, and it tends to give more. Then tap around the sides and top, creating a web of cracks across the surface. Some folks suggest rolling the egg gently under your palm, but in my experience, that often causes it to split right around the middle. So, stick with the tap-tap-tap method.
Step 2: Start Peeling from the Bottom
Once you’ve got your cracked shell, begin peeling from the bottom end. That hollow pocket makes it easier to slip your thumb in and get under the membrane. This is key—once you’re under the membrane, the shell usually peels off in bigger pieces instead of those evil little shards.
Step 3: Rinse and Pat Dry
After you’ve peeled the egg, give it a quick rinse under cool water to wash off any stubborn bits of shell. Then gently pat it dry with a paper towel. Now you’ve got a smooth, perfect egg ready to eat or slice.
Make-Ahead Tips
Hard boiled eggs are a meal prep MVP. You can make a whole batch at once and they’ll last up to a week in the fridge, shell-on. Want to prep ahead for deviled eggs or an egg salad? Just peel them after cooling, pat dry, and store them in an airtight container with a slightly damp paper towel to keep them from drying out. They’re a total time-saver for busy mornings, packed lunches, or that random 4 PM snack craving.
Storage Instructions
If you’re storing your hard boiled eggs with the shell on, just pop them in the fridge and you’re golden for up to a week. The shell acts like a natural barrier that keeps fridge funk out and the freshness in. Planning to peel ahead of time? Place those eggs in an airtight container lined with a damp paper towel, and refresh that towel daily to keep them from drying out. Peeled or unpeeled, these eggs are fridge-happy for about 5–7 days—so snack smart and enjoy all week long.
FAQs
Why are my hard boiled eggs green around the yolk?
That greenish ring? It’s harmless but annoying. It usually means the eggs were overcooked. To avoid it, make sure you’re not boiling the eggs too long and that you’re cooling them quickly in an ice bath.
How can I tell if a hard boiled egg is still good?
Hard boiled eggs last up to a week in the fridge. If one smells off, has a slimy texture, or looks chalky—toss it. Always label the date you boiled them if your memory’s as bad as mine.
Can I freeze hard boiled eggs?
Technically, yes—but I wouldn’t. The whites get rubbery and sad. If you must, only freeze the yolks and use them crumbled over salads or mixed into mashed potatoes.
How do I avoid cracking the eggs while boiling?
Let your eggs come to room temp for a few minutes before boiling. Also, lower them gently into the pot and avoid super high heat at the start.
Can I make hard boiled eggs without an ice bath?
Yes, but it’ll be harder to peel them and you might get that green ring of doom. An ice bath is the shortcut to perfect results.
What’s the best way to store peeled eggs?
Pop them in an airtight container with a damp paper towel and refrigerate. Change the towel daily to keep them from drying out.
Nutritional Information
A single large hard boiled egg (about 50g) contains:
- Calories: 70
- Protein: 6 grams
- Fat: 5 grams
- Saturated Fat: 1.5 grams
- Cholesterol: 186 mg
- Carbohydrates: <1 gram
- Fiber: 0 grams
- Sugars: <1 gram
- Sodium: 65 mg
Eggs are naturally gluten-free, low in carbs, and packed with high-quality protein. They also provide essential vitamins like B12, D, and minerals like selenium and iodine. Keep in mind these values may vary slightly depending on the exact size of the egg and cooking conditions.
Final Thoughts
If you’ve made it this far, congrats—you’re now an egg-boiling ninja. No more guessing, no more mangled whites, no more yolks that look like sad emojis. Whether you’re prepping for the week, leveling up your salad game, or just need a trusty snack in your fridge, mastering hard boiled eggs is totally worth it. It’s a small thing that somehow makes life feel a little more together. And honestly? That’s what we’re all aiming for, right?
So go forth, boil confidently, and may your eggs always be easy to peel and perfectly golden inside.