The Best Fluffy Pancakes recipe you will fall in love with. Full of tips and tricks to help you make the best pancakes.
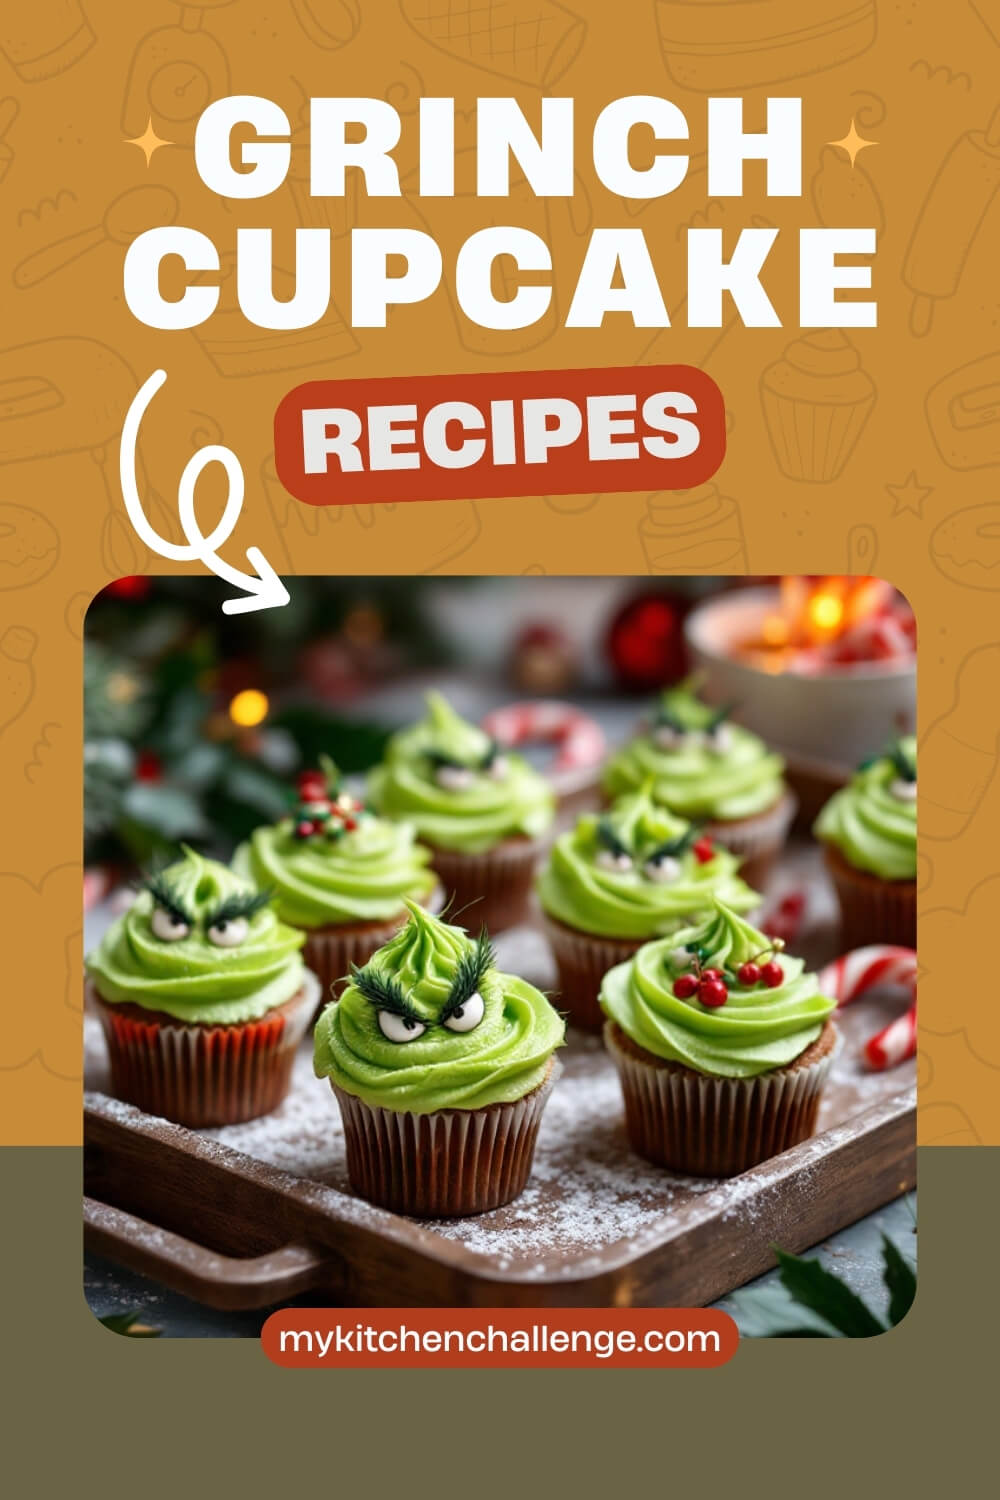
Grinch Cupcake Recipe That’ll Steal Your Heart (Not Just Christmas)
You know that moment in December when you’re fully committed to the holiday spirit, but also kinda vibing with the Grinch? Yeah, same. That’s where these Grinch Cupcakes come in—festive, fun, and with just enough sass to make your inner green goblin proud.
I made a batch of these for a cozy winter movie night and—boom—they were gone before the Grinch even had time to steal the roast beast. So if you’re after a treat that’s both adorable and ridiculously good, these cupcakes are it.
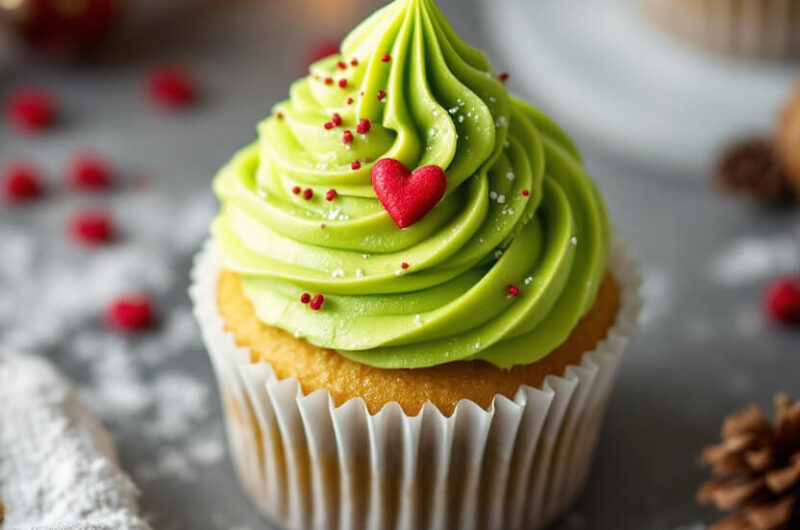
We’re talking soft green vanilla cupcakes, silky smooth peppermint buttercream, and a little red candy heart that’s straight-up Whoville magic.
Let’s get into it.
Recipe Snapshot
| Category | Details |
| Yield | 12 cupcakes |
| Serving Size | 1 cupcake |
| Prep Time | 25 minutes |
| Bake Time | 20 minutes |
| Total Time | 45 minutes |
| Calories per Serving | ~320 calories |
| Primary Cooking Method | Baking |
| Occasion | Christmas, Holiday Parties |
| Diet Type | Vegetarian |
Calories are approximate and may vary depending on exact ingredients used.
Grinch Cupcake
Course: DessertCuisine: AmericanDifficulty: EasyServings
1
cupcakePrep time
25
minutesBake Time
20
minutesCalories
320
kcalThese Grinch Cupcakes are straight outta Whoville—with a soft green vanilla base, cool peppermint buttercream, and that iconic red candy heart. They’re playful, photogenic, and ridiculously festive. Whether you’re hosting a party or binge-watching holiday movies, these cupcakes are here to bring joy (and a sugar rush).
Ingredients
- For the Green Vanilla Cupcakes
1 ¼ cups (160g) all-purpose flour
1 cup (200g) granulated sugar
½ cup (113g) unsalted butter, room temperature
2 large eggs
½ cup (120ml) whole milk
1 tsp vanilla extract
1 ½ tsp baking powder
¼ tsp salt
Green gel food coloring
- For the Peppermint Buttercream
1 cup (226g) unsalted butter, room temperature
3 ½ cups (420g) powdered sugar
1 ½ tsp peppermint extract
2 tbsp heavy cream or milk
Green gel food coloring (same shade as cake)
- Decorations
Red heart sprinkles or candy hearts (1 per cupcake)
Optional: Edible glitter, red cupcake liners, piping bags, star piping tip
Directions
- Prep Your Gear
Preheat your oven to 350°F (175°C) and line a cupcake pan with festive red liners. Get your ingredients to room temp—especially the butter and eggs. Cold butter is a no-go for fluffy cupcakes. - Mix the Batter
In a mixing bowl, cream the butter and sugar until it’s light and fluffy—about 2-3 minutes. Add eggs one at a time, mixing well after each.
Whisk together your dry ingredients (flour, baking powder, salt) in a separate bowl. Slowly add to the wet mixture, alternating with milk. Toss in vanilla extract and a few drops of green gel food coloring. Mix until just combined. - Bake Those Beauties
Divide batter evenly into the 12 cupcake liners—about ¾ full. Bake for 18–20 minutes or until a toothpick comes out clean. Let them cool in the pan for 5 minutes before transferring to a wire rack. Cool completely before frosting, unless you’re into melty chaos. - Make the Peppermint Buttercream
Beat the butter until creamy—about 2 minutes. Add powdered sugar gradually, scraping down the sides. Toss in peppermint extract and heavy cream. Keep beating until it’s smooth, then color with green gel food coloring to match your cupcakes. - Pipe Like a Pro
Scoop frosting into a piping bag with a large star tip and swirl it generously on each cooled cupcake. Top with a single red candy heart right in the center of the swirl. Aww. - Add the Magic
Dust some edible glitter if you’re feelin’ extra. Snap a photo before they disappear—because they will.
Extra Tips
- Use gel food coloring, not liquid. It’s way more vibrant and won’t mess up your batter consistency.
- Room temperature ingredients are key—cold butter or eggs can lead to dense cupcakes.
- If your buttercream is too stiff, add a little more cream, one teaspoon at a time, until it softens up.
- Want taller cupcakes? Fill liners just under the rim (not halfway!) and don’t open the oven door while baking.
- For cleaner frosting swirls, chill your cupcakes for 10 minutes before piping.
- Use a toothpick to test doneness—no crumbs means they’re ready.
Equipment List
- Cupcake/muffin pan
- Mixing bowls (2–3)
- Electric mixer or stand mixer
- Measuring cups and spoons
- Rubber spatula
- Cooling rack
- Piping bag and star piping tip
- Toothpick (for doneness check)
- Cupcake liners
Substitution Options
Need to tweak the recipe? No worries—there’s room for personalization:
- Dairy-Free: Use plant-based butter and almond or oat milk. Just be sure the butter substitute is firm (like Earth Balance sticks) for the right frosting consistency.
- Egg-Free: Swap each egg with 1/4 cup unsweetened applesauce or a flax egg (1 tbsp flaxseed meal + 3 tbsp water, let sit 5 minutes).
- Gluten-Free: Use a 1:1 gluten-free flour blend like Bob’s Red Mill. Don’t skip the xanthan gum if your blend doesn’t include it.
- No Peppermint Fan? Sub peppermint extract with vanilla, almond, or even a splash of orange extract for a twist.
- Food Coloring Alternatives: If avoiding artificial dyes, try natural green powders like matcha or spinach extract (be aware this may alter flavor slightly).
These swaps let everyone—from vegans to picky eaters—get in on the Grinchy goodness.
Make-Ahead Tips
The holidays can feel like a whirlwind, so having dessert ready ahead of time? Absolute lifesaver. Bake the cupcakes a day early and store them in an airtight container at room temp—they’ll stay moist and delicious. You can whip up the frosting up to three days in advance, too. Just stash it in the fridge, then bring it back to room temp and re-whip it to fluff it back up. If you’re feeling super prepared, go ahead and frost and decorate the cupcakes the night before your event. Keep them in the fridge in a cupcake carrier and let them sit out for about 30 minutes before serving so that buttercream gets nice and soft again. Stress-free and party-ready!
Storage Instructions
Leftovers? First of all, wow—impressive restraint. But yes, you can totally store these. Keep any leftover cupcakes in an airtight container at room temperature for up to 2 days. If your kitchen gets warm or you’ve already frosted them, it’s safer to pop them in the fridge. Just let them come back to room temp before eating so the buttercream is creamy and soft again. For longer storage, freeze the unfrosted cupcakes for up to 2 months. Wrap each one tightly in plastic wrap and seal in a freezer bag. Thaw overnight at room temp and frost fresh when ready. Easy peasy, festive squeezy.
Nutritional Information
Here’s the approximate breakdown per cupcake:
- Calories: 320
- Total Fat: 17g
- Saturated Fat: 10g
- Cholesterol: 70mg
- Sodium: 150mg
- Total Carbohydrates: 40g
- Sugars: 30g
- Protein: 2g
Keep in mind, exact values may vary depending on your ingredient brands and portioning.
FAQ
Can I use a boxed cake mix instead of making the cupcakes from scratch?
Absolutely! Use a vanilla or white cake mix and add green food coloring. Just follow the box instructions and you’re good to go.
How strong is the peppermint flavor?
It’s subtle but refreshing—just enough to feel festive without overpowering the vanilla cupcake base.
Can I make these without the red heart decorations?
Totally! They’re still cute and delicious without them, though the heart adds that Grinchy charm.
Can I double the recipe for a party?
Yes! Just double all the ingredients and divide the batter evenly across 24 cupcake liners.
Do I need a piping bag to frost these?
Nope. A zip-top bag with the corner snipped off will work just fine for a more rustic swirl.
Final Thoughts
These Grinch Cupcakes aren’t just a treat—they’re a vibe. They’ve got holiday cheer, playful colors, and a nostalgic nod to everyone’s favorite Christmas curmudgeon. Whether you’re baking them for a party, as a fun family activity, or just because you feel like it (no judgment), they’re guaranteed to put smiles on faces—and probably disappear faster than you can say “roast beast.” So go on, bake your heart out and make the season a little sweeter!