The Best Fluffy Pancakes recipe you will fall in love with. Full of tips and tricks to help you make the best pancakes.
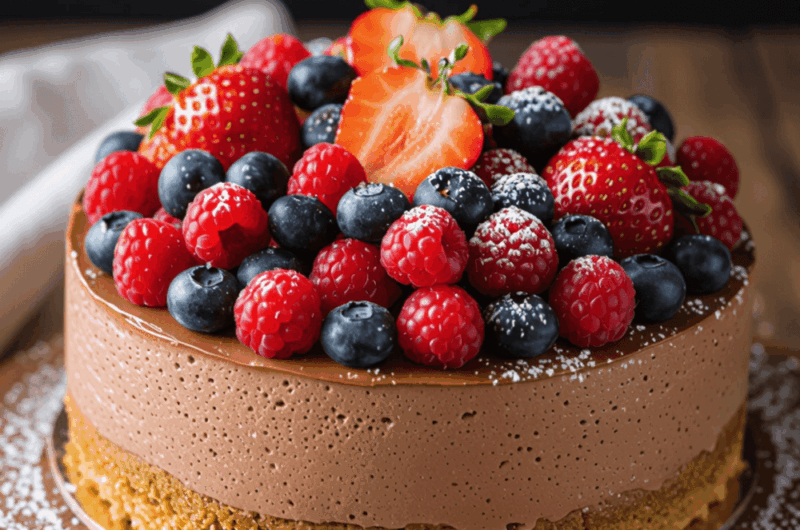
Silky Chocolate Mousse Cake with Ganache Topping
There’s something magical about a slice of Chocolate Mousse Cake. It’s rich yet airy, sophisticated but easy enough to make at home. Every bite offers a silky, chocolatey mousse on a tender base—something you’d expect from a fancy patisserie.
Whether you’re baking for a birthday, an anniversary, or just because you need a decadent treat, this cake always wins hearts.
I still remember the first time I made it for a dinner party. It looked like it came straight from a bakery, but the moment I sliced into it and saw the perfectly set mousse, I knew I had created something special.
And you can too. This guide walks you through every layer of this beauty—from the buttery base to the luscious mousse to the glossy ganache finish.
Recipe Snapshot
| Category | Details |
| Yield | 1 9-inch cake |
| Serving Size | 1 slice |
| Prep Time | 35 minutes |
| Cook Time | 25 minutes |
| Chill Time | 4 hours |
| Total Time | 5 hours |
| Calories per Serving | ~410 |
| Primary Cooking Method | Baking + Chilling |
| Occasion | Celebrations, Holidays, Dinner Parties |
| Diet Type | Vegetarian |
Calories are approximate and may vary depending on exact ingredients used.
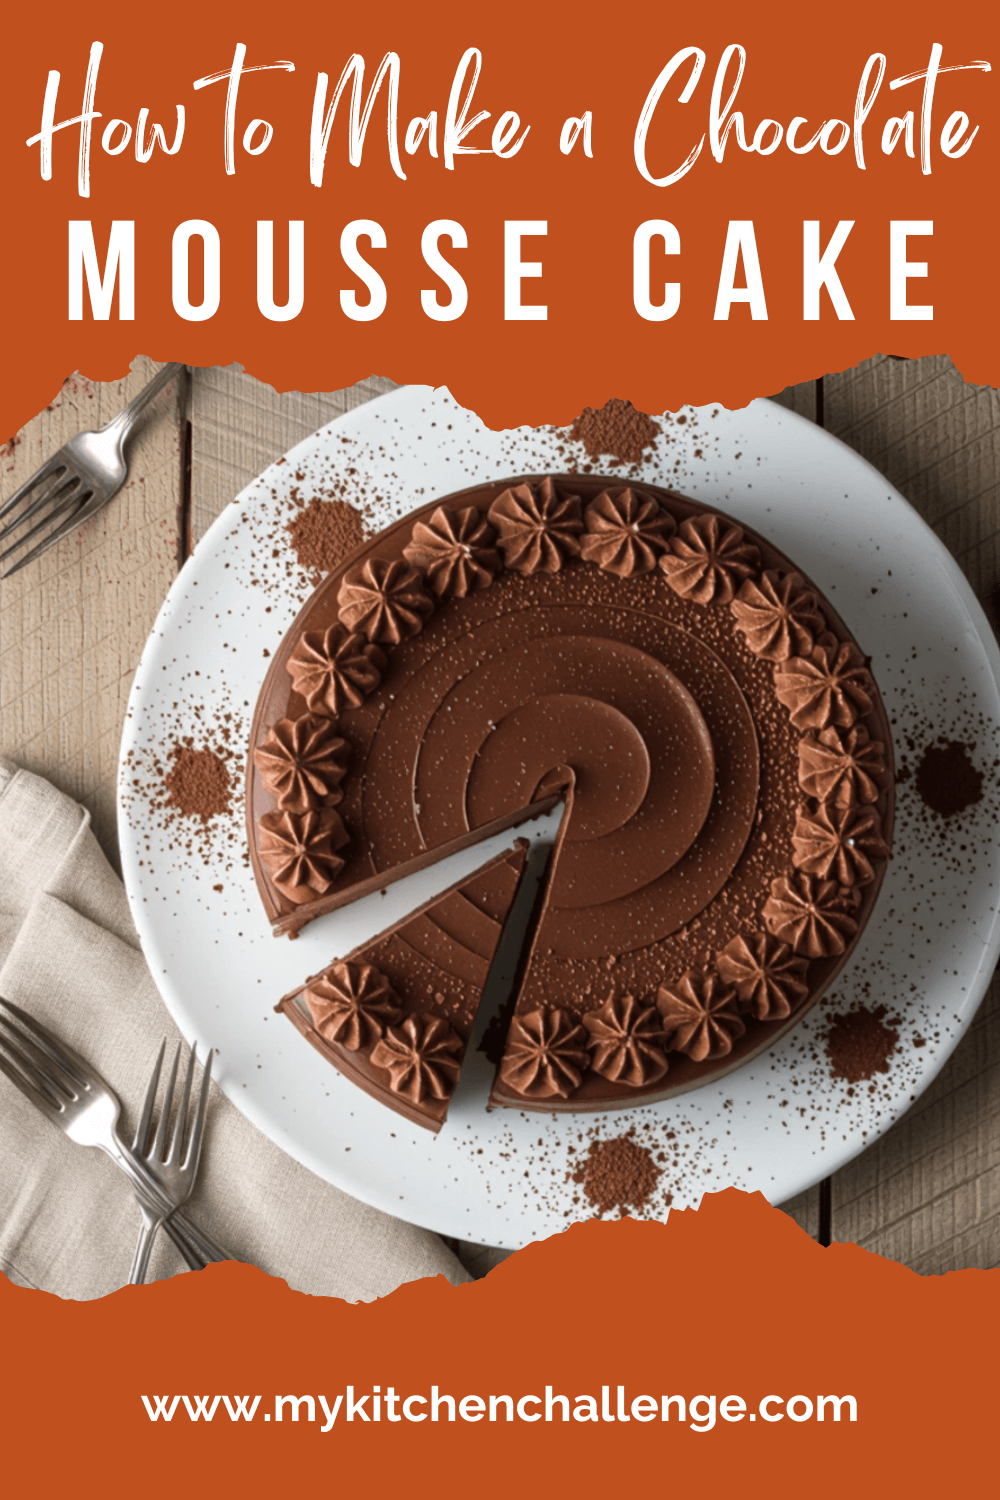
Chocolate Mousse Cake
Course: DessertCuisine: EuropeanDifficulty: IntermediateServings
1
slicePrep time
34
minutesCooking time
25
minutesCalories
410
kcalA Chocolate Mousse Cake is the perfect balance of richness and elegance, layered with fluffy mousse over a moist chocolate cake base. The mousse is made with real chocolate and whipped cream for an airy, melt-in-your-mouth texture, while the cake layer brings structure and depth.
Whether you’re serving it at a dinner party, enjoying it solo with coffee, or making it for a celebration, this recipe creates a luxurious dessert without needing complex techniques or rare ingredients.
Ingredients
- For the Cake Base
1/2 cup (113g) unsalted butter, softened
3/4 cup (150g) granulated sugar
2 large eggs
1 tsp vanilla extract
1/2 cup (50g) unsweetened cocoa powder
1/2 cup (60g) all-purpose flour
1/4 tsp salt
1/4 tsp baking powder
1/2 cup (120ml) milk
- For the Chocolate Mousse
1 1/2 cups (350ml) heavy cream (cold)
8 oz (225g) semi-sweet or dark chocolate (chopped)
3 tbsp unsalted butter
1 tsp vanilla extract
1/4 cup (30g) powdered sugar (optional, to taste)
- Optional Ganache Topping
4 oz (113g) semi-sweet chocolate, chopped
1/2 cup (120ml) heavy cream
Directions
- Prepare the Cake Base
Preheat your oven to 350°F (175°C). Grease and line a 9-inch springform pan with parchment paper.
In a large bowl, cream butter and sugar until light and fluffy. Beat in the eggs one at a time, followed by vanilla extract.
Sift in the flour, cocoa powder, salt, and baking powder. Mix until just combined. Stir in the milk slowly until the batter is smooth.
Pour into the pan and smooth the top. Bake for 20–25 minutes, or until a toothpick inserted comes out clean. Let it cool completely in the pan. - Make the Chocolate Mousse Layer
In a heatproof bowl, combine chopped chocolate and butter. Melt over a saucepan of simmering water (double boiler), stirring occasionally until smooth. Remove from heat and let it cool slightly.
In a separate large bowl, whip cold heavy cream until soft peaks form. Add vanilla extract and powdered sugar if using. Gently fold in the melted chocolate mixture, one-third at a time, until no streaks remain.
Be patient while folding to avoid losing the whipped texture. The goal is to incorporate the chocolate while keeping the volume intact. - Assemble the Layers
Once the cake base is fully cooled, pour the mousse over the top while it’s still in the springform pan. Smooth the surface with a spatula.
Gently tap the pan to release any air bubbles. Cover with plastic wrap and refrigerate for at least 4 hours, or until the mousse is firm to the touch. - (Optional) Add Ganache Topping
In a small saucepan, heat heavy cream until just simmering. Pour over the chopped chocolate and let it sit for 2 minutes, then whisk until smooth.
Let the ganache cool slightly before pouring it over the chilled mousse. Use an offset spatula to spread evenly.
Chill for another 30 minutes before serving. This sets the ganache without affecting the mousse texture underneath. - Slice and Serve
Run a knife along the edge of the springform pan before releasing. Use a warm knife for clean slices. Garnish with chocolate curls, cocoa powder, or fresh berries for a polished look.
If your slices aren’t neat on the first try, refrigerate for another 30 minutes before cutting again.
Extra Tips for the Creamiest Texture and Perfect Slices
- Use cold heavy cream for whipping. Warm cream won’t hold volume.
- Fold mousse gently to avoid deflating it.
- Don’t rush chilling time—the mousse needs time to set properly.
- For smoother ganache, let it cool slightly before pouring it on the mousse.
- A warm knife (dip in hot water and wipe) gives the cleanest cake slices.
- If your mousse is grainy, the chocolate was likely too hot. Let it cool to lukewarm before folding in.
Equipment Checklist
Before you start, gather these essential tools:
- 9-inch springform pan
- Mixing bowls (large and medium)
- Electric mixer or stand mixer
- Whisk and rubber spatula
- Small saucepan
- Offset spatula (optional)
- Fine mesh strainer (if needed for cocoa)
Make-Ahead Tips for a Stress-Free Experience
You can make the cake base a day ahead and keep it wrapped at room temperature. The mousse can also be made a few hours in advance and stored separately if you plan to assemble later. Fully assembled mousse cake stays well for up to 2 days in the fridge. For events, consider making it the night before for best texture and ease.
How to Store Chocolate Mousse Cake Properly
Store leftover cake in the fridge, tightly covered. It will stay fresh for 3–4 days. For longer storage, freeze slices individually and wrap them well. Thaw in the fridge overnight before serving.
Avoid leaving the cake at room temperature for more than 2 hours, especially in warmer climates.
Frequently Asked Questions
Q: Can I use milk chocolate instead of dark chocolate?
Yes, but the cake will be noticeably sweeter. Adjust the sugar in the mousse accordingly.
Q: Can I skip the cake base?
Yes! Use crushed cookies and butter for a no-bake version instead.
Q: I don’t have a springform pan—what should I use?
A regular 9-inch cake pan works too, but line it with plastic wrap or parchment so you can lift the cake out easily.
Q: How long does it take to set in the fridge?
Minimum 4 hours, but overnight is even better.
Q: Can I add coffee to the mousse?
Absolutely! Add 1 tsp of espresso powder to the melted chocolate for a mocha kick.
Serving Suggestions That Wow
Plate your mousse cake slices with a dusting of cocoa powder, chocolate curls, or a spoonful of whipped cream. Add a few fresh raspberries or strawberries on the side to cut through the richness.
For a dinner party, serve with a glass of dessert wine or espresso. It pairs beautifully.
For an elegant touch, drizzle a raspberry coulis or place edible gold flakes on top.
Nutritional Overview
| Nutrient | Amount per Serving |
| Calories | 410 |
| Protein | 5g |
| Fat | 28g |
| Carbohydrates | 35g |
| Sugar | 24g |
| Fiber | 2g |
| Calcium | 60mg |
Values may vary depending on ingredients used.
Final Thoughts
This Chocolate Mousse Cake is not only beautiful—it’s indulgent, smooth, and easier to make than it looks. Every bite is pure chocolate joy, perfect for special celebrations or spoiling yourself with something fancy yet homemade.
With a bit of patience and some good chocolate, this cake will make you look like a pro. So go ahead—gather your tools, melt some chocolate, and whip up a dessert that feels like a hug in every slice.