The Best Fluffy Pancakes recipe you will fall in love with. Full of tips and tricks to help you make the best pancakes.
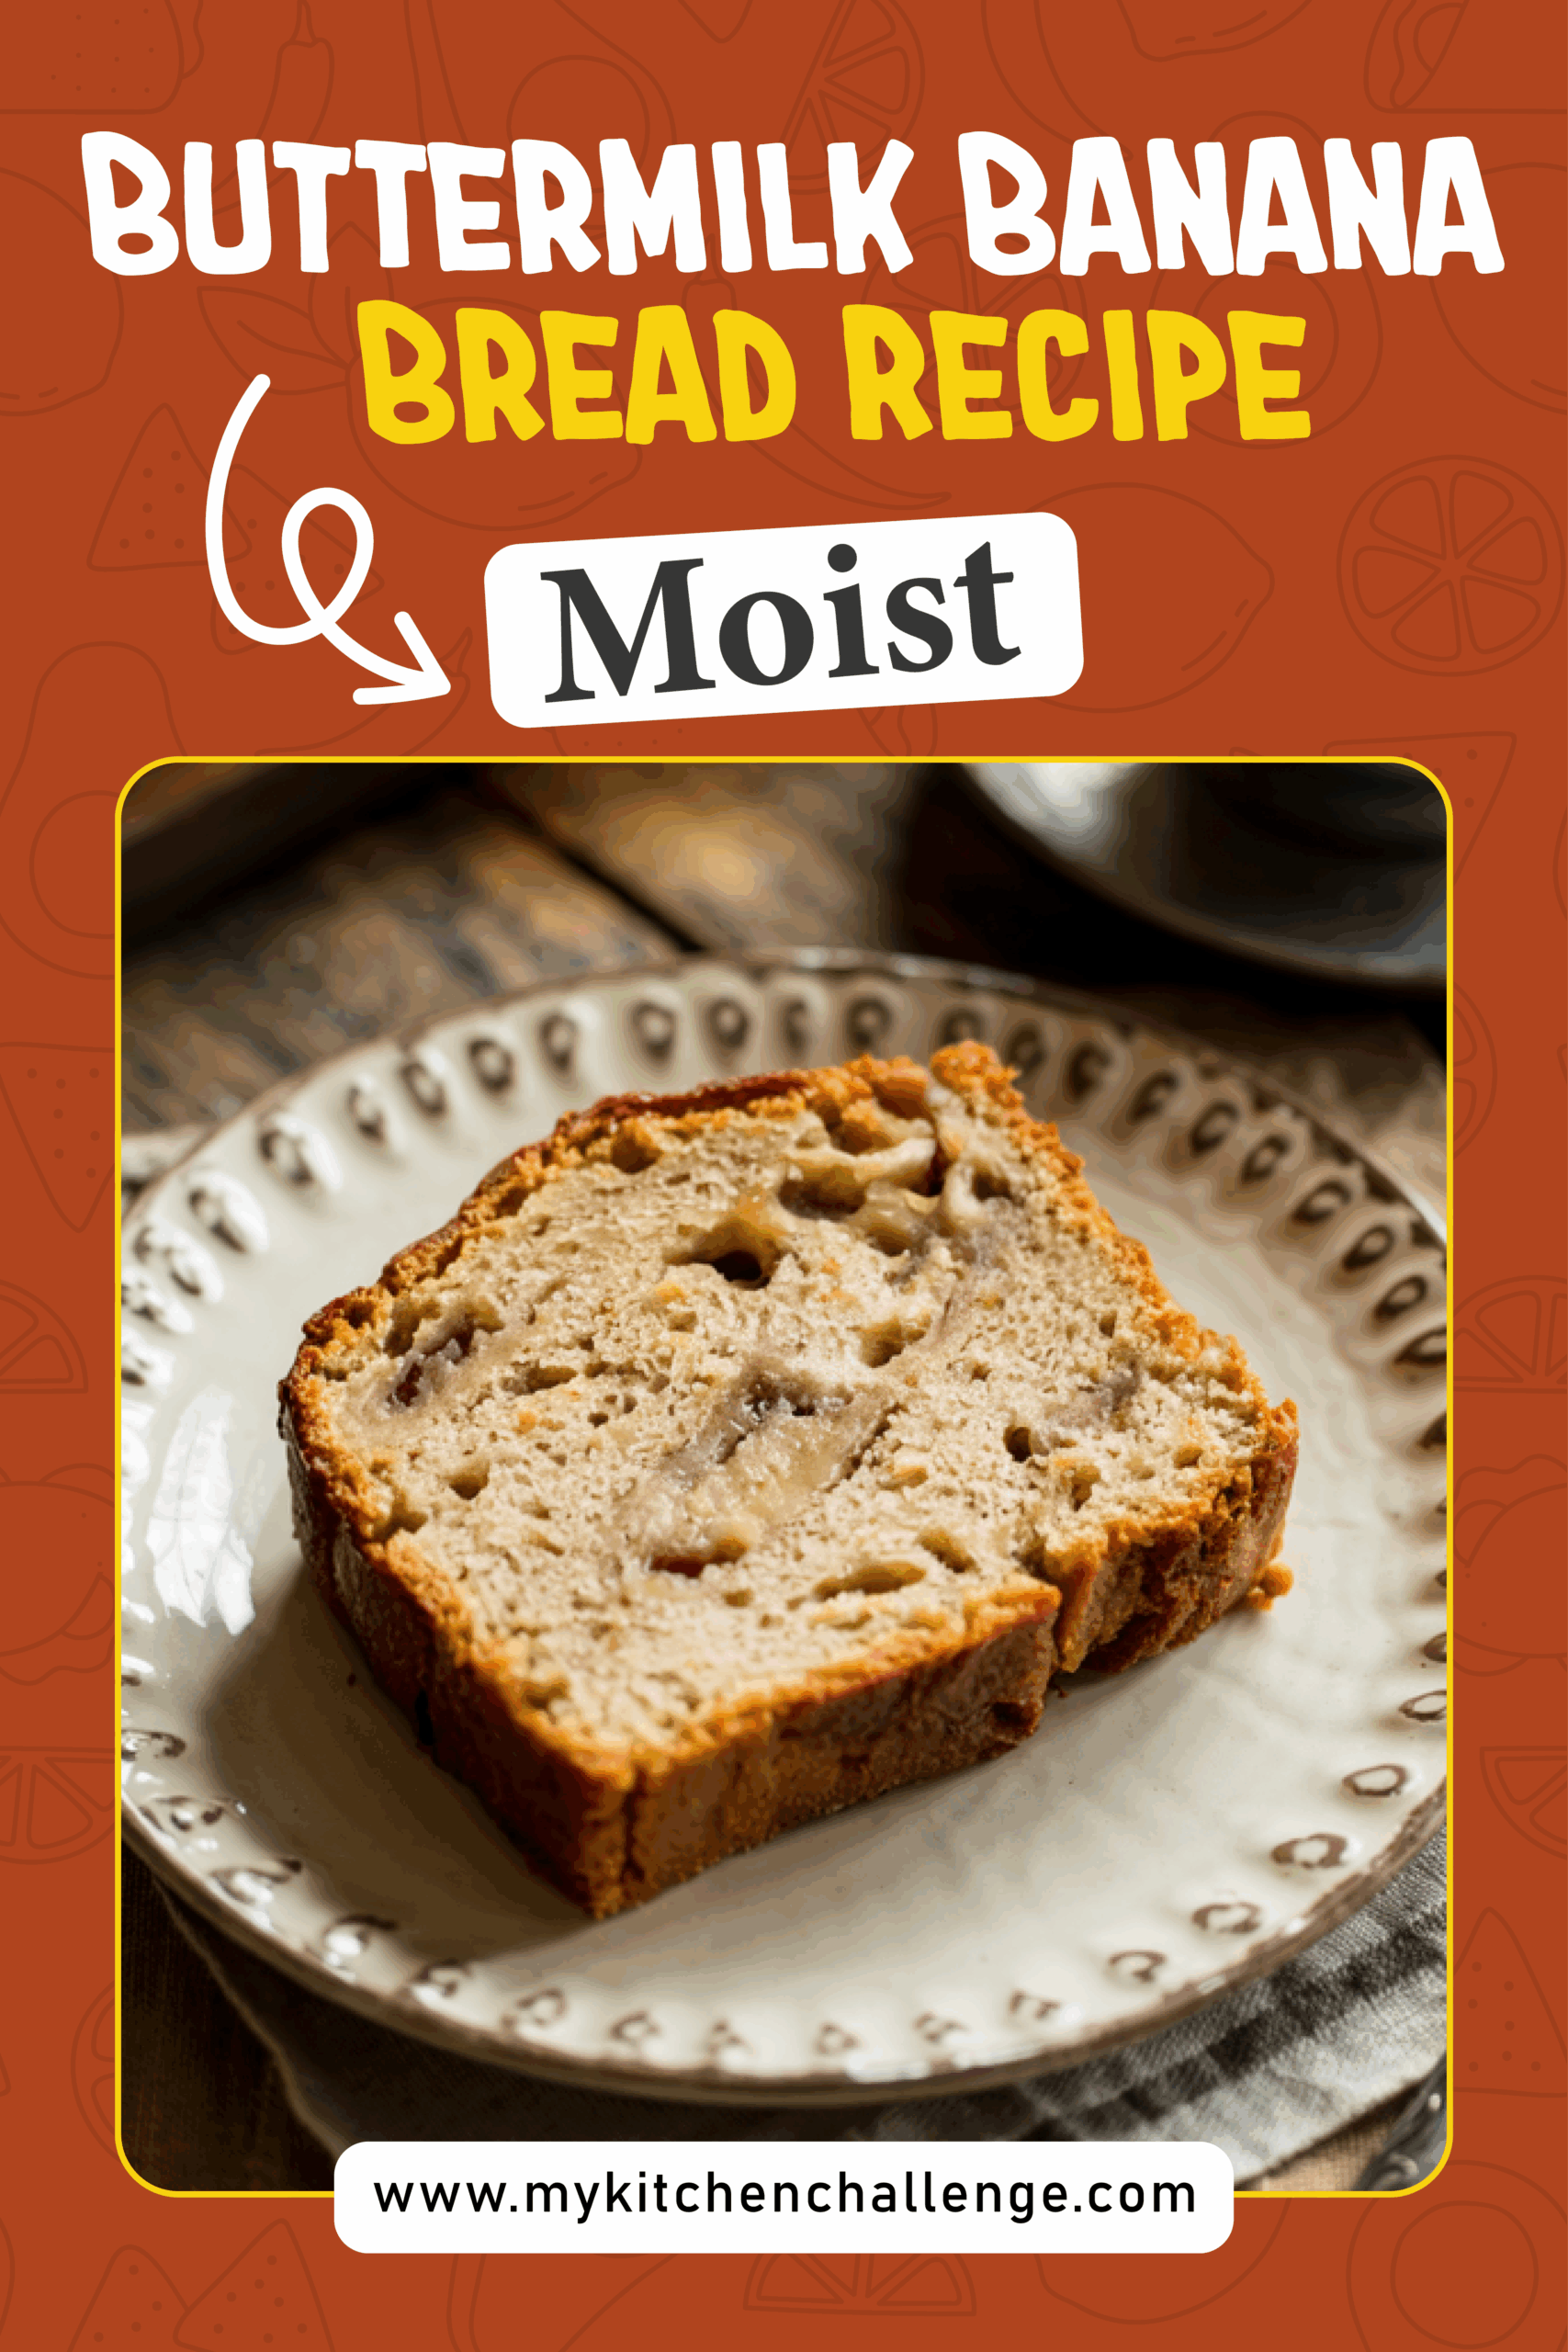
Buttermilk Banana Bread Recipe: Moist, and Flavorful
There is something magical about the comforting aroma of freshly baked banana bread wafting through your kitchen. It’s nostalgic, warm, and feels like a gentle hug after a long day. Whenever I have ripe bananas sitting on my counter, I know it’s time to make a loaf of this rich, tender, and slightly tangy Buttermilk Banana Bread.
The best part? It doesn’t require any complicated techniques or fancy equipment. It’s a simple, straightforward recipe that delivers bakery-quality results at home. Whether you are a beginner or a seasoned baker, this recipe will become a cherished part of your collection.
Let’s dive into the most foolproof Buttermilk Banana Bread recipe you will ever need!
Recipe Snapshot (Quick Facts)
Here’s a quick glance at the key facts you need to know before starting your Buttermilk Banana Bread.
| Category | Details |
| Yield | 1 loaf |
| Serving Size | 1 slice |
| Prep Time | 15 minutes |
| Bake Time | 55-65 minutes |
| Total Time | 1 hour 20 minutes |
| Calories per Serving | ~220 calories |
| Primary Cooking Method | Baking |
| Cooling Time | 30 minutes |
| Occasion | Breakfast, Brunch, Snack |
| Diet Type | Vegetarian |
Calories are approximate and may vary depending on exact ingredients used.

Buttermilk Banana Bread Recipe
Course: BreakfastCuisine: AmericanDifficulty: EasyServings
4
servingsPrep time
30
minutesCooking time
40
minutesCalories
300
kcalThis Buttermilk Banana Bread is moist, slightly tangy, and bursting with banana flavor. Using buttermilk not only tenderizes the crumb but also deepens the overall taste, making it richer and more satisfying.
Ingredients
1 and 1/2 cups (190g) all-purpose flour
1 teaspoon baking soda
1/4 teaspoon salt
1/2 teaspoon ground cinnamon (optional but recommended)
1/2 cup (115g) unsalted butter, softened
3/4 cup (150g) brown sugar (light or dark)
2 large eggs
1 teaspoon pure vanilla extract
1/2 cup (120ml) buttermilk
3 very ripe bananas, mashed (about 1 and 1/2 cups)
1/2 cup chopped walnuts or pecans (optional)
1 tablespoon granulated sugar (for sprinkling on top, optional)
Step-by-Step Directions
- Prepare Your Pan and Preheat Oven
Start by greasing your loaf pan and setting your oven to the right temperature so everything is ready to go.
Grease a 9×5-inch loaf pan with butter or non-stick spray. You can also line it with parchment paper for easier removal. Preheat your oven to 350°F (177°C). - Mix the Dry Ingredients
Getting your dry ingredients ready first keeps everything organized when you start mixing.
In a medium bowl, whisk together the flour, baking soda, salt, and cinnamon. Set aside. - Cream the Butter and Sugar
This step creates the base of your batter, so take your time to make it light and fluffy.
In a large bowl, beat the softened butter and brown sugar together until light and creamy. You can use a hand mixer or a sturdy whisk if mixing by hand. - Add Eggs and Vanilla
Incorporating eggs one at a time ensures a smooth batter without curdling.
Beat in the eggs one at a time. Add the vanilla extract and mix until fully combined. - Add the Mashed Bananas
The mashed bananas are the star ingredient that gives moisture and flavor to the bread.
Fold the mashed bananas into the wet ingredients. It’s okay if the mixture looks a little lumpy — that’s normal! - Alternate Dry Ingredients and Buttermilk
This technique helps maintain a tender crumb without overworking the batter.
Add the dry ingredients in three additions, alternating with the buttermilk. Start and end with the dry ingredients. Mix just until combined — do not overmix or your bread may become dense. - Fold in Nuts (Optional)
Adding nuts is optional, but they create a delightful texture contrast.
If using, gently fold in the chopped walnuts or pecans. They add a delightful crunch to the soft crumb. - Transfer to Pan and Bake
Pour the batter into the prepared loaf pan and smooth the top. If you like, sprinkle 1 tablespoon of granulated sugar evenly over the batter for a slightly crunchy top.
Bake for 55-65 minutes, or until a toothpick inserted into the center comes out clean with just a few moist crumbs attached. - Cool Before Serving
Allow the bread to cool properly to lock in the moisture before slicing.
Allow the bread to cool in the pan for 10 minutes, then remove it from the pan and let it cool completely on a wire rack before slicing.
Notes
- Mix the Dry Ingredients: You can whisk together the dry ingredients and store them in an airtight container for up to 2 days ahead.
- Mash Bananas: Store mashed bananas in an airtight container in the refrigerator for up to 2 days or freeze them for up to a month.
- Fully Bake and Freeze: Cool the baked loaf completely, then wrap tightly and freeze for up to 3 months. Thaw at room temperature overnight.
Equipment You’ll Need
Before you start, make sure you have the right tools for easy preparation and baking.
- 9×5-inch loaf pan
- Mixing bowls (medium and large)
- Whisk
- Rubber spatula
- Electric mixer (optional, can mix by hand)
- Measuring cups and spoons
- Cooling rack
- Toothpick (for doneness check)
Storage Instructions
Keep your bread tasting fresh and moist with the right storage method.
- At Room Temperature: Store wrapped in plastic wrap or an airtight container for up to 3 days.
- In the Refrigerator: Can last up to 7 days but may dry out slightly.
- In the Freezer: Wrap tightly and freeze for up to 3 months.
Helpful Extra Tips for Best Results
A few insider tips can make a noticeable difference in your final bake.
- Don’t overmix the batter — just until you no longer see streaks of flour.
- Use very ripe bananas with plenty of brown spots for the best flavor and natural sweetness.
- Tent with foil if the bread is browning too quickly before the center is done.
- Use room temperature ingredients for a better emulsified batter.
Frequently Asked Questions About Buttermilk Banana Bread
Got questions? Here are answers to the most common ones to help you perfect your banana bread!
Q: Can I substitute buttermilk with regular milk?
A: For best results, stick to buttermilk. If you don’t have it, you can make a quick substitute by adding 1 tablespoon of lemon juice or vinegar to ½ cup milk. Let it sit for 5 minutes before using.
Q: Why is my banana bread dry?
A: Overbaking or using too much flour can make your bread dry. Always measure your flour properly (spoon and level method) and keep an eye on your baking time.
Q: Can I add chocolate chips?
A: Absolutely! Fold in about 1/2 cup of chocolate chips with the nuts for an extra indulgent treat.
Q: How do I know when it’s fully baked?
A: Insert a toothpick into the center of the loaf. It should come out mostly clean with a few moist crumbs attached but no raw batter.
Ingredient Selection Tips
Choosing the right ingredients is key to getting that perfect texture and flavor.
- Bananas: Overripe with brown spots are ideal. They are sweeter and mash easily.
- Butter: Use unsalted butter to control the saltiness of the bread.
- Flour: All-purpose flour works best. For a slightly heartier texture, you can substitute up to 1/2 cup with whole wheat flour.
Serving Suggestions
Wondering how to enjoy your fresh-baked loaf? Here are some ideas!
- Serve warm with a smear of salted butter.
- Toast slices lightly and top with cream cheese.
- Pair with a hot cup of coffee or chai for a cozy breakfast.
- Top with a dollop of whipped cream or vanilla yogurt for a light dessert.
Final Words: Why You’ll Fall in Love with This Recipe
This Buttermilk Banana Bread is more than just another quick bread recipe — it’s a nostalgic treat that brings comfort with every slice. It’s incredibly moist, perfectly sweet, slightly tangy, and beautifully balanced. Every bite is soft, tender, and filled with rich banana flavor. Whether you’re baking for yourself, your family, or for a special gathering, this recipe is sure to impress.
Once you bake it, you’ll find yourself reaching for those ripening bananas more eagerly than ever before. Happy baking!