The Best Fluffy Pancakes recipe you will fall in love with. Full of tips and tricks to help you make the best pancakes.
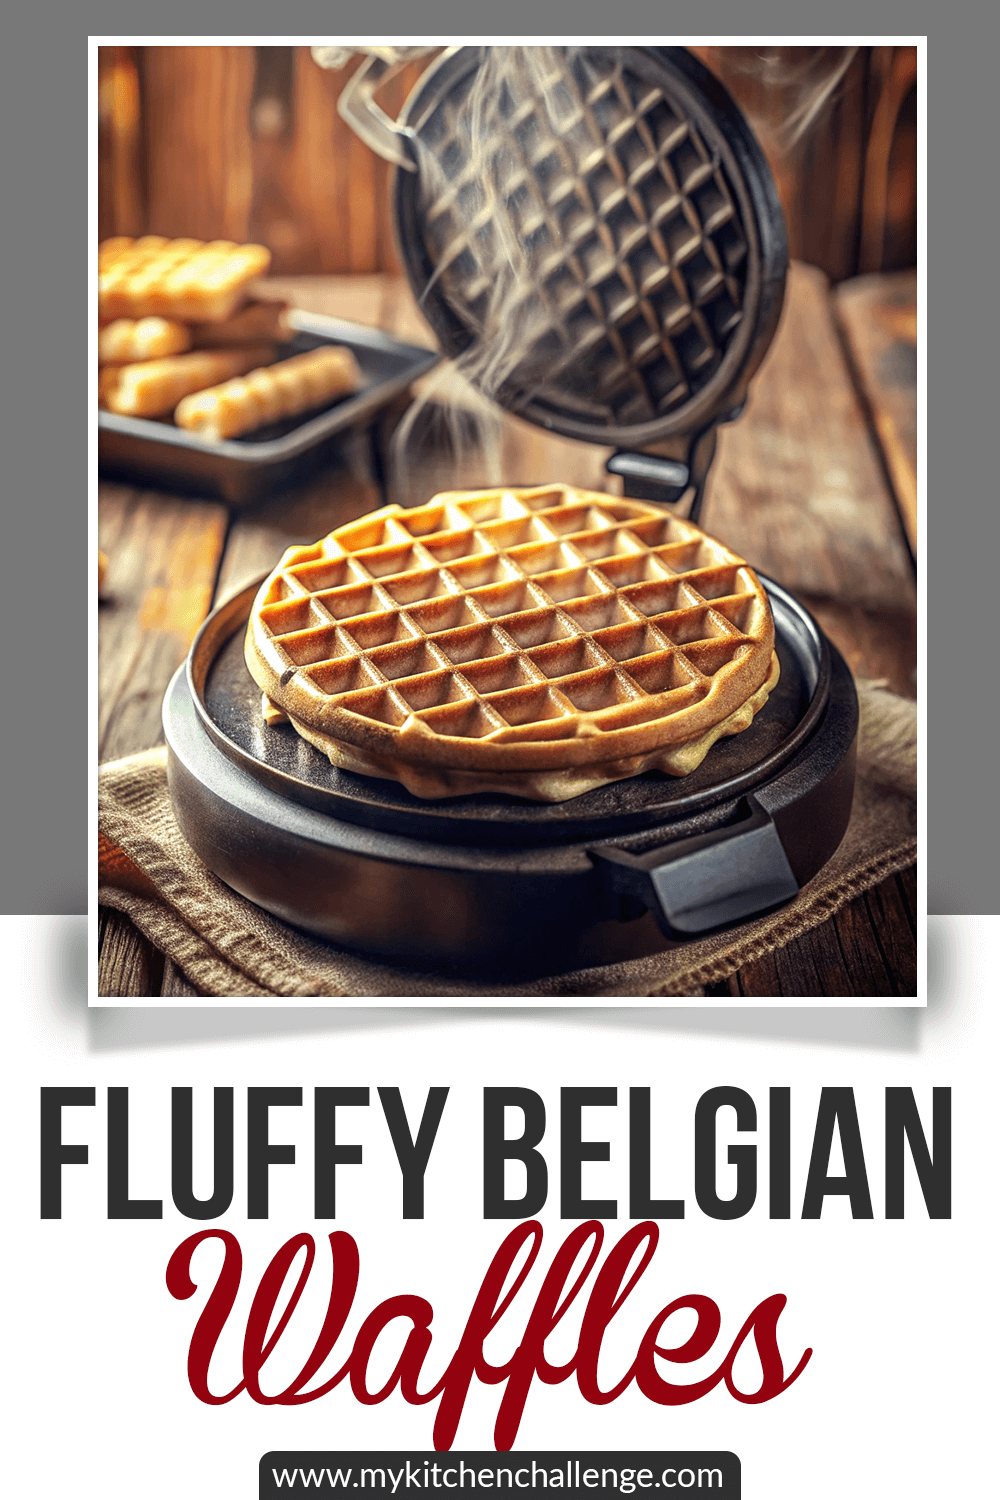
Fluffy, Golden, Crispy Waffle Recipe That’ll Rock Your Brunch
I’ve got a little confession: I used to think waffles were just pancakes with abs. Crunchy, golden abs. But oh no—waffles are their own glorious, fluffy, crispy, butter-trapping universe, and once you make them from scratch, there’s no going back to the frozen aisle.
This recipe is the waffle equivalent of that warm hug you didn’t know you needed. Crispy on the outside, soft and airy on the inside, and totally customizable depending on how fancy or lazy your Sunday morning is. Whether you’re a sweet maple syrup type or a fried-chicken-and-sriracha daredevil, this one’s got you covered.
Recipe Snapshot
| Category | Details |
| Yield | 6 large waffles |
| Serving Size | 1 waffle |
| Prep Time | 10 minutes |
| Cook Time | 20 minutes |
| Total Time | 30 minutes |
| Calories per Serving | 310 |
| Primary Cooking Method | Waffle iron/griddle |
Calories are approximate and may vary depending on exact ingredients used.
Waffle Recipe
Course: Breakfast, DessertCuisine: American, French-inspiredDifficulty: EasyServings
1
wafflePrep time
10
minutesCooking time
20
minutesCalories
310
kcalThis waffle recipe is your golden ticket to brunch heaven. It’s fluffy, it’s crispy, and it doesn’t taste like cardboard—which is more than I can say for most boxed mixes. The magic lies in whipping the egg whites separately. Yes, it’s an extra step, but your taste buds will thank you.
Ingredients
- Dry Ingredients
2 cups all-purpose flour
1 tablespoon baking powder
1/2 teaspoon baking soda
1/2 teaspoon salt
2 tablespoons granulated sugar
- Wet Ingredients
2 large eggs, separated
1 and 3/4 cups whole milk (room temp)
1/2 cup unsalted butter, melted and slightly cooled
1 teaspoon vanilla extract
Directions
- Preheat Your Waffle Iron
Before you touch the batter, plug in your waffle iron and set it to medium-high heat. A properly preheated iron ensures your waffles get that signature crispy edge. Spray it lightly with cooking spray or brush with melted butter if it’s not non-stick. - Combine the Dry Ingredients
Grab a large mixing bowl. Add the flour, baking powder, baking soda, salt, and sugar. Give it all a good whisk. This ensures even distribution of the leaveners, so your waffles puff up evenly like golden pillows. - Separate and Whip the Egg Whites
Crack those eggs carefully—yolks in one bowl, whites in another (very clean and dry). Use an electric mixer to beat the whites until stiff peaks form. This means when you lift the beater, the peaks should stand firm without collapsing. This step gives your waffles lift-off—literally. - Mix the Wet Ingredients
In the bowl with the yolks, whisk in the milk, cooled melted butter, and vanilla extract. Stir until smooth and combined. Make sure your butter isn’t hot, or it’ll scramble the eggs (and no one wants that in their waffles). - Bring the Wet and Dry Together
Pour the wet mixture into the dry ingredients. Gently stir with a whisk or spatula until most of the flour streaks disappear. Don’t overdo it—overmixing leads to dense, rubbery waffles. A few lumps are totally fine. - Fold in the Whipped Egg Whites
Take your fluffy egg whites and gently fold them into the batter using a rubber spatula. Do this slowly and carefully so you don’t deflate all that lovely air. Your final batter should be thick but airy and light. - Fill and Cook in the Waffle Iron
Using a ladle or measuring cup, pour the batter into the center of the hot waffle iron. Let it spread naturally but don’t overfill (overflowing batter equals mess and sadness). Close the lid and let it do its thing for 3-5 minutes or until your waffle is golden brown with crisp edges. - Check for Doneness
Peek when the waffle iron stops steaming heavily. If your waffle resists lifting and feels soft, it needs more time. Perfect waffles should lift easily and have a firm, golden surface. Repeat until all the batter is used. - Serve Fresh and Hot
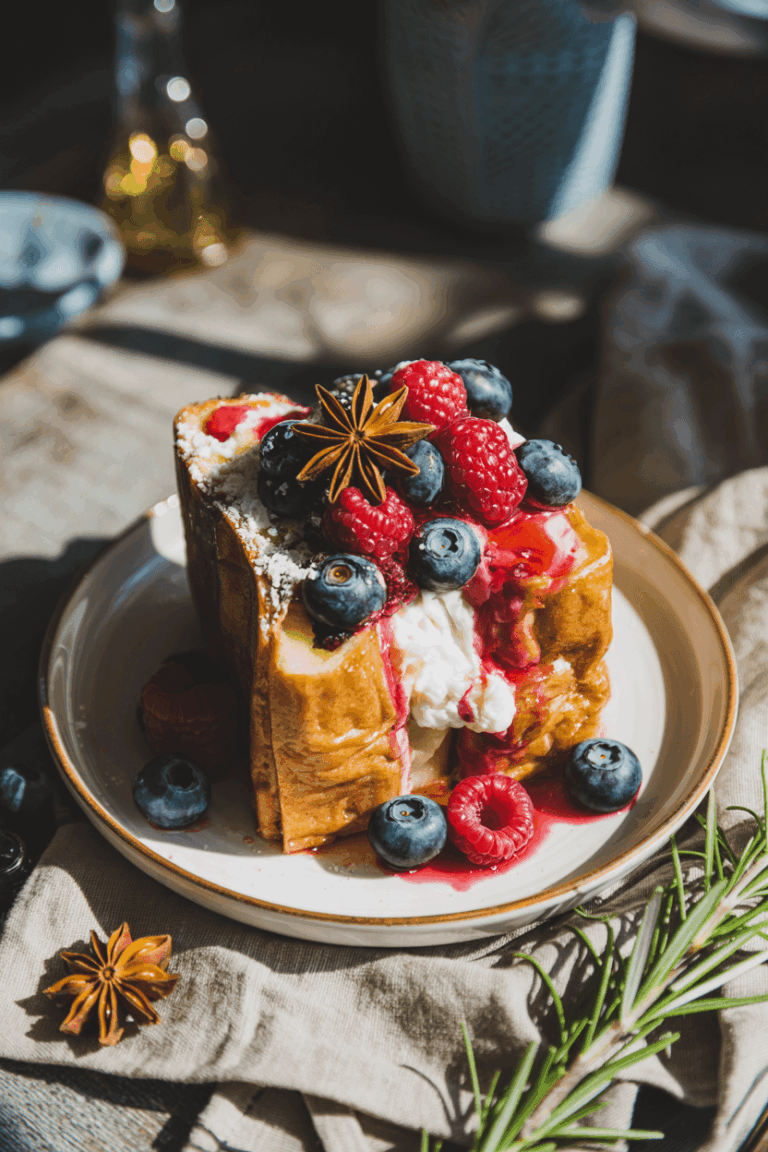
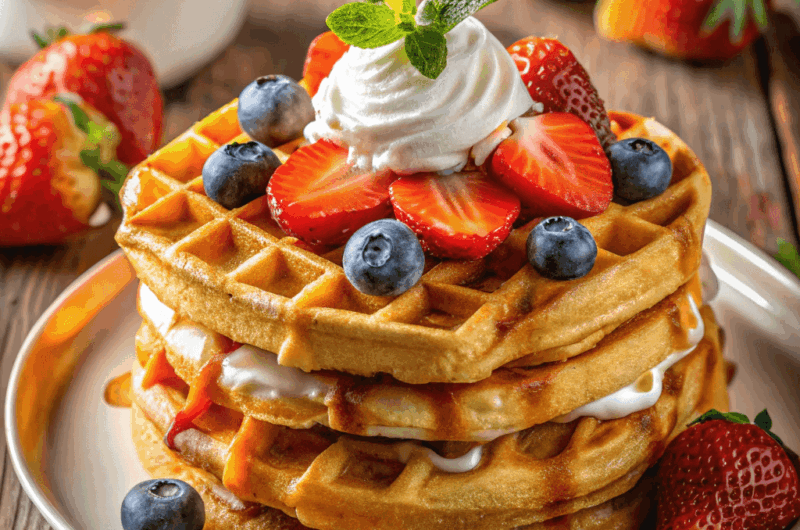
Serve immediately while warm! Top with butter and maple syrup, a pile of fresh berries, whipped cream, or even a scoop of ice cream if you’re feeling wild. Waffles wait for no one—they’re best hot and crispy.
Extra Tips
- Don’t skip whipping the egg whites—it makes a big difference in texture.
- Use room temperature milk and eggs for a smoother batter.
- Make sure your waffle iron is fully preheated before adding batter.
- Resist the urge to peek too early—let the steam be your timer.
- Lightly grease the waffle iron before each batch to prevent sticking.
- Keep cooked waffles warm in a 200°F oven while finishing the rest.
- For super crispy waffles, add a little cornstarch (1-2 tablespoons) to the dry mix.
Equipment List
- Waffle iron (non-negotiable)
- Large mixing bowls (one for wet, one for dry, one for egg whites)
- Electric mixer or handheld whisk (for whipping egg whites)
- Measuring cups and spoons
- Rubber spatula (for gentle folding)
- Ladle or measuring cup (for pouring batter)
- Whisk
Substitution Options
No whole milk? No problem. You can use almond milk, oat milk, or even coconut milk for a dairy-free twist. Just note that the flavor and texture might vary slightly—but not in a bad way. For the butter, swap in melted coconut oil or a vegan butter alternative to keep things plant-based.
And if you’re out of eggs, a flax egg (1 tablespoon flaxseed meal + 2.5 tablespoons water per egg) works surprisingly well here. Gluten-free?
Use a 1:1 baking flour blend and skip the overmixing to keep the batter light. Whether you’re vegan, lactose-intolerant, or just improvising with what’s in your pantry, this waffle recipe has your back.
Make-Ahead Tips
Wanna get ahead of your brunch game? You totally can. The dry ingredients can be mixed the night before and stored in an airtight container. The wet ingredients can also be whisked and refrigerated overnight—just give them a quick stir before combining with the dry mix in the morning.
Even better? Cooked waffles freeze like a dream. Let them cool completely on a wire rack (don’t stack them or they’ll go soggy).
Then pop them into a zip-top freezer bag with a piece of parchment between each one. When you’re ready to eat, reheat in the toaster or oven until crispy again. Bam—homemade waffles on demand.
Storage Instructions
Got leftovers? First, let the waffles cool completely on a wire rack—don’t stack ‘em or you’ll end up with a soggy pile. Once cool, you can stash them in the fridge for up to 3 days. Just toss them in an airtight container or wrap them in foil.
For longer storage, freezing is your best bet. Layer waffles with parchment paper in between (to avoid that frozen waffle clump tragedy) and freeze in a zip-top bag for up to 2 months.
When that waffle craving hits, just pop one into the toaster or toaster oven. They reheat like champs—crisp on the outside, soft on the inside, just like fresh.
FAQ Section
Can I make the batter ahead of time?
You can prep the dry and wet ingredients separately the night before, but don’t mix everything until right before cooking. Mixing too early can deflate the batter and affect the texture.
Why do my waffles come out soggy?
It’s usually due to undercooking or steam getting trapped. Let them cook fully and rest on a wire rack instead of stacking. And avoid closing them in a container right after cooking—they need to vent.
Can I use pancake mix for waffles?
Technically, yes, but you won’t get that crispy texture or rich flavor. Waffle batter usually has more fat and sugar to achieve that golden crunch.
How do I reheat waffles without making them rubbery?
Pop them in a toaster or toaster oven! Skip the microwave—it softens the edges and makes waffles chewy.
Is a Belgian waffle iron required?
Nope! You can use any waffle iron you have. Belgian irons make thicker, fluffier waffles, but a classic iron works just as well.
Serving Suggestions
Waffles are a blank canvas—and the topping options are borderline endless. Go classic with a generous pour of maple syrup and a pat of salted butter melting into the pockets.
Feeling fruity? Top with fresh berries, banana slices, or caramelized apples. For a brunch party, offer a DIY waffle bar with toppings like whipped cream, chocolate chips, nuts, and sauces.
Craving savory? These waffles pair like a dream with crispy fried chicken, bacon, or even a poached egg and avocado. And don’t sleep on dessert waffles—add a scoop of vanilla ice cream, drizzle with chocolate syrup, and maybe throw on some sprinkles just because you can.
Nutritional Information
Each waffle (based on a batch of 6) has approximately:
- Calories: 310
- Total Fat: 18g
- Saturated Fat: 10g
- Carbohydrates: 30g
- Sugar: 6g
- Protein: 6g
- Fiber: 1g
- Sodium: 400mg
Note: Nutritional values are estimates and can vary depending on exact ingredients used.
Final Thoughts
So, there you have it—waffles that hit all the right notes: fluffy, crispy, rich, and endlessly adaptable. Whether you’re hosting brunch, meal prepping for the week, or just need a plate of comfort, this recipe’s got your back. Once you try homemade waffles this good, those freezer box ones just won’t cut it anymore. Go on, fire up that waffle iron and make some breakfast magic happen!