The Best Fluffy Pancakes recipe you will fall in love with. Full of tips and tricks to help you make the best pancakes.
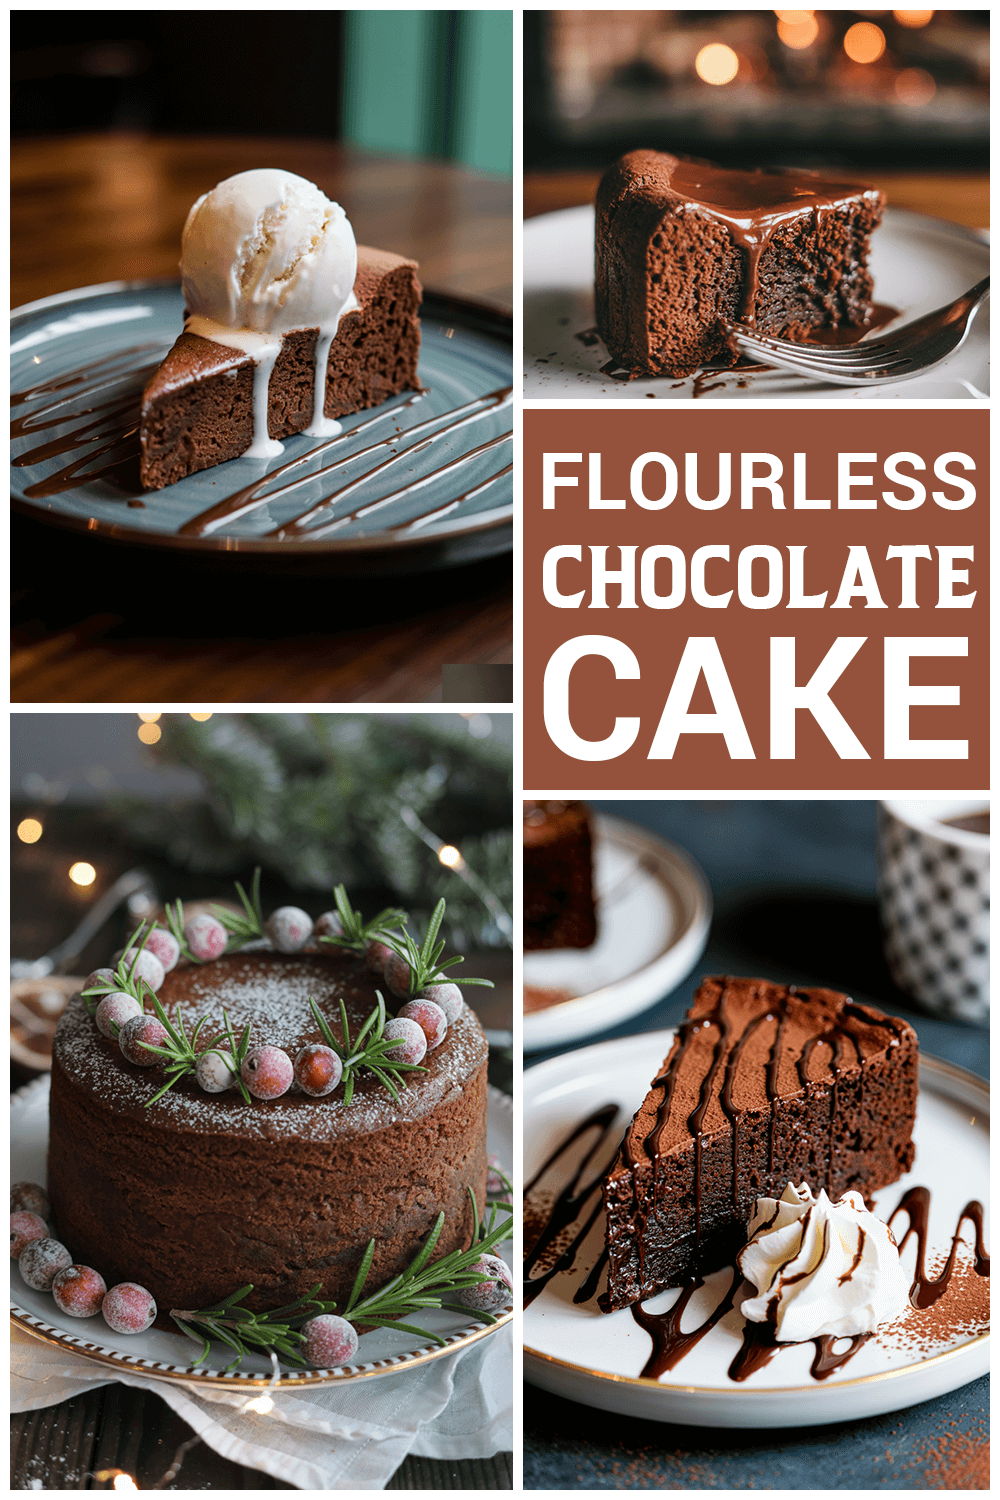
Melt-in-Your-Mouth Flourless Chocolate Cake Recipe
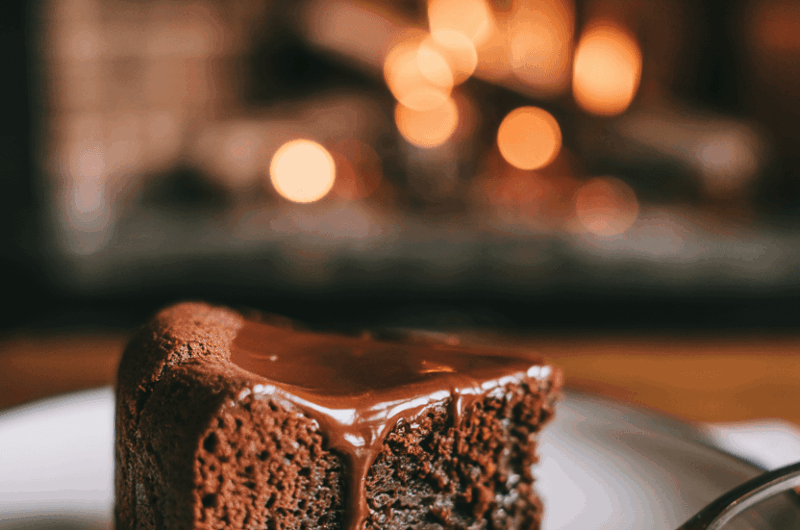
There are desserts that whisper sweet nothings to your tastebuds, and then there are ones that practically shout, “I’M RICH, I’M DECADENT, LOVE ME!” This Flourless Chocolate Cake? Yeah, she’s the drama queen of the dessert table—and we are absolutely here for it.
It’s dense in the best way, like a rich fudge in cake form. There’s no flour, so the chocolate flavor just takes over completely. Think silky, smooth, and so intense you’ll wonder how just a few ingredients can turn into something this magical.
Whether you’re going gluten-free by choice or necessity—or you just love the idea of chocolate in its most gloriously unfiltered form—this cake delivers every time.
Recipe Snapshot
| Category | Details |
| Yield | 1 cake (8-inch round) |
| Serving Size | 1 slice (1/10th of cake) |
| Prep Time | 20 minutes |
| Cook Time | 25 minutes |
| Total Time | 45 minutes |
| Calories per Serving | ~320 kcal |
| Primary Cooking Method | Baking |
| Cooling Time | 1 hour |
| Occasion | Holidays, Dinner Parties |
| Diet Type | Gluten-Free |
Calories are approximate and may vary depending on exact ingredients used.
Flourless Chocolate Cake
Course: DessertCuisine: FrenchDifficulty: EasyServings
1
slicePrep time
20
minutesCooking time
25
minutesCalories
320
kcalThis flourless chocolate cake lets chocolate shine in all its glory—no flour to dull the flavor, no gimmicks to distract. Just bold, rich, bittersweet magic in every bite.
It’s a go-to treat whether you’re catering to gluten-free guests or simply craving a deeply indulgent dessert that feels fancy but takes almost no effort to pull off.
Ingredients
- For the Cake
1 cup (170g) semi-sweet or dark chocolate chips or chopped high-quality chocolate
1/2 cup (113g) unsalted butter
3/4 cup (150g) granulated sugar
1/4 teaspoon salt
1 teaspoon vanilla extract
3 large eggs
1/2 cup (40g) unsweetened cocoa powder (preferably Dutch-processed)
- Optional for Serving:
Powdered sugar for dusting
Fresh berries
Whipped cream or vanilla ice cream
Directions
- Heat things up.
Preheat your oven to 350°F (175°C). Grease an 8-inch round cake pan, line the bottom with parchment, and lightly grease again. This guarantees an easy release. - Melt the magic.
In a heatproof bowl, melt together chocolate and butter. You can do this in the microwave (short bursts, stirring each time) or over a simmering pot of water. Stir until silky smooth. - Sweeten and flavor.
Whisk in the sugar and salt while the chocolate mixture is still warm. Stir in the vanilla. - Bring on the eggs.
Let the mixture cool just a little, then whisk in the eggs, one at a time, until glossy and fully blended. - Cocoa cloud.
Sift the cocoa powder directly over the bowl (this keeps it lump-free). Gently whisk or fold until no dry streaks remain. - Into the pan.
Pour the batter into your prepared cake pan, smoothing the top. Tap the pan gently to release any big air bubbles. - Bake to perfection.
Bake for 20–25 minutes, until the top looks set and slightly crackly. A toothpick inserted in the center should come out with just a few moist crumbs—don’t overbake! - Cool down.
Let the cake cool in the pan for 10 minutes, then run a knife around the edges. Invert onto a wire rack, peel off the parchment, then flip it onto a serving plate. - Set & slice.
Cool for about 1 hour before serving. For ultra-clean slices, chill in the fridge for 30 minutes first. - Dress it up.
Dust with powdered sugar, pile on fresh berries, add a dollop of whipped cream, or go all out with ice cream and chocolate drizzle.
Extra Tips
- Don’t Skip the Parchment: Even if your pan is non-stick, parchment makes removal easier and cleaner.
- Use Room Temp Eggs: They blend more easily into the batter and help with that silky texture.
- Don’t Overbake: Slightly underbaked is better than dry. The center should be just set, not firm.
- Cooling Matters: Letting the cake cool helps it set and makes slicing way easier.
- Dress It Fresh: Add fresh fruit or mint just before serving for that Instagram-worthy finish.
- Warm It Up: A quick zap in the microwave brings back that just-baked gooeyness.
Your Go-To Equipment Checklist
Here’s what you’ll need to pull off this masterpiece:
- 8-inch round cake pan
- Parchment paper
- Mixing bowls
- Microwave or double boiler
- Whisk or spatula
- Sifter
- Wire cooling rack
Ingredient Substitutions: Tweak It to Fit Your Lifestyle
Whether you’re catering to dietary needs or exploring new flavors, here are ways to adapt this cake without losing its magic:
Butter Alternatives
- Vegan Butter: Use a plant-based option like Earth Balance or Miyoko’s. Expect a slightly different texture due to the higher moisture.
- Olive Oil: Extra virgin olive oil works well and adds a subtle fruitiness.
Egg Replacements
- Chia Eggs: Mix 1 tbsp ground chia seeds with 3 tbsp water per egg. Let it sit to gel before using.
- Aquafaba: Use 3 tbsp of chickpea brine per egg white. Whip until frothy.
Cocoa Powder Swaps
- Natural Cocoa Powder: Sub for Dutch-processed, but add 1/8 tsp baking soda to balance acidity.
Chocolate Variations
- Bittersweet Chocolate: Use for a deeper, more intense flavor.
- Chocolate Bars vs. Chips: High-quality bars melt better and provide smoother results.
Extra Flavor Boosters
- Espresso Powder: A teaspoon boosts the chocolate flavor without making it taste like coffee.
- Spices: Add a pinch of cinnamon, cardamom, or chili powder for an exciting twist.
Make-Ahead Tips: Prep Now, Serve Later
Want to wow guests without the last-minute scramble? This cake’s got your back. Here’s how to prep ahead:
- Bake in Advance: The cake actually tastes better the next day. Bake it up to 2 days ahead and store it covered at room temperature or in the fridge.
- Freezer Friendly: Once cooled completely, wrap the cake tightly in plastic wrap and then foil. Freeze for up to 2 months. Thaw overnight in the fridge before serving.
- Serving Ease: For perfect slices, chill the cake for 30–60 minutes before cutting, especially if you’re going for a neat presentation.
Storage Instructions: Keeping It Fresh for Days (or Weeks!)
Good news—this cake is low-maintenance and high-reward when it comes to storage:
- Refrigerator: Store the cake in the fridge for up to 4 days. Just make sure it’s tightly wrapped. If you topped it with fresh fruit, remove those first to avoid sogginess.
- Freezer: This cake freezes beautifully. Wrap the whole cake or individual slices in plastic wrap, then place in a zip-top bag or airtight container. Freeze for up to 2 months.
- Thawing Tips: Let it thaw overnight in the refrigerator or a few hours at room temperature. Bonus tip? It tastes amazing even when slightly frozen.
- Dusting Touch-Up: Powdered sugar tends to disappear after thawing. Just give it a fresh dusting before serving.
Serving Suggestions: How to Plate It Like a Pro
Want to make that slice look even more irresistible? Try these ideas:
- Top with fresh berries like raspberries, strawberries, or blueberries for a pop of color and tart contrast.
- Add a dollop of whipped cream—bonus points if it’s homemade with a hint of vanilla.
- Serve with a scoop of vanilla or espresso ice cream for the ultimate dessert pairing.
- Drizzle with chocolate or raspberry sauce for added flair.
- Garnish with mint leaves or edible gold flakes if you’re going for that restaurant-style finish.
FAQ: All Your Flourless Chocolate Cake Questions, Answered
Can I make this cake dairy-free?
Yes! Swap out the butter with a dairy-free alternative like vegan butter or olive oil. Just be aware the texture might be slightly different.
Is this cake gluten-free?
Absolutely. With no flour in sight, this cake is naturally gluten-free. Just double-check all your ingredient labels to be sure.
Can I freeze the cake with toppings like whipped cream or fruit?
Not recommended. Add fresh toppings after thawing for the best look and taste.
Can I make this in a different pan size?
Yes, but you’ll need to adjust the baking time. A larger pan means a thinner cake and shorter bake time; a smaller pan will need longer.
Why did my cake sink in the middle?
It’s totally normal. This cake is meant to be fudgy and dense, and the center may settle as it cools. No worries—it still tastes amazing.
How do I know when it’s done baking?
The center should be just set. A toothpick inserted should come out with a few moist crumbs. Overbaking can lead to dryness.
Can I use a sugar substitute?
You can try coconut sugar or a low-calorie sweetener, but note that it might change the texture slightly.
Nutritional Information: What’s in Each Slice
Here’s a rough estimate per serving (based on 1/10th of the cake):
- Calories: ~320 kcal
- Fat: 22g
- Saturated Fat: 13g
- Carbohydrates: 30g
- Sugar: 24g
- Protein: 5g
- Fiber: 4g
- Sodium: 80mg
Note: Nutritional values can vary depending on the exact brands and types of ingredients used.
Final Thoughts: When Only Deep, Dark Chocolate Will Do
So here’s the deal: when you’re in the mood for something ultra-decadent but still low on fuss, this Flourless Chocolate Cake comes in swinging. It’s rich, elegant, and shockingly simple. No need for mixers, fancy techniques, or flour drama.
Whether it’s a dinner party showstopper, a quiet Tuesday indulgence, or the solution to your gluten-free cravings, this cake brings big flavor in a small list of ingredients. Dress it up, keep it simple—either way, you’re winning.
Now go forth and bake like you mean it. Because life’s too short for mediocre chocolate