The Best Fluffy Pancakes recipe you will fall in love with. Full of tips and tricks to help you make the best pancakes.
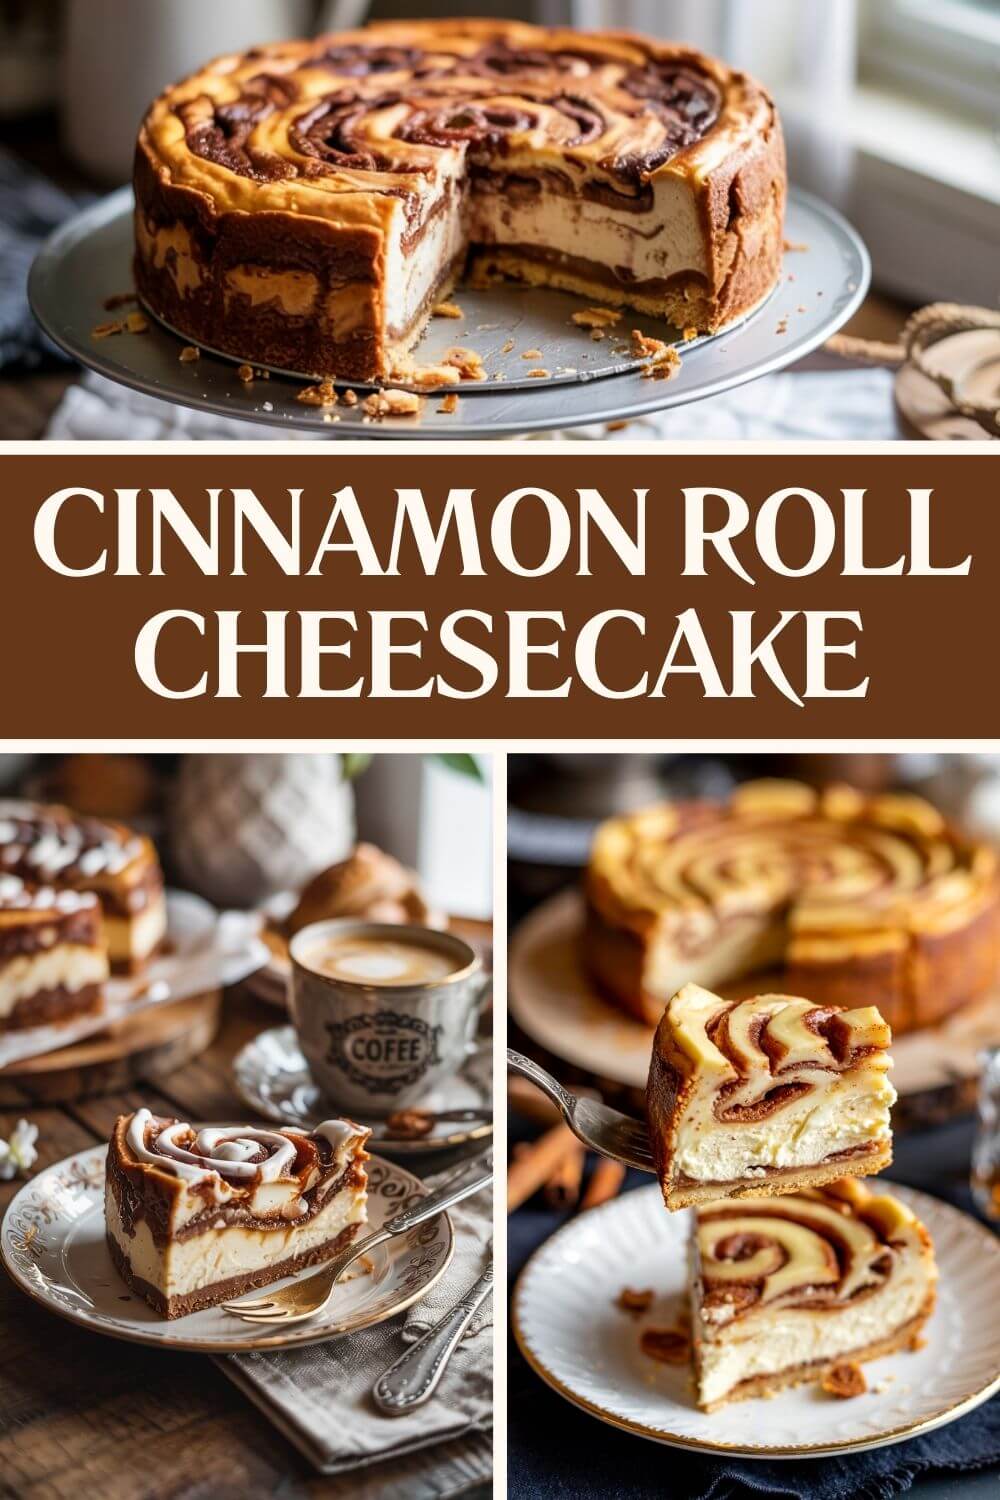
Cinnamon Roll Cheesecake Recipe That Tastes Like a Hug in Every Bite
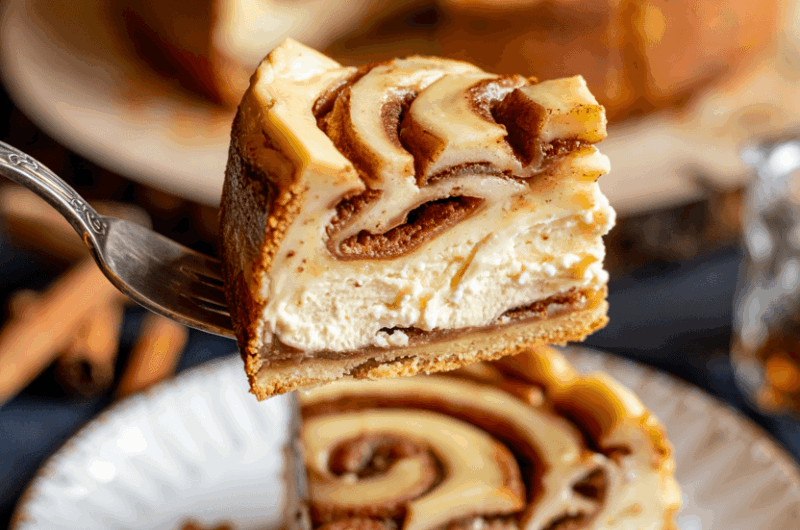
Imagine biting into the creamy richness of a classic cheesecake, only to be surprised by a warm, gooey swirl of cinnamon-sugar tucked inside.
That’s exactly what Cinnamon Roll Cheesecake offers—a decadent twist on two beloved desserts that delivers a taste that feels like home. Whether you’re baking for a special brunch, a birthday, or simply need a pick-me-up dessert, this treat is bound to impress anyone who takes a bite.
It’s the kind of dessert that draws gasps when sliced. The cinnamon swirls running through the velvety cheesecake are not just beautiful—they infuse every mouthful with cozy spice and buttery sweetness.
And the best part? It’s easier than it looks. Even if you’re not an expert baker, this recipe will walk you through each step, helping you create a show-stopping dessert with confidence.
Recipe Snapshot
| Category | Details |
| Yield | 1 9-inch cheesecake |
| Serving Size | 1 slice |
| Prep Time | 30 minutes |
| Bake Time | 1 hour 5 minutes |
| Total Time | 6 hours (includes chilling time) |
| Calories per Serving | ~480 kcal |
| Primary Cooking Method | Baking |
| Cooling Time | 1 hour |
| Chilling Time | 4 hours |
| Occasion | Holiday, Brunch, Celebrations |
| Diet Type | Vegetarian |
Calories are approximate and may vary depending on exact ingredients used.
Cinnamon Roll Cheesecake
Course: DessertCuisine: AmericanDifficulty: MediumServings
1
slicePrep time
30
minutesCooking time
1
hour5
minutesCalories
480
kcalCinnamon Roll Cheesecake is an indulgent dessert that combines two classics—the sweet, spiced comfort of cinnamon rolls with the rich, creamy texture of a traditional cheesecake.
This dessert is made with a buttery graham cracker crust, swirled cinnamon-sugar filling, and a smooth, tangy cheesecake base. The balance between the creaminess and cinnamon warmth makes it a perfect pick for holiday celebrations or cozy weekend treats.
It looks complex but is actually beginner-friendly with a few tips and a good step-by-step plan. It’s also a great dessert to bake ahead for gatherings because the flavors develop even more after chilling.
With just the right amount of sweetness and spice, it’s a dessert that’s sure to earn you compliments.
Ingredients
- For the Crust
1 1/2 cups graham cracker crumbs
1/4 cup granulated sugar
1/2 cup unsalted butter, melted
- For the Cinnamon Filling
1/2 cup unsalted butter, melted
1/2 cup brown sugar (light or dark)
1 1/2 tbsp ground cinnamon
2 tsp all-purpose flour
- For the Cheesecake Batter
3 (8 oz) blocks cream cheese, softened
1 cup granulated sugar
3 large eggs, room temperature
1 tsp vanilla extract
1/2 cup sour cream
2 tbsp all-purpose flour
- For the Glaze (optional but recommended)
1/2 cup powdered sugar
1–2 tbsp milk or heavy cream
1/4 tsp vanilla extract
Directions
- Prepare the Oven and Pan
Start by preheating your oven to 325°F (163°C). Prepare a 9-inch springform pan by lining the base with parchment paper.
Then, wrap the outer bottom and sides of the pan with two layers of heavy-duty aluminum foil. This step is crucial to prevent water from leaking into the cheesecake during the water bath. - Make the Graham Cracker Crust
In a medium-sized bowl, combine the graham cracker crumbs, granulated sugar, and melted butter. Stir until the mixture resembles wet sand.
Press this mixture firmly into the bottom of the prepared pan using the bottom of a measuring cup or your fingers.
Bake the crust in the preheated oven for 10 minutes. Remove and set aside to cool completely while you make the filling.
Pro Tip: You can place the crust in the fridge to speed up the cooling process while preparing the rest of the layers. - Make the Graham Cracker Crust
In a medium-sized bowl, combine the graham cracker crumbs, granulated sugar, and melted butter. Stir until the mixture resembles wet sand.
Press this mixture firmly into the bottom of the prepared pan using the bottom of a measuring cup or your fingers.
Bake the crust in the preheated oven for 10 minutes. Remove and set aside to cool completely while you make the filling.
Pro Tip: You can place the crust in the fridge to speed up the cooling process while preparing the rest of the layers. - Make the Cheesecake Batter
Using a stand mixer or hand mixer, beat the cream cheese and sugar together on medium speed for about 2–3 minutes until smooth and fluffy.
Add the eggs one at a time, mixing on low speed after each addition until just combined. Then mix in the vanilla extract, sour cream, and flour.
Scrape down the sides of the bowl with a spatula to ensure everything is incorporated.
Baker’s Tip: Do not overbeat the batter, especially after adding eggs. This can incorporate too much air and lead to cracks. - Assemble the Cheesecake with Cinnamon Swirls
Pour half of the cheesecake batter into the cooled crust. Drop spoonfuls of the cinnamon filling on top. Using a butter knife or wooden skewer, gently swirl the cinnamon into the batter without overmixing.
Pour in the remaining cheesecake batter, and repeat the swirl process with the rest of the cinnamon mixture. Aim for decorative swirls visible on the top surface. - Prepare and Bake in a Water Bath
Place the filled springform pan into a larger roasting pan. Carefully pour hot water into the outer pan until it reaches halfway up the sides of the springform pan.
Transfer the whole setup to the preheated oven and bake for 60 to 65 minutes. The edges should be set, but the center will have a slight jiggle when gently shaken.
Doneness Test: A cheesecake is done when it jiggles like firm Jell-O in the center but doesn’t slosh. - Cool Gradually
Once the baking time is up, turn off the oven, crack the oven door slightly, and let the cheesecake cool inside the oven for 1 hour. This gradual cooling helps prevent cracks on the surface.
Then remove the cheesecake from the water bath, discard the foil, and set it on a wire rack to cool to room temperature (another 45 minutes to 1 hour). - Chill for Best Texture
Refrigerate the cheesecake for at least 4 hours, but ideally overnight. This step is key for developing the dense, creamy texture and melding the cinnamon and vanilla flavors. - Add Glaze and Slice to Serve
Whisk together powdered sugar, milk or cream, and vanilla extract to make a simple glaze. Drizzle generously over the top of the cheesecake.
To slice cleanly, dip a sharp knife in hot water and wipe it clean between each cut.
Extra Tips for Success
- Room Temperature Ingredients: Cold cream cheese won’t mix smoothly and can cause lumps.
- Smooth Knife Swirls: For best presentation, use long, gentle swirls. Avoid overmixing so the contrast between layers stays clear.
- Watch the Oven: If your oven runs hot, the cheesecake can overbake. Check doneness at 55 minutes.
- No Peeking: Try not to open the oven door during baking. This can cause the center to collapse.
Equipment You’ll Need
To successfully make this recipe, here are the essential tools you’ll want to have on hand:
- 9-inch springform pan
- Heavy-duty aluminum foil
- Large roasting pan (for water bath)
- Mixing bowls (various sizes)
- Electric mixer or stand mixer
- Rubber spatula
- Measuring cups and spoons
- Whisk
- Knife for slicing
- Parchment paper
Make-Ahead Tips
Making this cheesecake in advance is highly recommended. Here’s how to plan ahead:
- 1–2 Days Ahead: You can fully bake and chill the cheesecake. The flavor improves with time. Keep it covered tightly with plastic wrap.
- Crust Only: If you’re short on time the day of baking, prepare and pre-bake the crust a day before.
- Filling: You can also mix the cinnamon filling and cheesecake batter ahead of time and store them separately in airtight containers in the fridge.
Storage Instructions
Cheesecake stores well, making it a convenient dessert.
- Refrigerator: Cover with plastic wrap or store in an airtight container in the fridge for up to 5 days.
- Freezer: Freeze whole or in slices wrapped in parchment and foil for up to 2 months. Let it thaw in the fridge overnight before serving.
Tip for Serving from the Freezer: Glaze only after thawing to keep the drizzle fresh and smooth
Frequently Asked Questions
Q: Can I skip the cinnamon glaze on top?
A: Yes, but it adds visual appeal and reinforces the cinnamon roll flavor. A sprinkle of powdered sugar can also work.
Q: Can I use a different crust?
A: Absolutely. Try a cinnamon graham crust or even a snickerdoodle cookie crust for variation.
Q: My cheesecake cracked. What went wrong?
A: Likely causes include overbaking, skipping the water bath, or rapid temperature changes. A glaze or whipped cream topping can help cover cracks.
Q: Can I make this recipe with a boxed cinnamon roll mix?
A: Some versions do use cinnamon rolls as a crust, but this recipe uses a classic crust with swirls. You can experiment, but textures may vary.
Why Everyone Loves This Cheesecake
There’s something magical about combining the deep comfort of cinnamon rolls with the richness of cheesecake. The textures, the aroma, the dramatic swirls—all of it comes together into a slice that feels both familiar and exciting. It also looks beautiful on any dessert table, making it perfect for holidays, potlucks, birthdays, and brunch spreads.
Final Thoughts
If you love cinnamon rolls and can’t resist cheesecake, this Cinnamon Roll Cheesecake is your dream come true. With its delicate swirls, creamy center, and bold cinnamon-sugar flavor, it’s a dessert that feels like a cozy hug. Whether you’re celebrating something big or just want something sweet to share, this recipe is sure to leave everyone smiling.